

Using a physical, standing whiteboard introduces a tactile and highly visible dimension to personal organization, helping to offload cognitive strain and prevent task fatigue. By understanding the material properties of your board and the science of spatial planning, you can transform a simple writing surface into a dynamic command center.
The Ergonomics and Physics of Standing Whiteboards
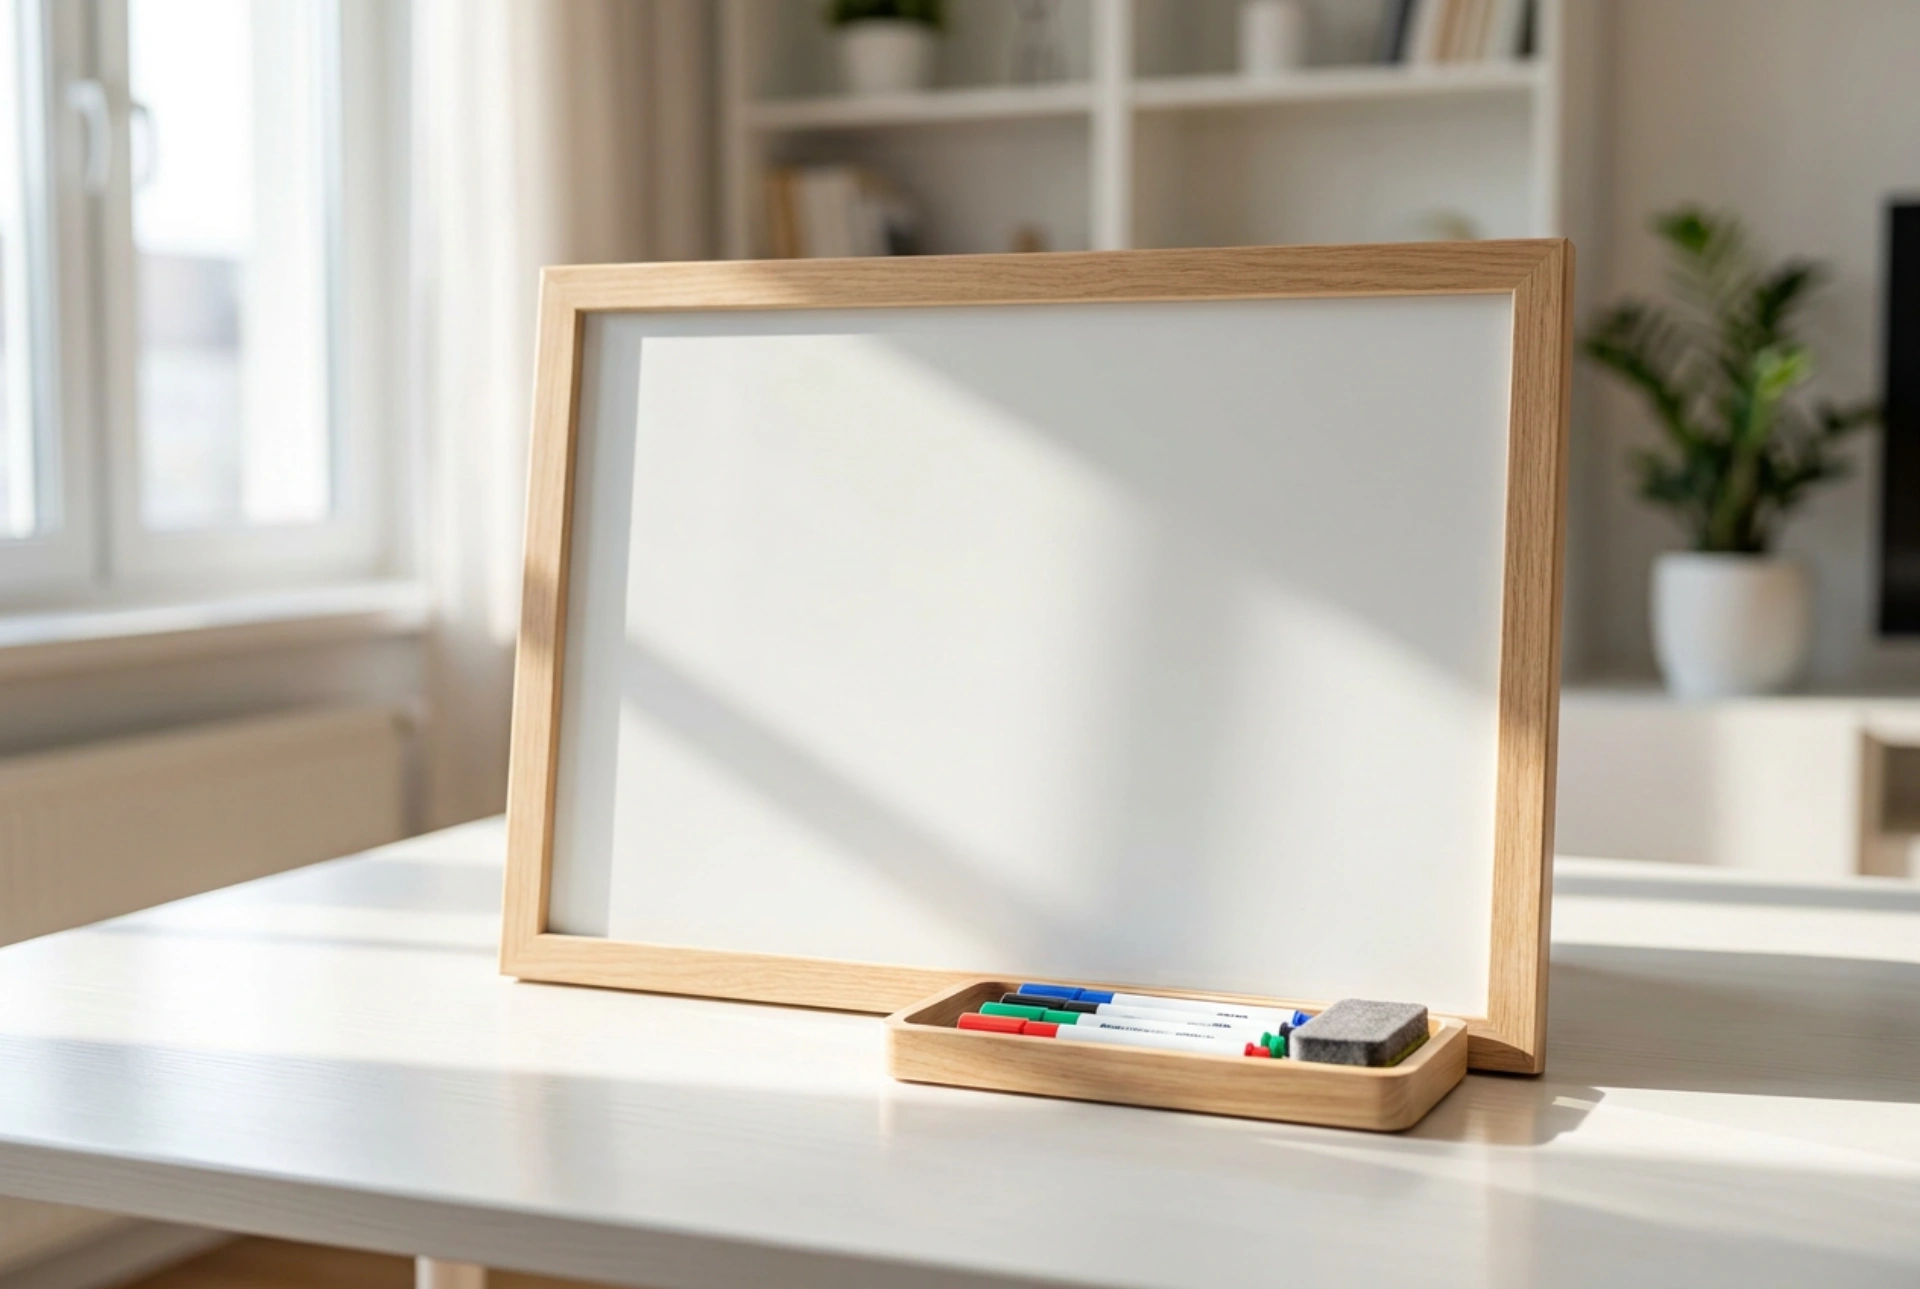
Unlike wall-mounted boards, a whiteboard on a stand offers mobility and adjustable angles, which directly impacts how we interact with information. Placing the board within your natural field of vision—ideally at a 60 to 80-degree angle to your desk—prevents neck strain and keeps your active tasks constantly in your peripheral sight. This persistent visual cue utilizes what psychologists call spatial memory; your brain associates specific tasks with physical locations on the board.
When positioning your stand, consider the light sources in your room. Direct sunlight or harsh overhead bulbs can cause glare on glossy melamine or glass surfaces, reducing readability and causing eye strain. Positioning the board perpendicular to windows or using a matte-finish surface minimizes reflection. Furthermore, the physical act of standing up to write or erase a task engages gross motor skills, which increases blood flow and enhances focus compared to updating a digital spreadsheet.
The Chemistry of Markers and Information Hierarchy
To plan effectively, you must understand the tool you write with. Dry-erase markers rely on a specific chemical formulation: a mixture of color pigments, a solvent (usually isopropyl alcohol or ethanol), and a release agent (typically a silicone polymer). When you write, the solvent quickly evaporates, leaving behind a dry, cohesive film of pigment held together by the release agent. This release agent prevents the pigment from binding permanently to the non-porous surface of the board, allowing it to be easily wiped away.
Leverage this chemistry by using distinct colors to establish an instant hierarchy of information:
- High-contrast dark colors (black and dark blue): Ideal for structural elements, grid lines, and high-priority deadlines. These offer the highest contrast and are readable from a distance.
- Warm alert colors (red and orange): Reserved strictly for urgent tasks, roadblocks, or immediate daily actions. Overusing red desensitizes your visual system, reducing its effectiveness.
- Cool secondary colors (green and light blue): Best for supplementary notes, lower-priority ideas, or dividing categories.
Optimizing the Board Layout for Cognitive Flow
A blank whiteboard can lead to choice paralysis. To avoid this, divide the surface into functional zones using semi-permanent vinyl tape or drawn boundaries. A classic three-column layout—comprising "Backlog," "In Progress," and "Completed"—mirrors industrial workflow processes and provides a clear path for task progression. Keep the "In Progress" section physically small to limit multitasking; forcing yourself to fit tasks into a confined space naturally caps your workload.
Utilize the magnetic properties of steel-backed boards to incorporate movable elements. Magnetic cards or color-coded tokens can represent recurring tasks. Physically moving a magnet across the board satisfies the psychological need for closure, reinforcing positive feedback loops associated with task completion.
Surface Preservation and Chemistry-Based Cleaning
Over time, whiteboards can suffer from "ghosting"—the faint, stubborn shadows left behind by old marker ink. This occurs when the dry-erase solvent penetrates microscopic pores or scratches in the board's surface, or when the release agent fails due to age. Melamine surfaces are highly porous and prone to this wear, while tempered glass and painted steel offer superior resistance.
To maintain your board's hydrophobic surface and prevent ghosting, follow proper cleaning protocols:
- Avoid abrasive materials: Never use scrub sponges or abrasive cleaning powders, as these create microscopic scratches that permanently trap pigment.
- Use appropriate solvents: Regular cleaning with high-purity isopropyl alcohol (70% to 90%) dissolves the bound resins without damaging the protective polyurethane or glass topcoat. Avoid acetone or strong household degreasers, which strip away the board's slick coating.
- Erase systematically: Always use a microfiber cloth or a dense felt eraser. Wipe in consistent, linear strokes rather than circular motions to prevent spreading dislodged pigment particles back into the board's pores.