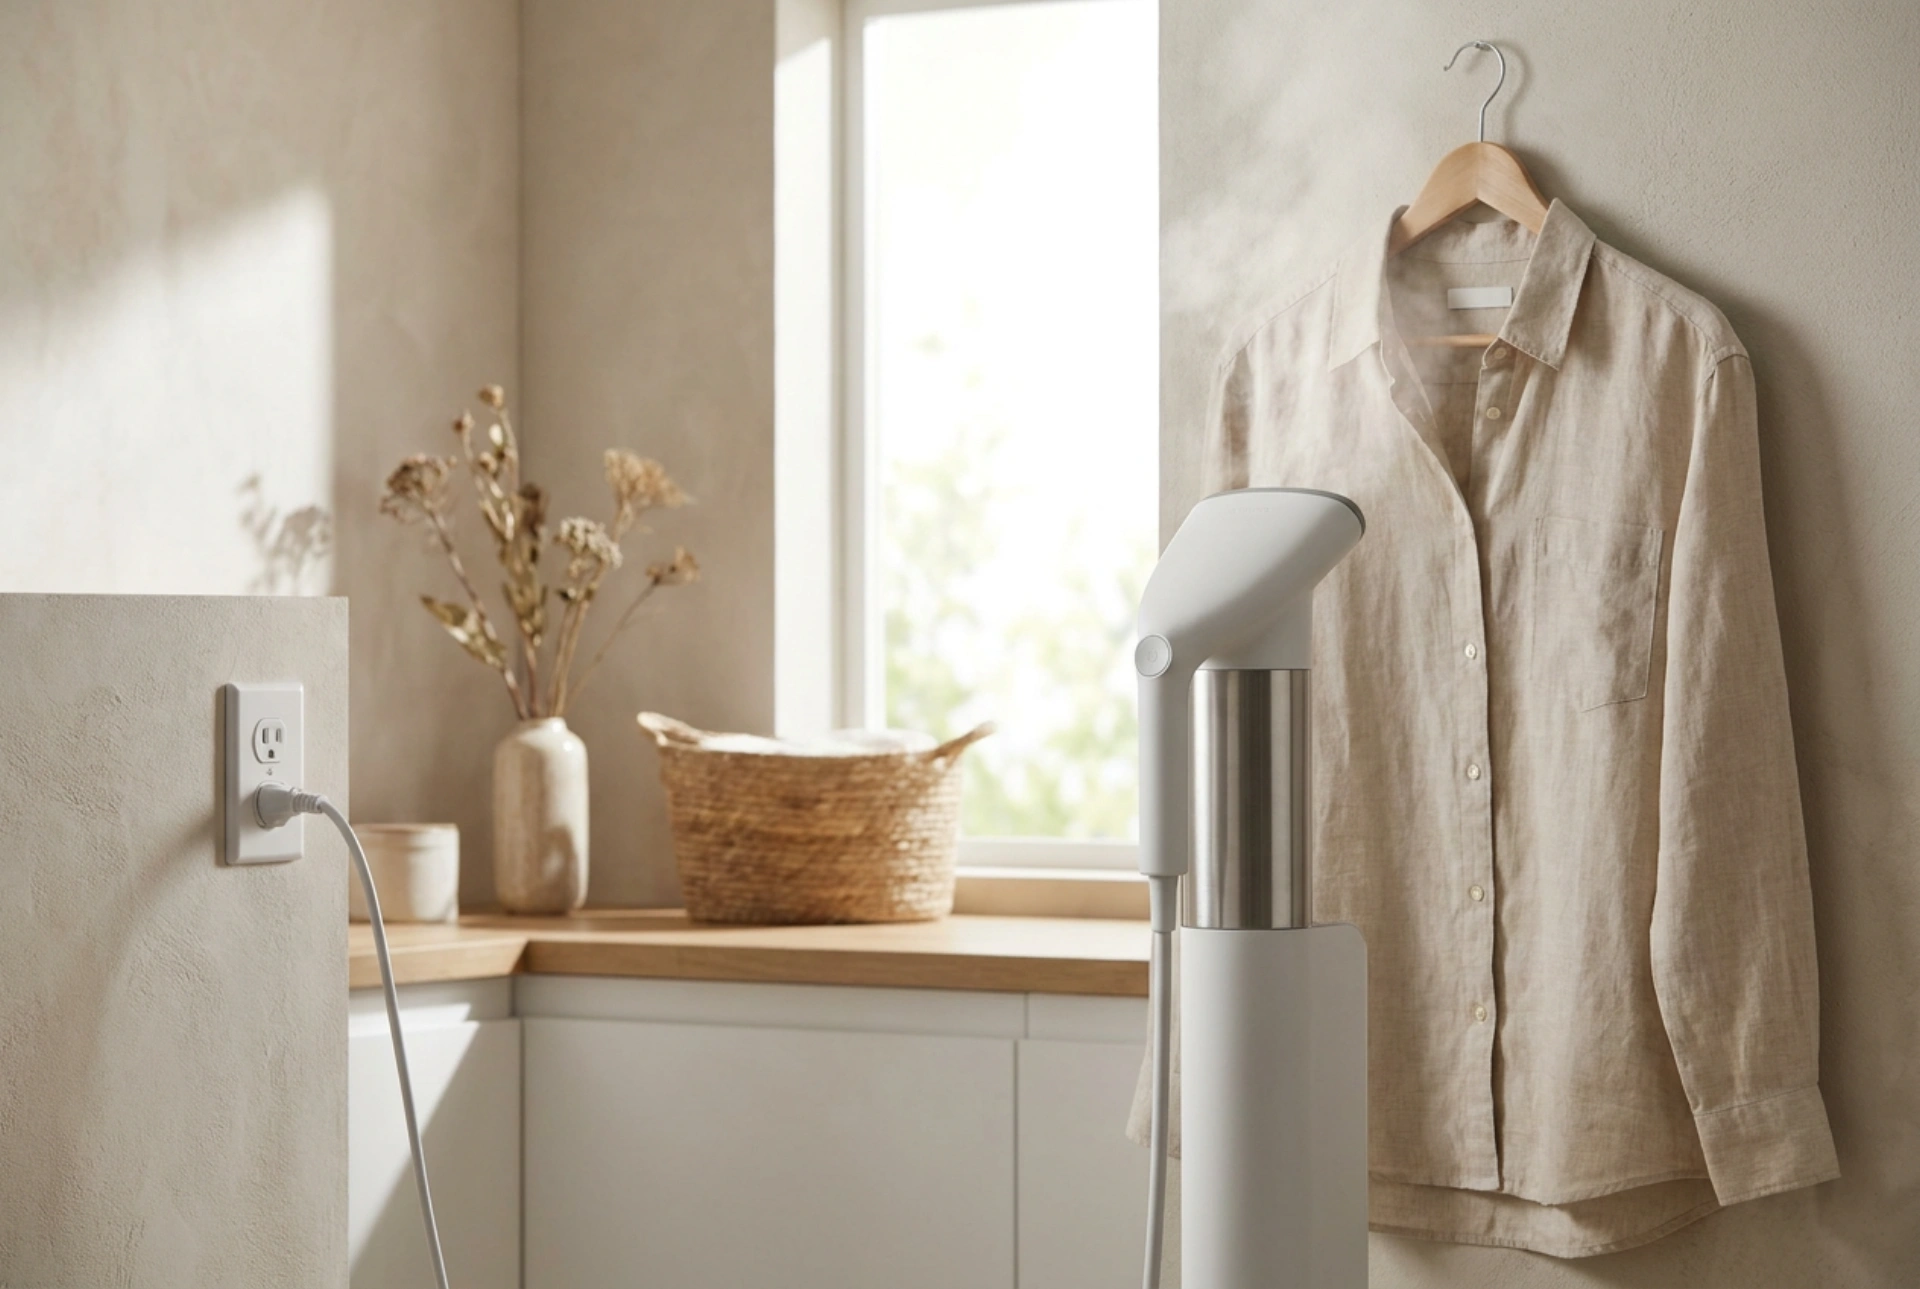


Setting up a traditional ironing board can be a cumbersome chore that discourages daily garment maintenance. Vertical steam ironing boards offer a space-saving, highly efficient alternative by utilizing gravity and localized thermodynamic heat to relax fabric fibres instantly.
The Physics of Steam and Fibre Relaxation
To understand why vertical steaming is highly effective, one must look at the molecular structure of textiles. Common fabrics like cotton, linen, and wool are held together by hydrogen bonds at the molecular level. When garments get crushed or creased, these bonds are locked into distorted positions.
Introducing high-temperature water vapour (steam) temporarily breaks these weak hydrogen bonds. As the moisture penetrates the fibres, the polymer chains within the material become highly mobile. Under the natural pull of gravity, combined with light tension, these fibres realign into their natural, flat state. Once the fabric cools and the moisture evaporates, the hydrogen bonds reform in this newly smoothed position. A vertical surface provides the perfect backdrop to apply this gentle tension without flattening the natural loft and texture of the yarn, which often happens under the heavy weight of a traditional dry iron.
The Role of the Vertical Board: Why Backing Matters
While hand-held steaming on a hanger works for lightweight silks, it often fails on medium-to-heavy fabrics like cotton shirts, denim, or wool blazers. This is where a vertical ironing board becomes essential. The board acts as a solid resistance barrier.
- Pressing Resistance: By pressing the steamer head directly against the fabric backed by the board, you trap the steam within the weave. This increases the steam pressure and penetration depth, smoothing tough wrinkles much faster.
- Tension Creation: You can pull the hem of the garment down against the rigid backing, securing the fabric in place. This mimicry of traditional ironing allows you to set crisp seams, collars, and cuffs.
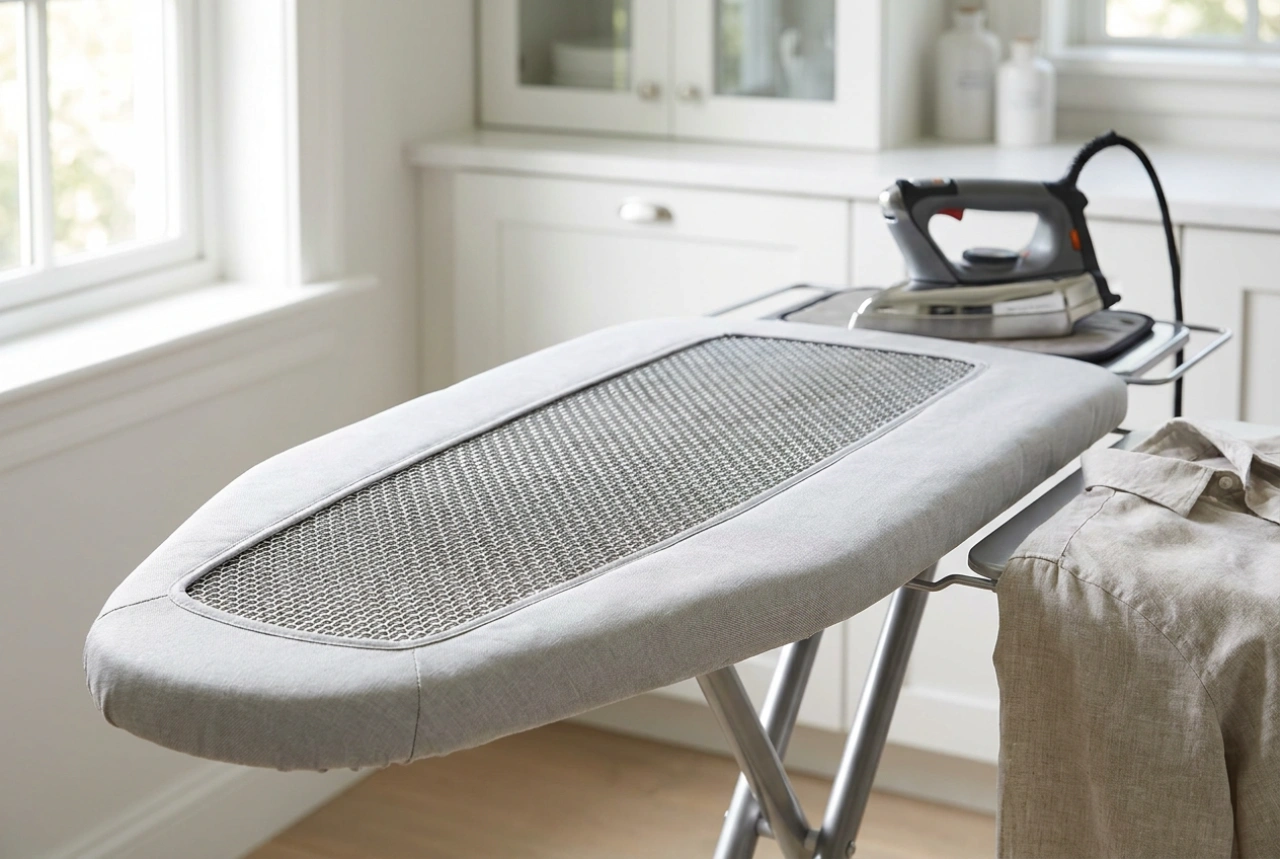
- Condensation Control: Premium vertical boards feature a micro-perforated mesh layer. This allows excess steam to pass through rather than condensing on the board's surface, preventing wet spots and water staining on delicate fabrics.
Material Compatibility and Temperature Management
Different materials react uniquely to heat and moisture. Knowing how to adjust your approach is key to protecting your wardrobe:
Natural Plant Fibres (Cotton, Linen)
These materials have high crystalline structures and require maximum steam volume and heat to break their strong hydrogen bonds. Pressing the fabric directly against the vertical board with firm pressure yields the best results.
Animal Fibres (Wool, Cashmere)
Wool fibres are covered in microscopic scales that can felt or shine under dry heat and heavy friction. Vertical steaming is ideal because the steam relaxes the coiled structure of the wool without flattening the delicate nap. Hold the steam head slightly away or use a fabric brush attachment to loft the fibres.
Synthetics (Polyester, Nylon, Acrylic)
Synthetic fibres are thermoplastic, meaning they melt under excessive heat. Keep the steam output moderate and avoid holding the hot steamer plate in direct contact with the fabric for extended periods to prevent glazing or melting.
A Step-by-Step Guide to Vertical Steaming
To achieve professional results without a horizontal table, follow this systematic technique:
- Hang and Secure: Hang the garment on the integrated hanger of the vertical board. Secure buttons, zips, or fasteners to keep the garment aligned.
- Apply Bottom-to-Top Tension: Hold the hem of the garment firmly with one hand (using a heat-resistant glove if necessary) to pull the fabric taut against the board.
- Work from Bottom to Top: Begin steaming from the bottom of the garment, moving upwards. Since steam naturally rises, this pre-heats and moistens the upper sections, accelerating the overall process.
- Detailing Collars and Cuffs: Use the rigid edge of the vertical board as a mini-anvil. Press the collar flat against the board and run the steam head firmly along the seam line to set the fold.
- Cooling and Setting: Let the garment hang undisturbed on the board for two to three minutes after steaming. This allows the remaining moisture to evaporate and the newly relaxed hydrogen bonds to set permanently, preventing immediate re-wrinkling.