

Integrating a compact front-loading washing machine into a small bathroom requires careful spatial planning and a deep understanding of physical clearances, ventilation needs, and structural stability. Properly positioning this appliance ensures ergonomic ease while preventing mechanical wear and moisture damage to surrounding cabinetry.
Understanding Clearance and Spatial Ergonomics
When planning a bathroom layout around a small front-loading washing machine, clearances are dictated by both human ergonomics and appliance physics. Unlike top-loaders, a front-loading machine requires dedicated frontal clearance for the door swing and the user. The door typically swings open at a 180-degree angle, requiring at least 50 to 60 centimetres of unobstructed space in front of the unit. Additionally, the user needs approximately 70 to 80 centimetres of floor space directly in front of the door to bend, squat, and handle laundry baskets comfortably.
Equally critical is the structural clearance around the machine’s chassis. During the spin cycle, the drum rotates at high speeds (often between 1000 and 1400 RPM), creating significant kinetic energy. If the machine is wedged tightly between walls or cabinet panels, this energy transfers directly into the building structure, causing noise, vibration, and eventual damage to joinery. To mitigate this, maintain a minimum lateral clearance of 1.5 to 2 centimetres on both sides, and at least 5 centimetres at the rear to accommodate water supply hoses, waste pipes, and electrical cables without kinking them.
Vibration Mitigation and Subfloor Stability
The stability of the floor beneath a washing machine directly impacts its lifespan and noise levels. A standard concrete floor provides the ideal rigid base, absorbing vibrations efficiently. If your bathroom has a wooden subfloor or raised tiles, reinforcing the area is essential. Unlevel floors amplify centrifugal forces during high-speed spinning, leading to mechanical wear on the drum bearings and suspension springs.
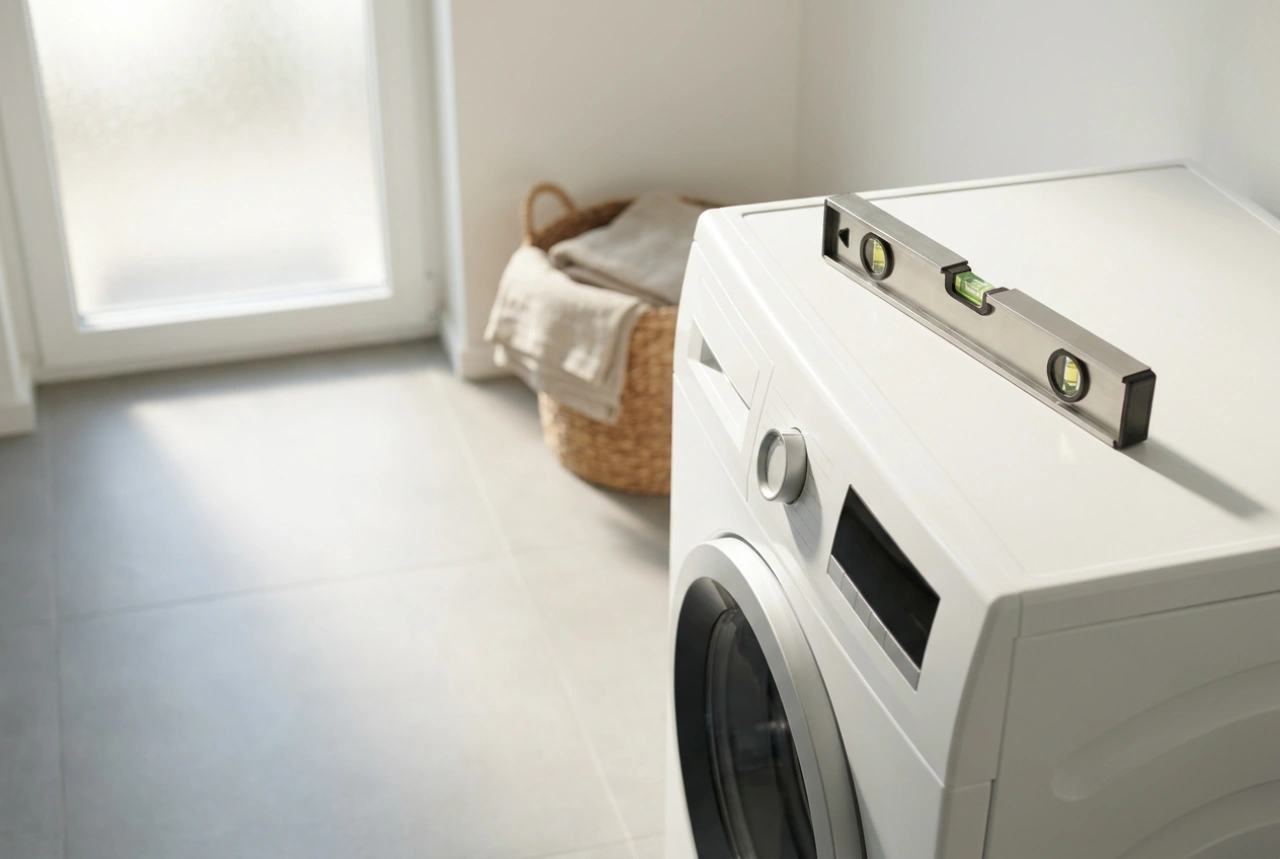
To ensure perfect balance, use a spirit level across both axes (left-to-right and front-to-back) of the machine's top surface. Adjust the threaded levelling feet, locking them securely with the locknuts provided. Placing an anti-vibration mat made of high-density elastomeric rubber beneath the machine can further damp acoustic transfer. This material absorbs high-frequency vibrations, preventing them from resonating through tiled floors and adjacent walls.
Moisture Management and Cabinet Ventilation
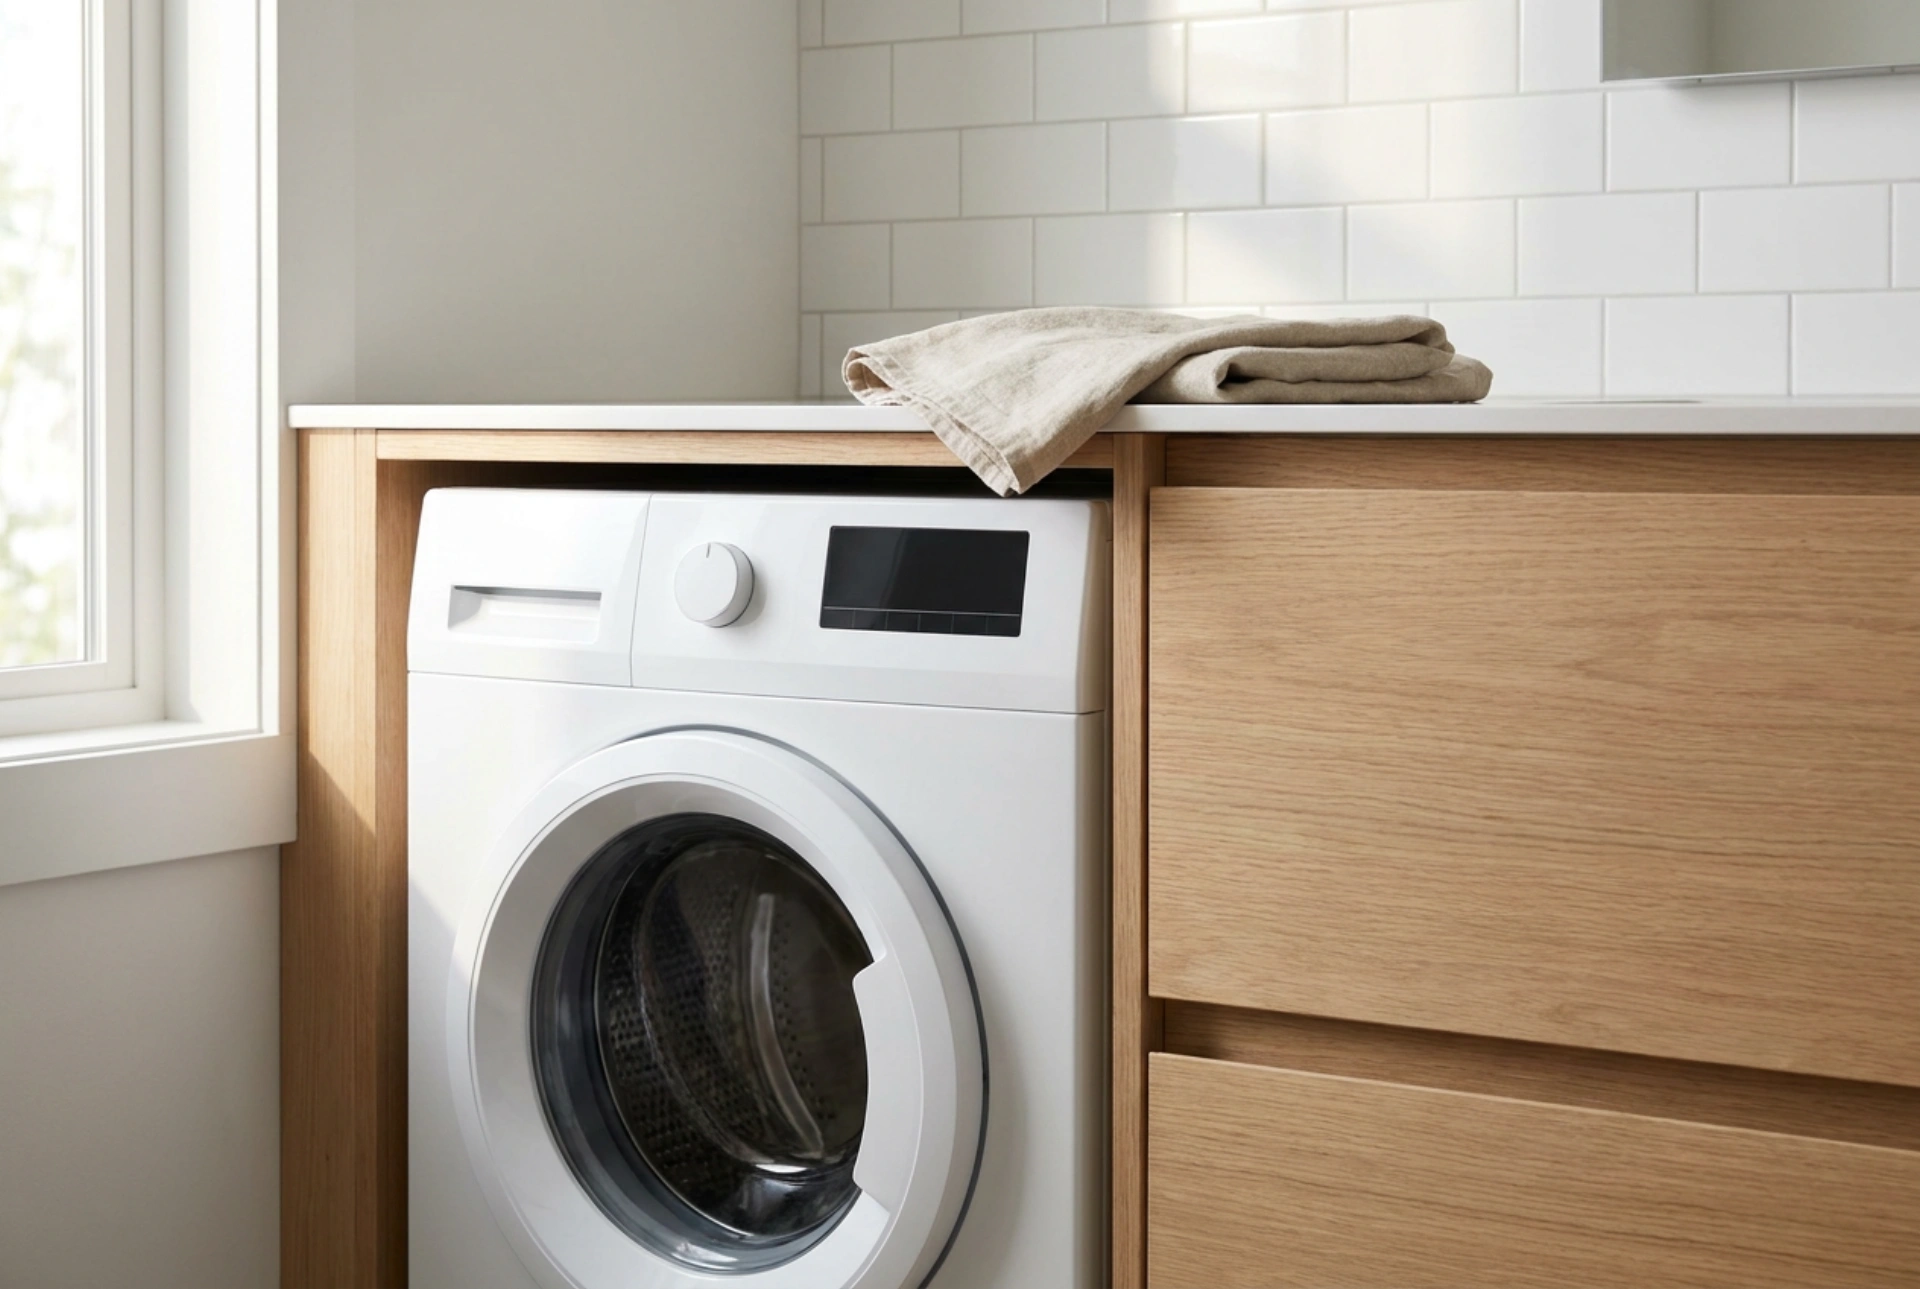
Integrating a washing machine into a vanity unit or enclosed cupboard requires strict moisture control. Washing machines generate heat and humidity during use, particularly during hot washes. When the cycle ends and the door is opened, a burst of warm, moisture-laden air is released. Without proper ventilation, this moisture will condense on the colder surfaces of wooden cabinets, leading to swelling, joint failure, and mould growth.
To prevent this degradation, any worktop or cabinet panels surrounding the machine should be shielded. Applying an adhesive aluminium vapour barrier tape to the underside of the worktop directly above the washing machine door protects the core material from steam. Furthermore, enclosing cabinet doors should feature slatted grilles or be left partially open during and immediately after a wash cycle to promote natural convection and dry out any latent moisture.
Maintenance Accessibility and Connection Points
A practical bathroom layout must never compromise access to utility connections and maintenance ports. Front-loading washing machines feature a debris filter at the bottom front of the unit, which requires clearing every few months. If you build a decorative plinth or kickboard in front of the machine, ensure it is easily removable without tools, allowing quick access to this filter and the emergency drain hose.
Similarly, the water inlet valve, waste-water standpipe, and electrical socket should be situated in an adjacent cabinet rather than directly behind the appliance. Placing these connections to the side allows you to quickly shut off the water supply or cut power in an emergency without having to pull a heavy, water-filled machine out of its recess. The waste-water hose must also be routed at a specific height—typically between 60 and 90 centimetres above floor level—to prevent siphoning and ensure proper drainage physics.