

An organized desk drawer is not merely an aesthetic choice; it is an ergonomic system that reduces cognitive load and physical strain during repetitive daily tasks. Optimising a desk organizer with drawers requires a systematic approach based on spatial geometry, frequency of use, and the physics of motion.
Understanding Reach Zones and Ergonomic Physics
Before placing a single item into a drawer organizer, you must analyze your physical movement patterns. In ergonomics, workspace layout is dictated by three distinct reach zones. The primary zone is the area reachable with a simple sweep of your forearm while your elbow remains at your side. The secondary zone requires extending your arm, and the tertiary zone requires leaning forward at the waist.
When applied to a desk organizer with drawers, this translates directly to vertical and horizontal accessibility. Items used multiple times an hour, such as your primary writing instrument, adhesive notes, or correcting tape, belong in the topmost, frontmost compartments of the shallowest drawer. Conversely, items used weekly or monthly, like heavy-duty staplers, spare ink cartridges, or physical archives, should be positioned in the lower drawers or towards the rear. Placing high-frequency items in deep, hard-to-reach compartments forces repeated rotational shoulder movements, which increases physical fatigue over an eight-hour workday.
Friction and Momentum: Selecting Drawer Liners and Compartments
One of the most common failures of drawer organizers is the shifting of contents every time the drawer is pulled open or pushed closed. This occurs because of Newton's first law of motion: objects in motion tend to stay in motion. When you pull a drawer, the organizer accelerates, but the loose items inside slide backward due to inertia. When the drawer stops, they slide forward, creating a chaotic jumble.
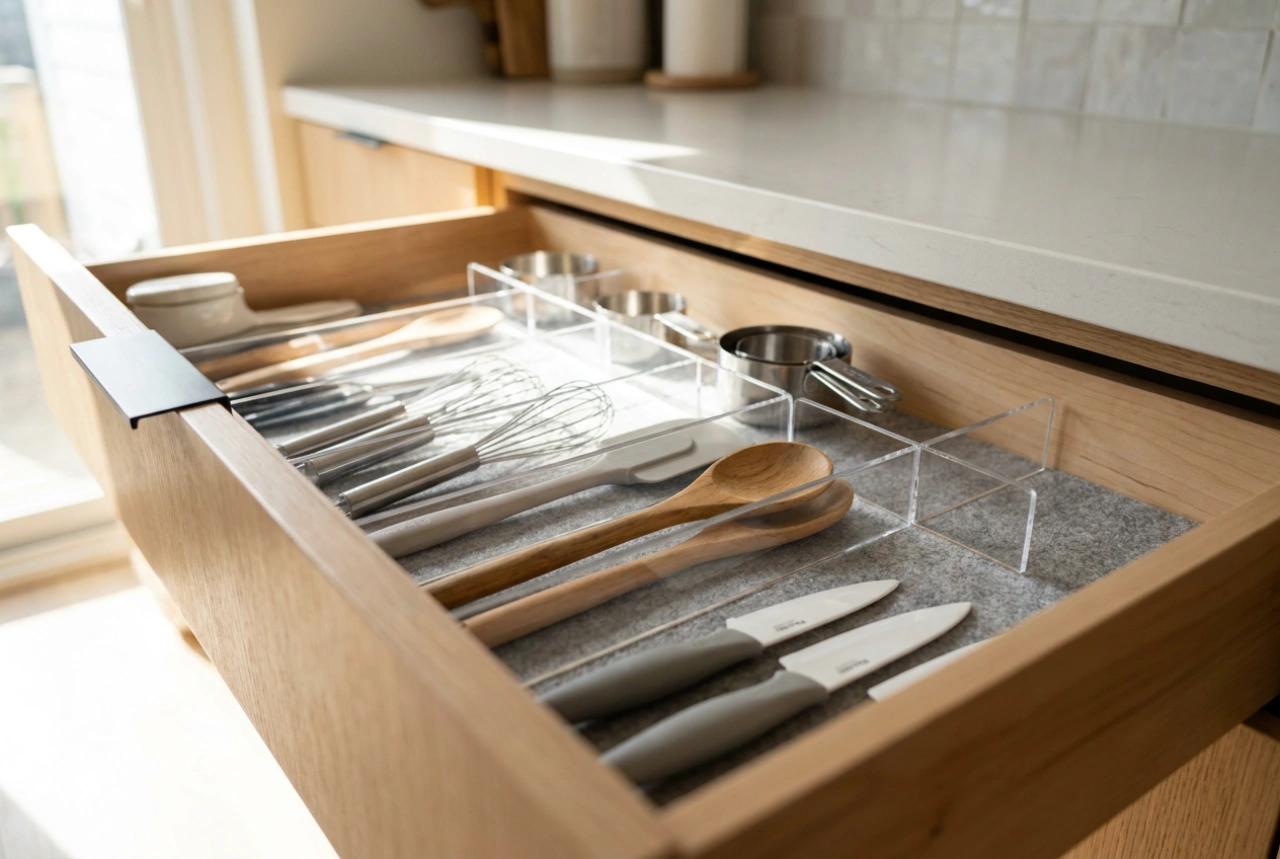
To counteract this kinetic energy, you must control the coefficient of friction between your stationery and the compartment surfaces. Raw wood and smooth plastic have low coefficients of friction, causing items to slide freely. Implementing felt, silicone, or textured synthetic rubber liners inside the compartments increases resistance, absorbing the momentum of small items like paperclips, brass fasteners, and binder clips. Additionally, choosing compartments that closely match the dimensions of the items they hold prevents physical displacement. For instance, long, narrow channels should be reserved specifically for pens and pencils, ensuring minimal lateral movement during drawer acceleration.
Step-by-Step Categorisation and Geometric Mapping
To systematically arrange your organizer, follow this structured, physical mapping protocol:
- Empty and Clean: Remove all items from the drawers. Wipe down the interior surfaces with a microfiber cloth and a mild surfactant to remove dust and oils, which can reduce the grip of drawer liners.
- Weight Distribution: Place heavier items, such as metal tape dispensers or heavy staplers, towards the rear of the drawer if it has high-quality steel ball-bearing glides. If the drawer operates on simple wooden runners, place heavy items near the front to reduce leverage-induced strain on the drawer slide mechanism.
- Volumetric Grouping: Group items not just by function, but by their three-dimensional volume. Cylindrical items like pens, markers, and highlighters require shallow, elongated compartments. Small, spherical or irregular items like rubber bands or binder clips require deep, square wells to prevent them from spilling over into adjacent zones.
- The 80/20 Rule of Accessibility: Ensure that 80% of your daily operations can be completed using only the contents of the top 20% of your organizer's volume. Keep this premium space clear of bulk storage items like unopened boxes of paperclips.
Maintaining System Integrity
An organizer's efficiency decays over time if it is not calibrated to your changing workflow. Establish a visual boundary system where every compartment has a single designated category of object. When an item is removed, its empty compartment acts as a visual vacuum, prompting you to return the object to its precise coordinates. To test your setup, perform a rapid open-and-close cycle. If any object shifts by more than two centimeters, the compartment size is too large or the friction liner is insufficient, requiring immediate adjustment of the partition layout.