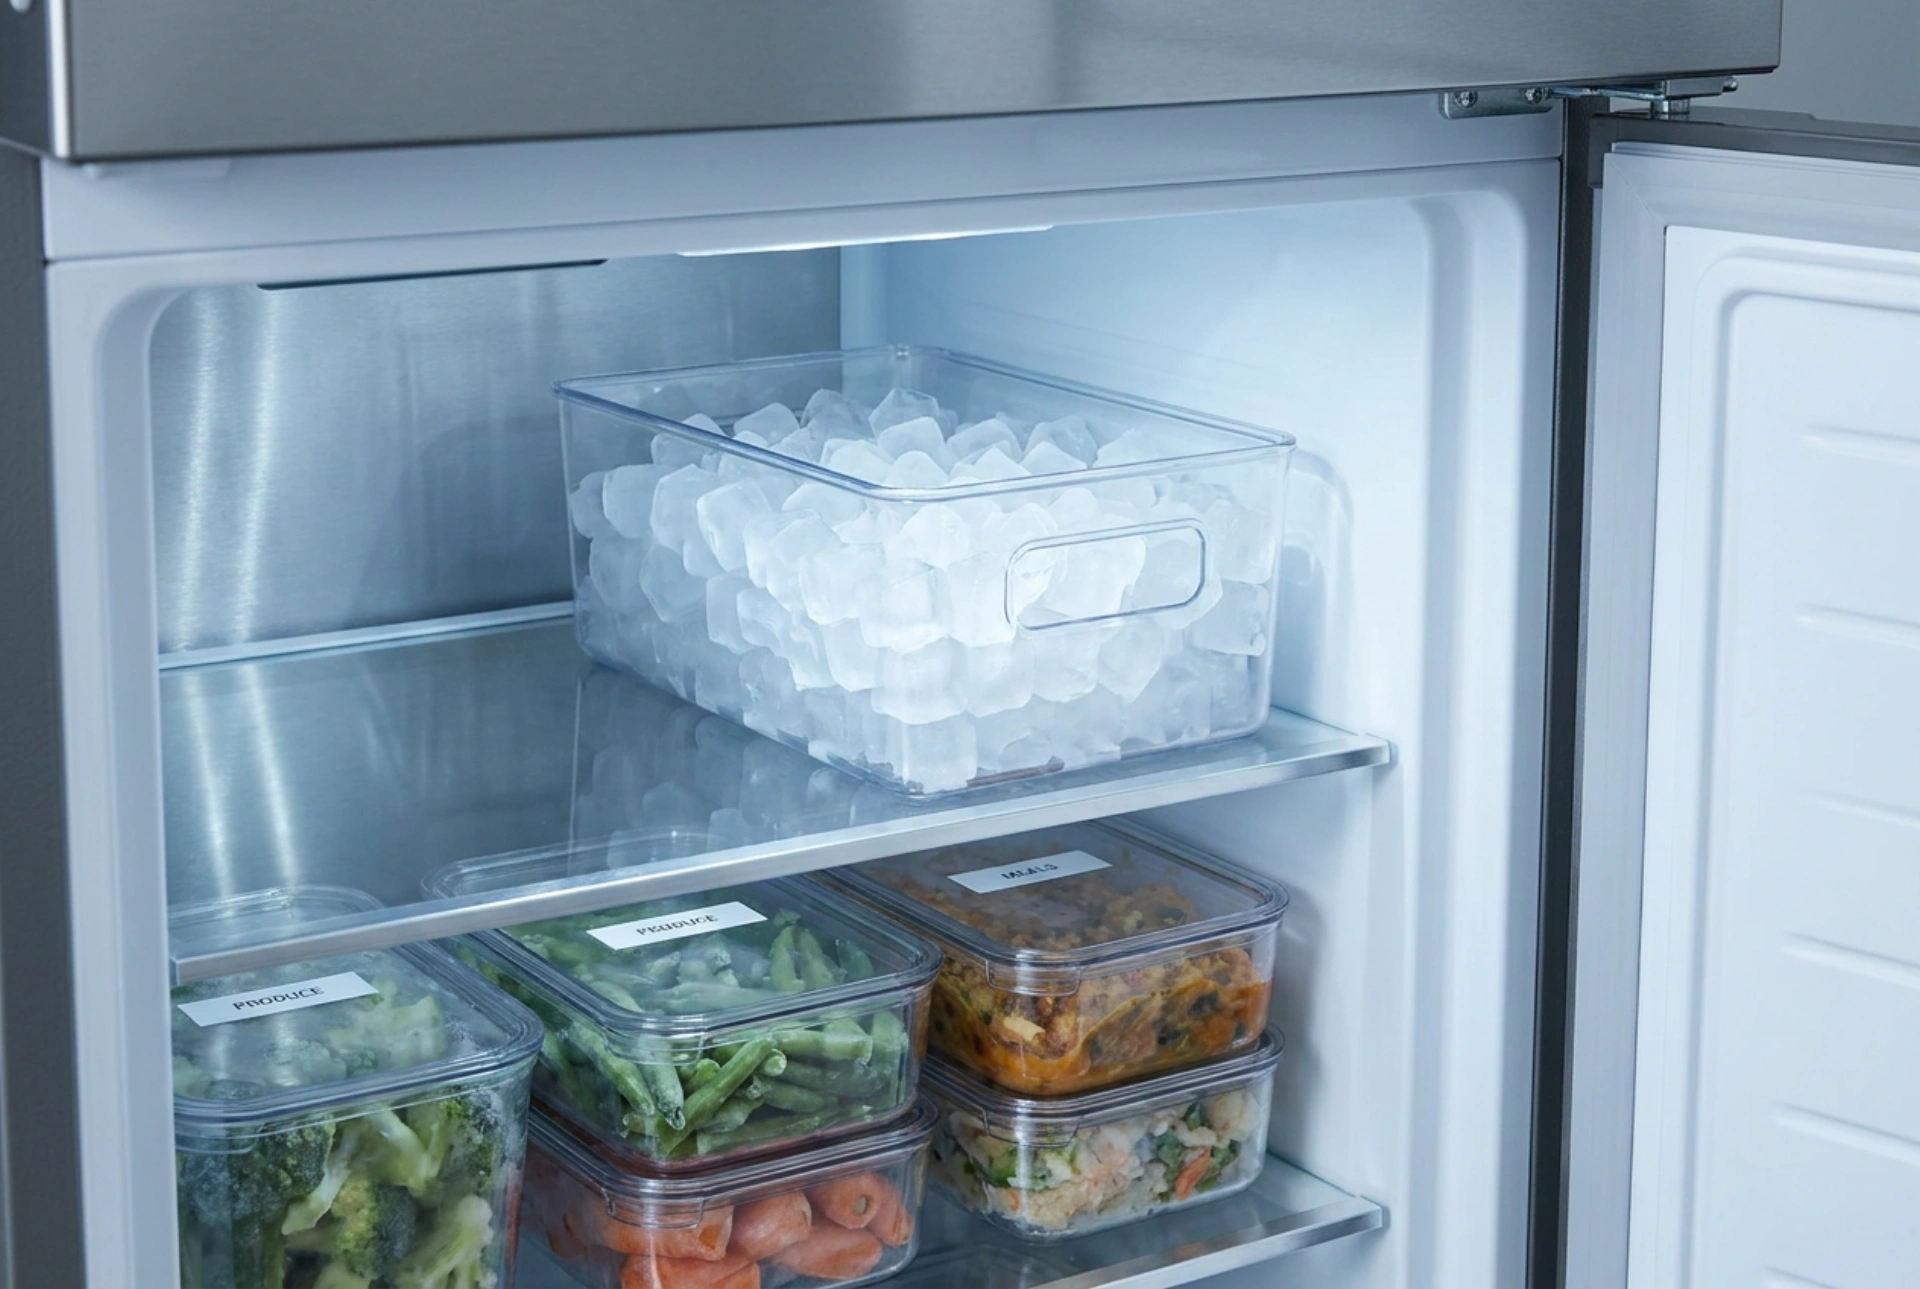


Maintaining a refrigerator ice maker and ice bin is essential for preventing the growth of cold-resistant bacteria, mold, and yeast. Because ice is consumed directly, the components storing and dispensing it require targeted chemical descaling and sanitisation to prevent biofilm build-up and mechanical malfunctions.
The Science of Ice Maker Contamination
Ice makers operate in cold, damp environments that are surprisingly hospitable to certain micro-organisms. While low temperatures slow down bacterial growth, they do not sterilise surfaces. Over time, airborne yeast, such as Rhodotorula rubra (often seen as a pinkish residue), and various mold spores can colonise the ice bin and dispensing chute. Additionally, tap water contains dissolved minerals like calcium and magnesium carbonates. As water freezes, these minerals precipitate out, forming a chalky scale that acts as a porous substrate, trapping organic matter and providing a breeding ground for biofilm.
Furthermore, ice is highly porous and acts as a surfactant-like absorber for airborne volatile organic compounds (VOCs) and food odours circulating within the freezer cavity. Regular cleaning breaks down these mineral structures and eliminates microbial colonies before they affect the taste and safety of your ice.
Preparation and Safety Protocols
Before initiating any cleaning process, it is vital to isolate the ice maker to prevent mechanical damage or accidental water flow. Locate the appliance's control panel and turn off the ice maker function, or lift the metal feeler arm to the 'up' position to deactivate the cycling mechanism. If your model permits, unplug the refrigerator entirely to ensure absolute electrical safety, especially when wiping down areas adjacent to electrical contacts.
Remove the ice bin completely. Empty any remaining ice into a sink. Do not attempt to salvage old ice, as it may already contain accumulated impurities and trace minerals that will interfere with the sanitation process.
Descaling and Sanitising the Ice Bin
The ice bin is typically constructed from high-density polyethylene (HDPE) or polystyrene, which can degrade if exposed to harsh, caustic chemicals or abrasive scrubbers. Avoid chlorinated bleaches, which can embrittle plastic over time and leave persistent chemical odours.
- Descaling: Prepare a mild descaling solution using equal parts warm water and distilled white vinegar (acetic acid), or dissolve two tablespoons of citric acid powder in one litre of warm water. The acidic pH breaks down calcium carbonate deposits, dissolving the hard water scale. Wipe the interior and exterior of the bin using a soft microfibre cloth saturated with this solution. For stubborn deposits, let the solution sit on the surface for ten minutes before wiping.
- Sanitising: After descaling, wash the bin with a solution of warm water and sodium bicarbonate (baking soda) in a ratio of two tablespoons per litre. Sodium bicarbonate acts as a mild amphoteric buffer, neutralising both acidic and basic odour molecules while gently cleaning without scratching the plastic.
- Rinsing: Rinse the bin thoroughly with clean, cold water to remove all traces of vinegar or sodium bicarbonate.
Cleaning the Dispenser Chute and Evaporator Plate
The mechanism that moulds and releases the ice cubes—the evaporator plate or mould assembly—must also be cleaned. Dip a clean microfibre cloth or cotton buds into the citric acid or vinegar solution to wipe down the individual ice moulds, the ejector blades, and the surrounding housing. Pay close attention to the dispensing chute, where warm air from the room meets cold air from the freezer, creating condensation that promotes mold growth. Wipe the entire path of the chute, ensuring no physical debris blocks the mechanical flap that seals the freezer from ambient air.
The Critical Role of Complete Dryness
Before reassembling the components, every surface must be completely dry. Reintroducing wet components into a sub-zero environment leads to immediate frost formation. This frost acts as an unwanted thermal insulator, reducing the ice maker's thermal efficiency. More importantly, residual moisture on mechanical moving parts can freeze them in place, causing gears to strip or motors to burn out when the cycling mechanism initiates. Allow all parts to air dry completely, or dry them thoroughly with a clean, lint-free microfibre towel.
Reactivating and Flushing the System
Once all parts are dry and reinstalled, plug the refrigerator back in and reactivate the ice maker. The first few cycles of ice may contain trace residues of the cleaning agents or loosened minerals from the water lines. Run the system for at least three full cycles, discarding all ice produced during this initial period. This flushing process ensures that any residual acetic or citric acid is entirely cleared from the freezing tray, leaving you with pure, odour-free, and structurally stable ice cubes.