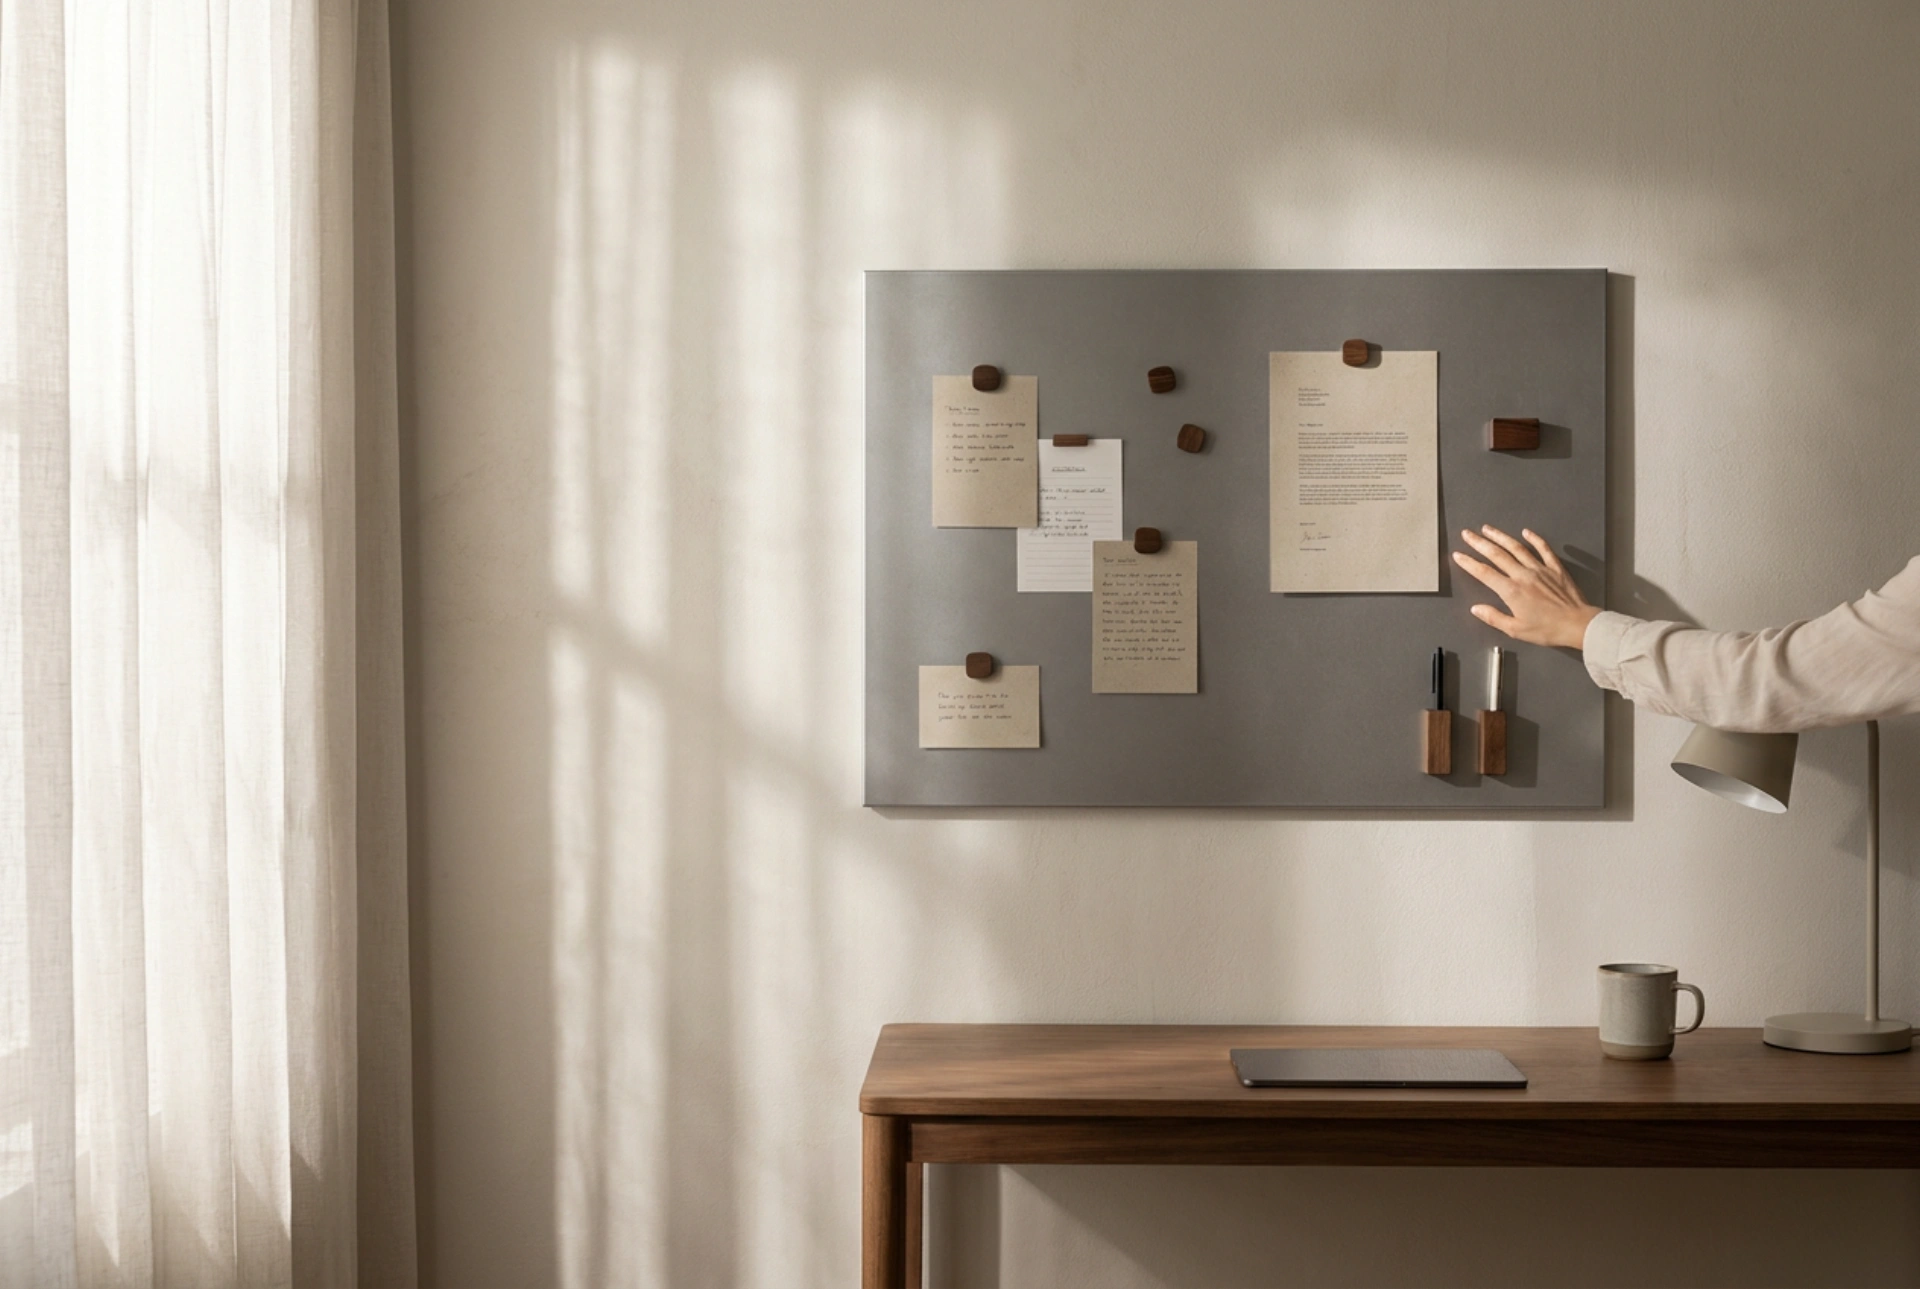


Magnetic boards serve as powerful cognitive anchors, transforming abstract daily routines and learning tasks into tangible, visual structures for children. By utilizing spatial organization and tactile interaction, these surfaces reduce cognitive load and help young minds categorize information naturally.
The Physics and Material Science of Magnetic Surfaces
To maximize the utility of a magnetic board, it is essential to understand the underlying materials science. Standard magnetic boards are not magnetic themselves; rather, they are ferromagnetic. Typically constructed from a sheet of steel coated with a dry-erase surface (such as lacquer, polymer, or vitreous enamel), they attract permanent magnets. The strength of the hold depends directly on the thickness of the steel core and the distance created by the protective top coating.
When selecting magnetic accessories, neodymium magnets (rare-earth magnets) offer high magnetic flux density but require careful handling due to their brittle nature and strong attraction force, which can pinch small fingers or scratch the board's surface. Ferrite (ceramic) magnets are safer and more practical for children's environments. They provide a softer magnetic pull, sufficient for holding paper and lightweight cards without damaging the dry-erase polymer coating. Understanding this balance prevents surface degradation and ensures safety during active use.
Cognitive Offloading and Visual Sequencing
The human brain processes visual and spatial information far more efficiently than abstract, spoken instructions. This concept, known as cognitive offloading, is particularly beneficial for children developing executive functioning skills. By placing tasks, timetables, or educational concepts onto a physical vertical plane, children externalize their working memory.
Organizing a study area with a magnetic board allows for physical manipulation, which aids memory retention. Unlike static paper or digital screens, a magnetic setup allows children to physically slide tasks from a "To Do" column to a "Done" column. This tactile feedback triggers a physical sense of completion and reinforces sequential thinking. For language development, magnetic letters can be physically rearranged to explore phonics and syntax, utilizing kinetic learning to build neural pathways associated with reading and spelling.
Structuring the Board for Learning and Play
An effective magnetic station must be structured intentionally to avoid visual clutter, which can induce sensory overload. Dividing the board into distinct functional zones ensures clarity:
- The Temporal Zone: Positioned at the top or left, this area holds a weekly calendar or a linear daily schedule. Use color-coded magnetic strips to represent different activities, such as green for play and blue for study.
- The Active Workspace: The central, eye-level area should remain open for daily assignments, active brainstorming, or puzzle-solving. Keep this zone highly dynamic.
- The Storage Dock: Dedicate the bottom edge of the board for storing magnetic markers, erasers, and unused magnetic tokens. This keeps the active area clear and establishes an intuitive order of operations for clean-up.
Ergonomics play a vital role in usability. Mount the board so that the center point aligns with the child's standing chest height. This allows comfortable access to both the lower storage zones and the upper tracking areas without requiring excessive stretching or bending.
Surface Chemistry and Maintenance Protocols
Maintaining the integrity of the writing surface is critical for long-term usability. Dry-erase markers contain pigment, a solvent (usually alcohol), and a release agent (silicone polymer). When written on a non-porous board, the solvent evaporates, leaving behind a dry, cohesive film of pigment held in place by the release agent. If left on the surface for extended periods, the silicone polymer degrades, leading to "ghosting"—stubborn stains where the pigment has bonded to microscopic pores in the board's coating.
To clean and restore the surface safely without stripping the protective polymer layer, avoid using abrasive scrubbing pads or aggressive household solvents like acetone, which can dissolve the enamel or lacquer finish. Instead, use a soft microfiber cloth dampened with isopropyl alcohol (70% concentration). The alcohol dissolves the bound pigments without damaging the underlying dry-erase coating, restoring the smooth, non-porous finish required for effortless writing and erasing.