

Accurate measurement of your kitchen cabinet niche is the single most critical step in ensuring the seamless, flush integration of a built-in dishwasher. A discrepancy of just a few millimeters can lead to structural misalignment, restricted door swing, or compressed utility hoses that compromise the appliance's performance.
The Core Geometry: Standard Appliance vs. Niche Dimensions
Integrated dishwashers are engineered around standardized kitchen module sizes, typically classified into two width categories: 45 centimeters and 60 centimeters. However, the nominal size of the appliance is always slightly smaller than the niche it is designed to occupy. This physical offset, usually between 5 to 10 millimeters, allows for smooth insertion and thermal expansion during high-temperature wash cycles.
When reviewing technical schematics, distinguish clearly between actual appliance dimensions and the required installation niche dimensions. The appliance depth, for instance, must always account for the front decorative panel, which is mounted separately and must sit flush with the adjacent cabinetry drawers and doors.
The Three-Axis Measurement Technique
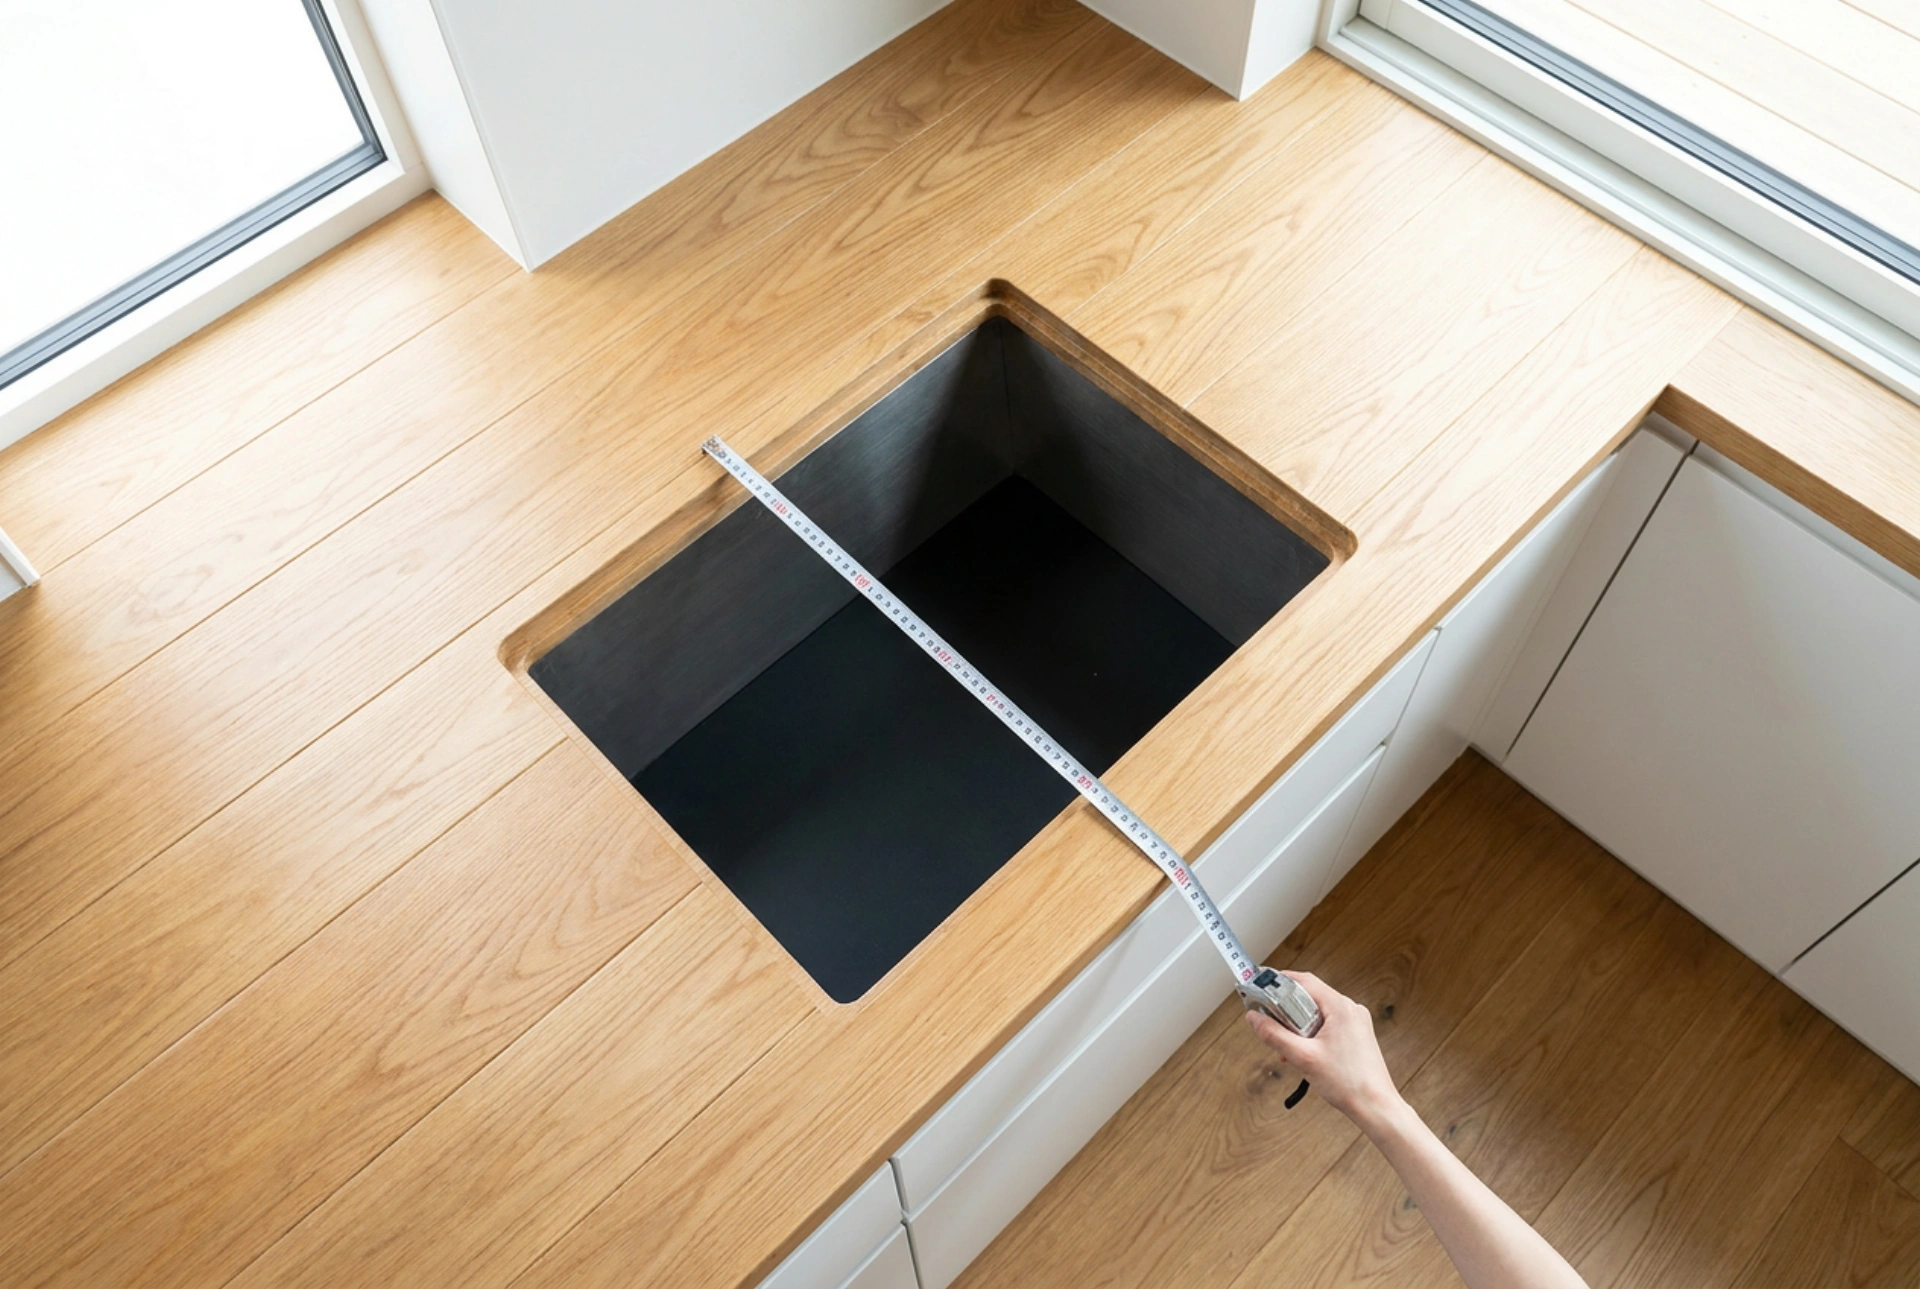
Cabinetry is rarely perfectly square, especially in older homes where floor settling or wall warping has occurred. To obtain reliable measurements, you must measure the installation cavity across three distinct points along each axis.
- Width Calibration: Measure the horizontal gap at the top, middle, and bottom of the opening. Use a high-quality metal tape measure held perfectly parallel to the floor. If the measurements vary, use the narrowest width as your reference limit.
- Height Verification: Measure the vertical distance from the finished kitchen floor to the underside of the countertop. Take measurements at the front-left, front-right, and rear-center of the cavity. Always measure from the actual floor surface where the dishwasher feet will rest, not from a decorative trim or subfloor.
- Depth Assessment: Measure the distance from the front face of the cabinet frame to the back wall. Do this along both the left and right interior cabinet walls. Ensure there are no protruding pipes, electrical outlets, or structural brackets that reduce this depth.
Managing Mechanical Clearances and Hose Dynamics
A common installation failure is pushing the appliance too deep, which kinks or compresses the water inlet and drain hoses. These hoses are typically constructed from high-density polyethylene or reinforced rubber, both of which require a specific minimum bend radius to prevent flow restriction and premature material fatigue.
To guarantee safe operation, ensure there is a clearance zone of at least 30 to 50 millimeters behind the appliance. Never place the electrical outlet or plumbing valves directly behind the dishwasher. Instead, these utilities should be located in an adjacent sink cabinet, accessible through a side-wall routing hole. This arrangement prevents the appliance from protruding beyond the countertop line and allows for immediate utility shut-off in an emergency.
Plinth Alignment and Hinge Physics
The bottom of the built-in dishwasher requires careful integration with the continuous kitchen plinth. When the dishwasher door opens, its lower edge sweeps downward and backward. If the plinth depth is insufficient or if the cabinet legs are adjusted too low, the bottom of the custom door panel will collide with the plinth.
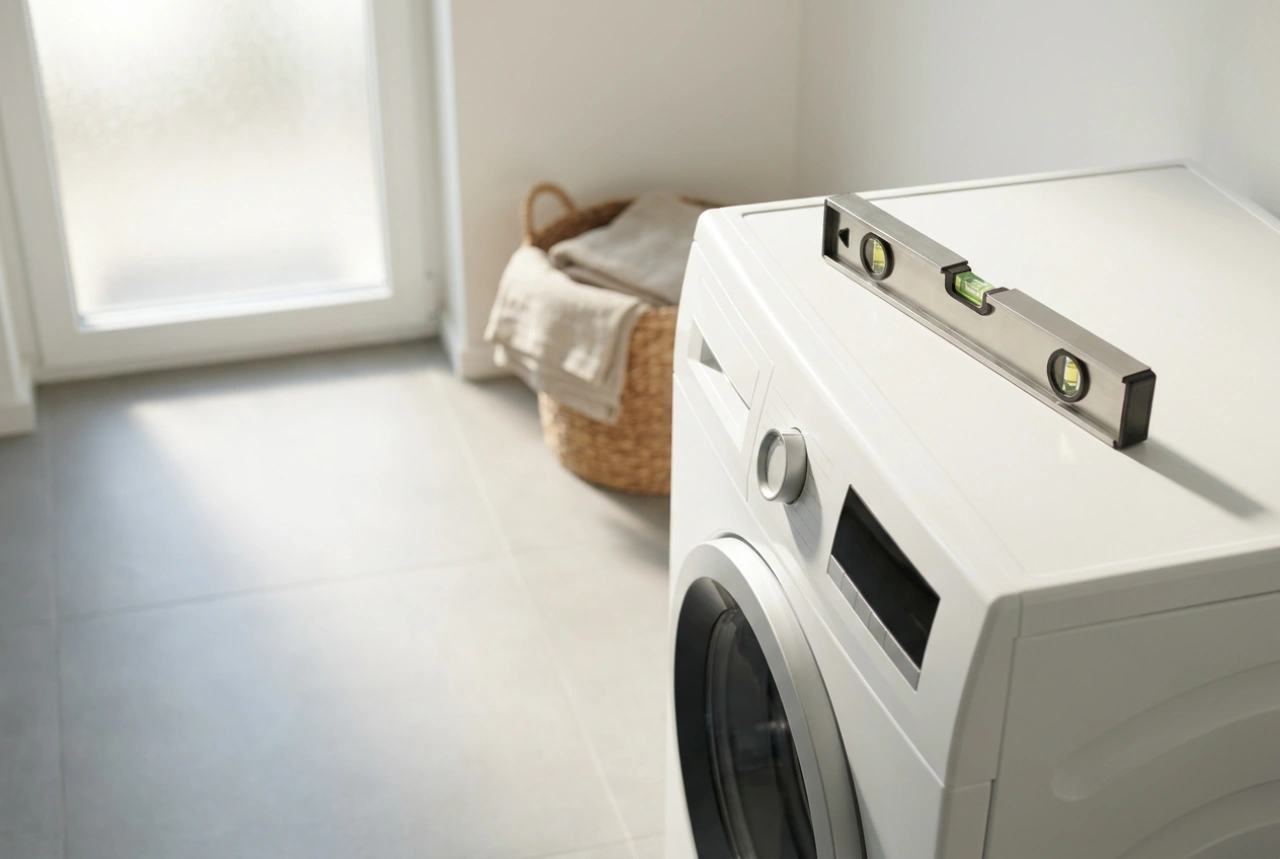
Most built-in models feature adjustable leveling legs. Adjusting these legs serves a dual purpose: it raises the top of the dishwasher seal tightly against the underside of the countertop to prevent steam damage, and it aligns the door panel perfectly with the adjacent cabinetry lines. Use a spirit level placed across the open door frame to verify both lateral and longitudinal leveling.