

Achieving a sharp, single crease on formal trousers requires understanding fabric behavior under heat and pressure. Improper alignment or sliding the iron across the fabric often leads to unsightly double lines that are difficult to erase.
The Science of Fabric Creasing
To create a crisp crease that lasts, you must manipulate the molecular structure of the textile fibers. Trousers are typically made of wool, cotton, or synthetic blends. When heat and moisture are applied, the hydrogen bonds holding the polymer chains in the fibers together are temporarily broken. As the fabric cools and dries in a folded position, these bonds reform, locking the new shape—the crease—into place.
Double creases occur when the fabric shifts between the time you break these bonds and the time they reform. If the fold is even slightly misaligned during a second pass of the iron, a new crease is set parallel to the first. Therefore, stability and precise alignment are crucial during the entire cooling phase.
The Essential Order of Operations
Ironing the trouser legs first is a common mistake. The movement required to iron the waistband and pockets afterward will inevitably wrinkle the newly pressed legs, causing you to re-iron them and increase the risk of double creases. Always follow this strict sequence:
- Pockets and Lining: Turn the trousers inside out. Flat-iron the pocket bags and lining fabric first. If left crumpled, these thick cotton layers will project bumps onto the exterior wool or cotton fabric during leg pressing.
- Waistband and Yoke: Slide the top of the trousers over the narrow end of the ironing board. Rotate and press the waistband, pleats, and fly area, lifting the iron rather than dragging it to avoid stretching the curved seams.
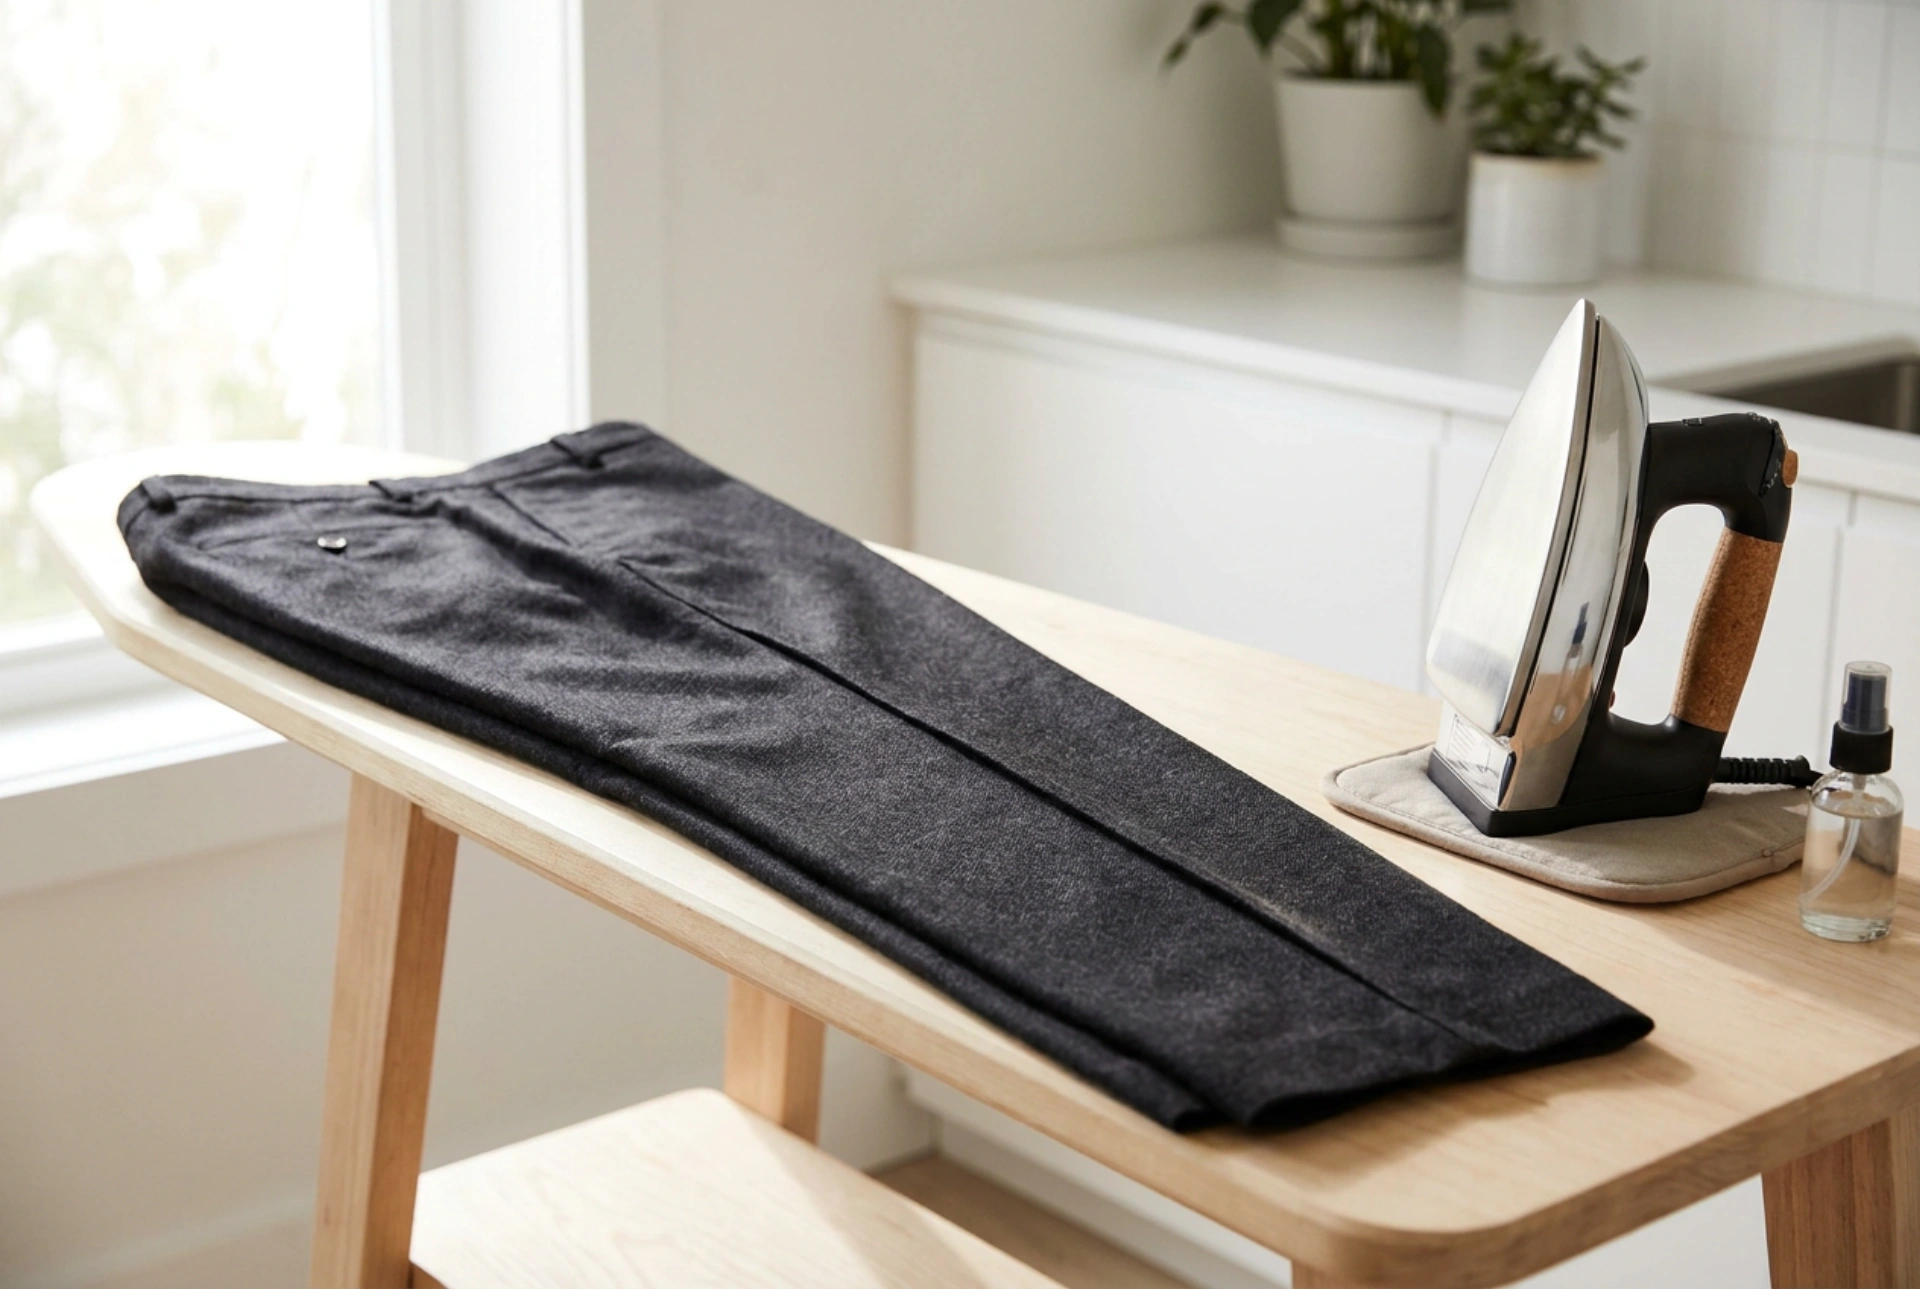
- The Legs: Lay the trousers flat on the board, aligning the seams to prepare for the final crease.
Mastering the Alignment
To ensure only one crease is formed, you must align the leg seams perfectly. Lay one trouser leg flat on the ironing board. Grasp the hem and locate the inner seam (inseam) and outer seam (outseam). Align these two seams directly on top of each other. When they are aligned, the natural folds at the front and back of the leg represent the exact location where the crease must lie.
Smooth out any internal fabric bubbling by sweeping your hand from the center of the leg outward toward the folds. Once the first leg is aligned, lay the second leg directly on top of it to check that the rise and waistline line up naturally. Press one leg at a time by folding the upper leg back over the waistband of the trousers.
The Press-and-Lift Technique
Traditional sliding motions with a hot iron push the upper layer of fabric forward while the lower layer remains stationary due to friction with the ironing board cover. This minor displacement is the primary cause of double creases. Instead, use a "press-and-lift" (stamping) method.
Place a clean, damp cotton pressing cloth over the fabric. This cloth serves a dual purpose: it generates a burst of penetrative steam and protects delicate wool fibers from scorching or developing a glossy shine. Lower the iron vertically onto the pressing cloth, apply firm downward pressure for 3 to 5 seconds, lift the iron completely, and move to the next section. Never slide the iron along the crease line.
Locking the Crease
After pressing, the fabric remains hot and damp, meaning the hydrogen bonds are still fluid. Moving the trousers immediately will cause the crease to warp or fade. Allow the pressed leg to sit undisturbed on the board for at least 30 seconds until the fabric cools and the moisture evaporates. Once cooled, hang the trousers immediately by the cuffs on a dedicated trouser hanger to preserve the sharp, single line.