

Soft furniture wax is a highly effective, non-invasive medium for restoring damaged wooden surfaces, filling micro-scratches and reviving dull, worn areas by mirroring the natural refractive index of wood fibres. Understanding how temperature, pressure, and grain direction affect the application of this wax ensures a seamless, durable finish that blends perfectly with the wooden substrate.
The Chemistry and Physics of Soft Wax Restoration
To successfully repair wooden surfaces, one must understand the relationship between light reflection and material structure. When a wooden surface is scratched or worn matte, its microscopic texture becomes jagged and uneven. This unevenness scatters incoming light in multiple directions—a phenomenon known as diffuse reflection—which makes the area appear dull, grey, or discoloured. Soft furniture wax, typically composed of a blend of natural beeswax, carnauba wax, and mild organic solvents, works by filling these microscopic voids. The refractive index of the wax closely matches that of cured wood finishes and natural cellulose, which allows light to penetrate the surface and reflect uniformly, restoring the wood’s original depth of colour and lustre.
Furthermore, soft wax acts as a thixotropic material. Under resting conditions, it behaves as a solid, but when shear stress or physical friction is applied, its viscosity temporarily drops. This property allows the wax to be easily worked into deep scratches and open wood pores. As the friction stops and the carrier solvent evaporates, the wax returns to a stable, solid state, locking itself into the wood structure and creating a cohesive, water-repellent barrier.
Surface Preparation: The Foundation of Adhesion
Before applying any wax, the target area must be meticulously prepared. Applying wax over existing dust, oils, or household silicone polishes will trap contaminants, preventing the wax from bonding with the wood fibres and causing a cloudy, tacky finish. To prepare the surface, follow these steps:
- Cleaning: Use a lint-free cloth lightly dampened with a highly diluted neutral pH surfactant solution. Avoid excessive water, as moisture can cause wood fibres to swell (grain raising), which ruins the smooth profile.
- Degreasing: For areas with heavy build-up of grease or old wax, use a mild mineral spirit. Apply it sparingly with a cotton pad, moving strictly in the direction of the wood grain, then immediately wipe dry.
- Drying: Allow the timber to dry completely for at least thirty minutes. Any residual moisture trapped beneath the hydrophobic wax layer will eventually lead to adhesion failure and micro-blistering.
Step-by-Step Application Technique for Scratches and Dull Areas
The application method differs slightly depending on whether you are filling a physical void (a scratch) or restoring a worn, matte surface area.
Filling Scratches and Gauges
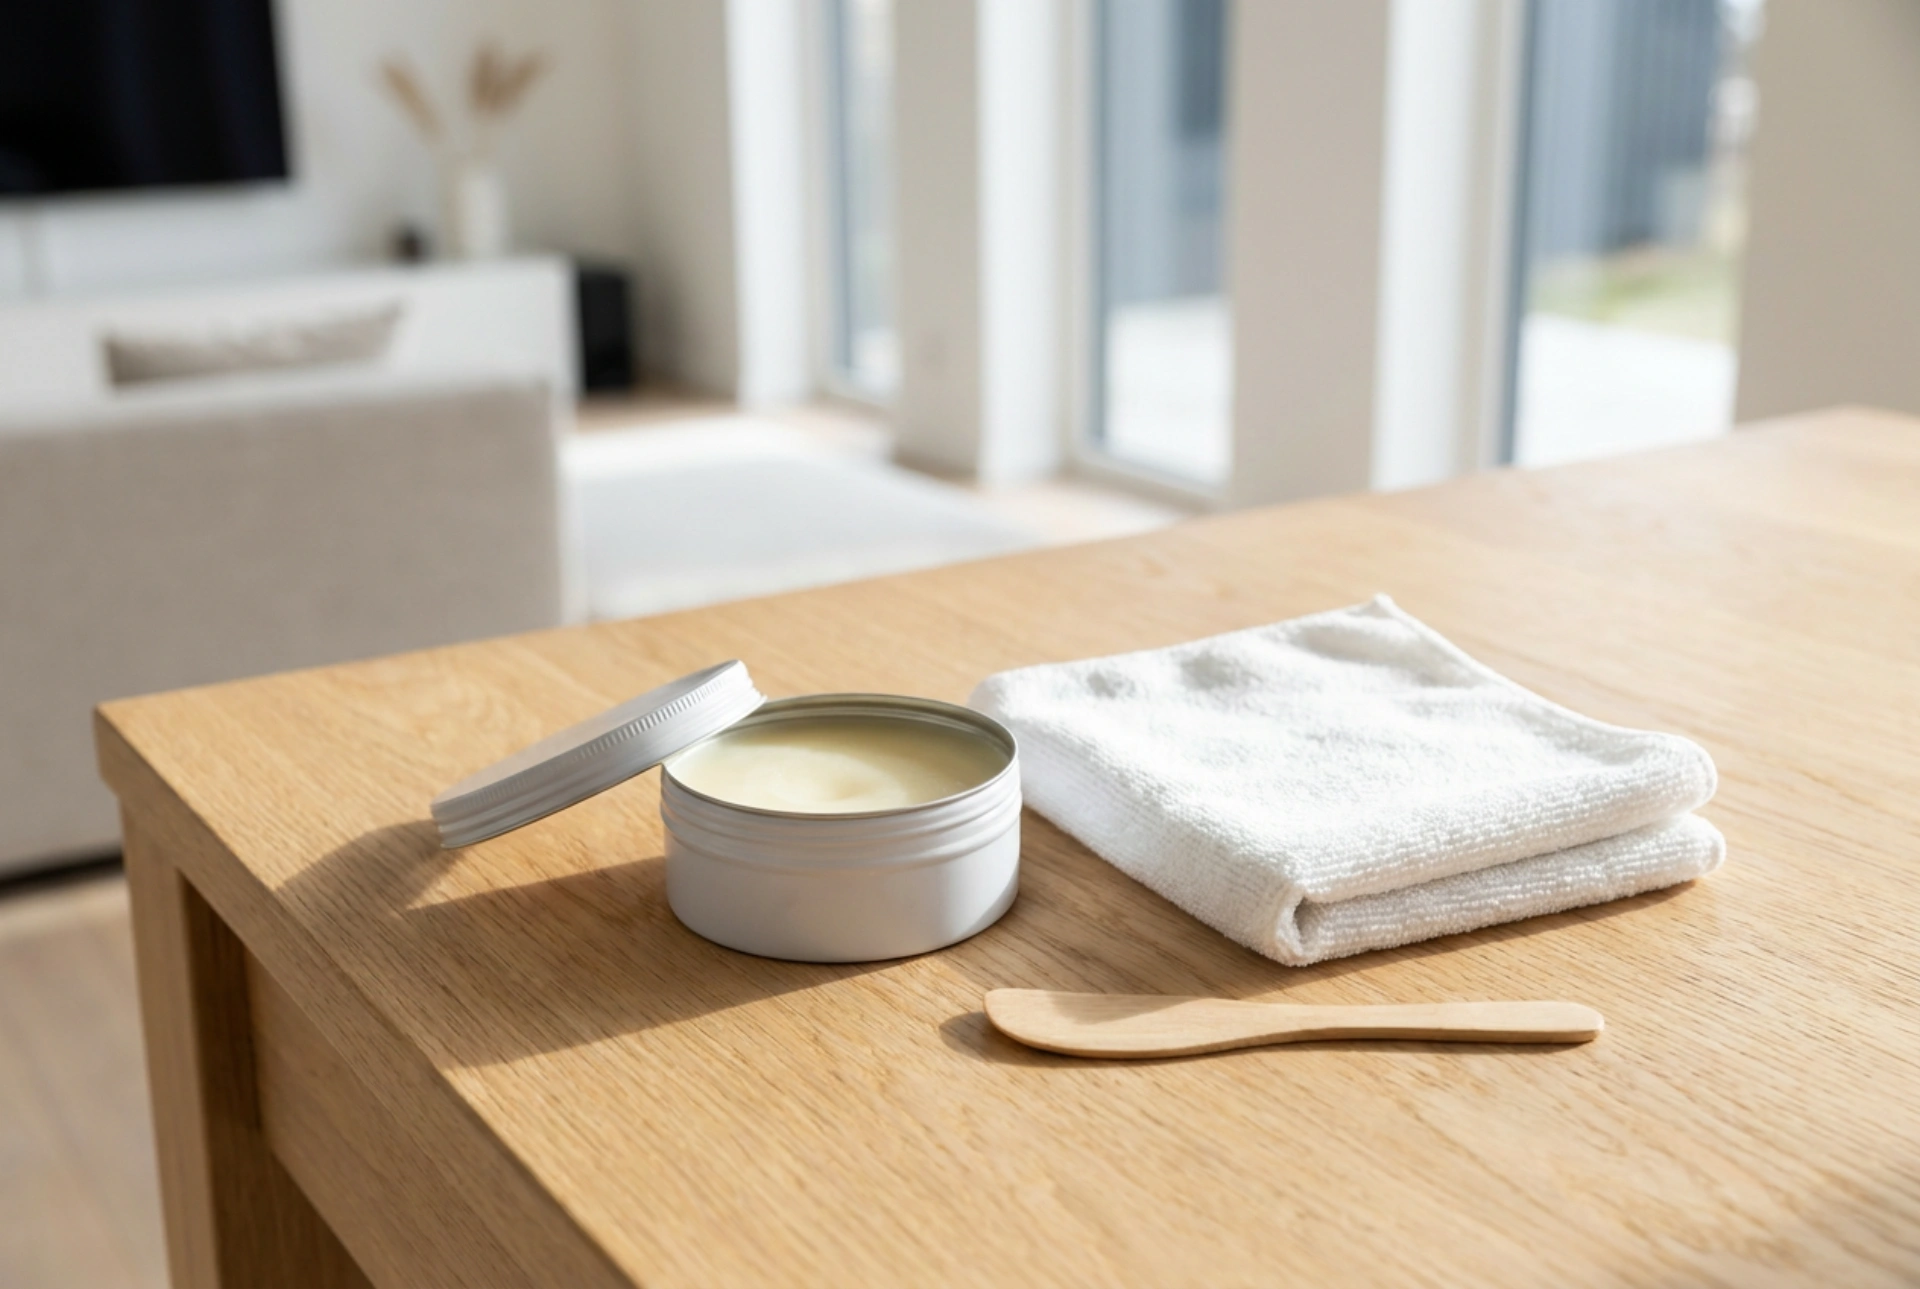
To repair physical grooves, you must pack the void completely to prevent future shrinkage. Use a small wooden or plastic spatula to shave off a tiny portion of soft wax. Never use metal tools, as they can easily gouge the surrounding soft timber. Press the wax firmly into the scratch using a motion perpendicular to the direction of the scratch to ensure the void is fully packed from the bottom up. Once the scratch is filled, slide the spatula flat along the surface in the direction of the wood grain to shear off any excess wax. This leaves the wax perfectly level with the surrounding finish.
Restoring Matte and Dull Spots
For large, dulled areas where the original finish has lost its sheen, use a folded, lint-free cotton or microfiber cloth. Rub a small amount of wax onto the cloth first to ensure even distribution. Apply the wax to the wood using firm, circular motions. The circular friction generates localized heat, which softens the wax and allows it to penetrate the micro-textures of the worn surface. Work in small sections, gradually blending the edges of the treated spot into the surrounding healthy finish to avoid visible lap marks.
The Curing and Buffing Process
Once applied, the wax must undergo a brief curing phase. During this time, the volatile organic solvents evaporate, leaving behind a hard crystalline wax matrix. Depending on the ambient room temperature and relative humidity, this process takes between fifteen and thirty minutes. The surface will transition from a sticky, wet appearance to a dull, dry haze. Do not attempt to buff the wax while it is still wet, as this will simply smear the material and strip it out of the scratches.
When the wax has hazed over, take a clean, dry microfiber cloth and begin buffing. Start with light, circular motions to level any minor high spots, and finish with long, sweeping strokes strictly parallel to the wood grain. The friction from buffing heats the outermost layer of the wax molecules, aligning them into a flat plane that reflects light evenly. For a higher level of gloss, allow the first layer to cure for several hours, then apply a second, microscopically thin layer using the same method.