

Cleaning wooden blinds requires a delicate balance between effective dust removal and protecting the sensitive protective varnish from scratches and moisture damage. Utilizing the correct brush technique and understanding the material properties of wood allows you to maintain a flawless finish without risking warping or unsightly streaks.
The Vulnerability of Wood and Protective Coatings
Wooden window blinds are typically treated with a thin layer of lacquer, varnish, or oil that seals the organic pores of the wood. While this coating protects against ambient humidity, it remains highly susceptible to micro-abrasions. Hard plastic bristles or coarse synthetic dusters can act as fine abrasives, carving microscopic grooves into the lacquer over time. These scratches dull the wood's natural sheen and create microscopic traps for airborne grease and dust, making future cleaning more difficult. Understanding the hardness scale of your cleaning tools relative to the wood coating is the first step in damage prevention.
Selecting the Correct Brush and Bristle Chemistry
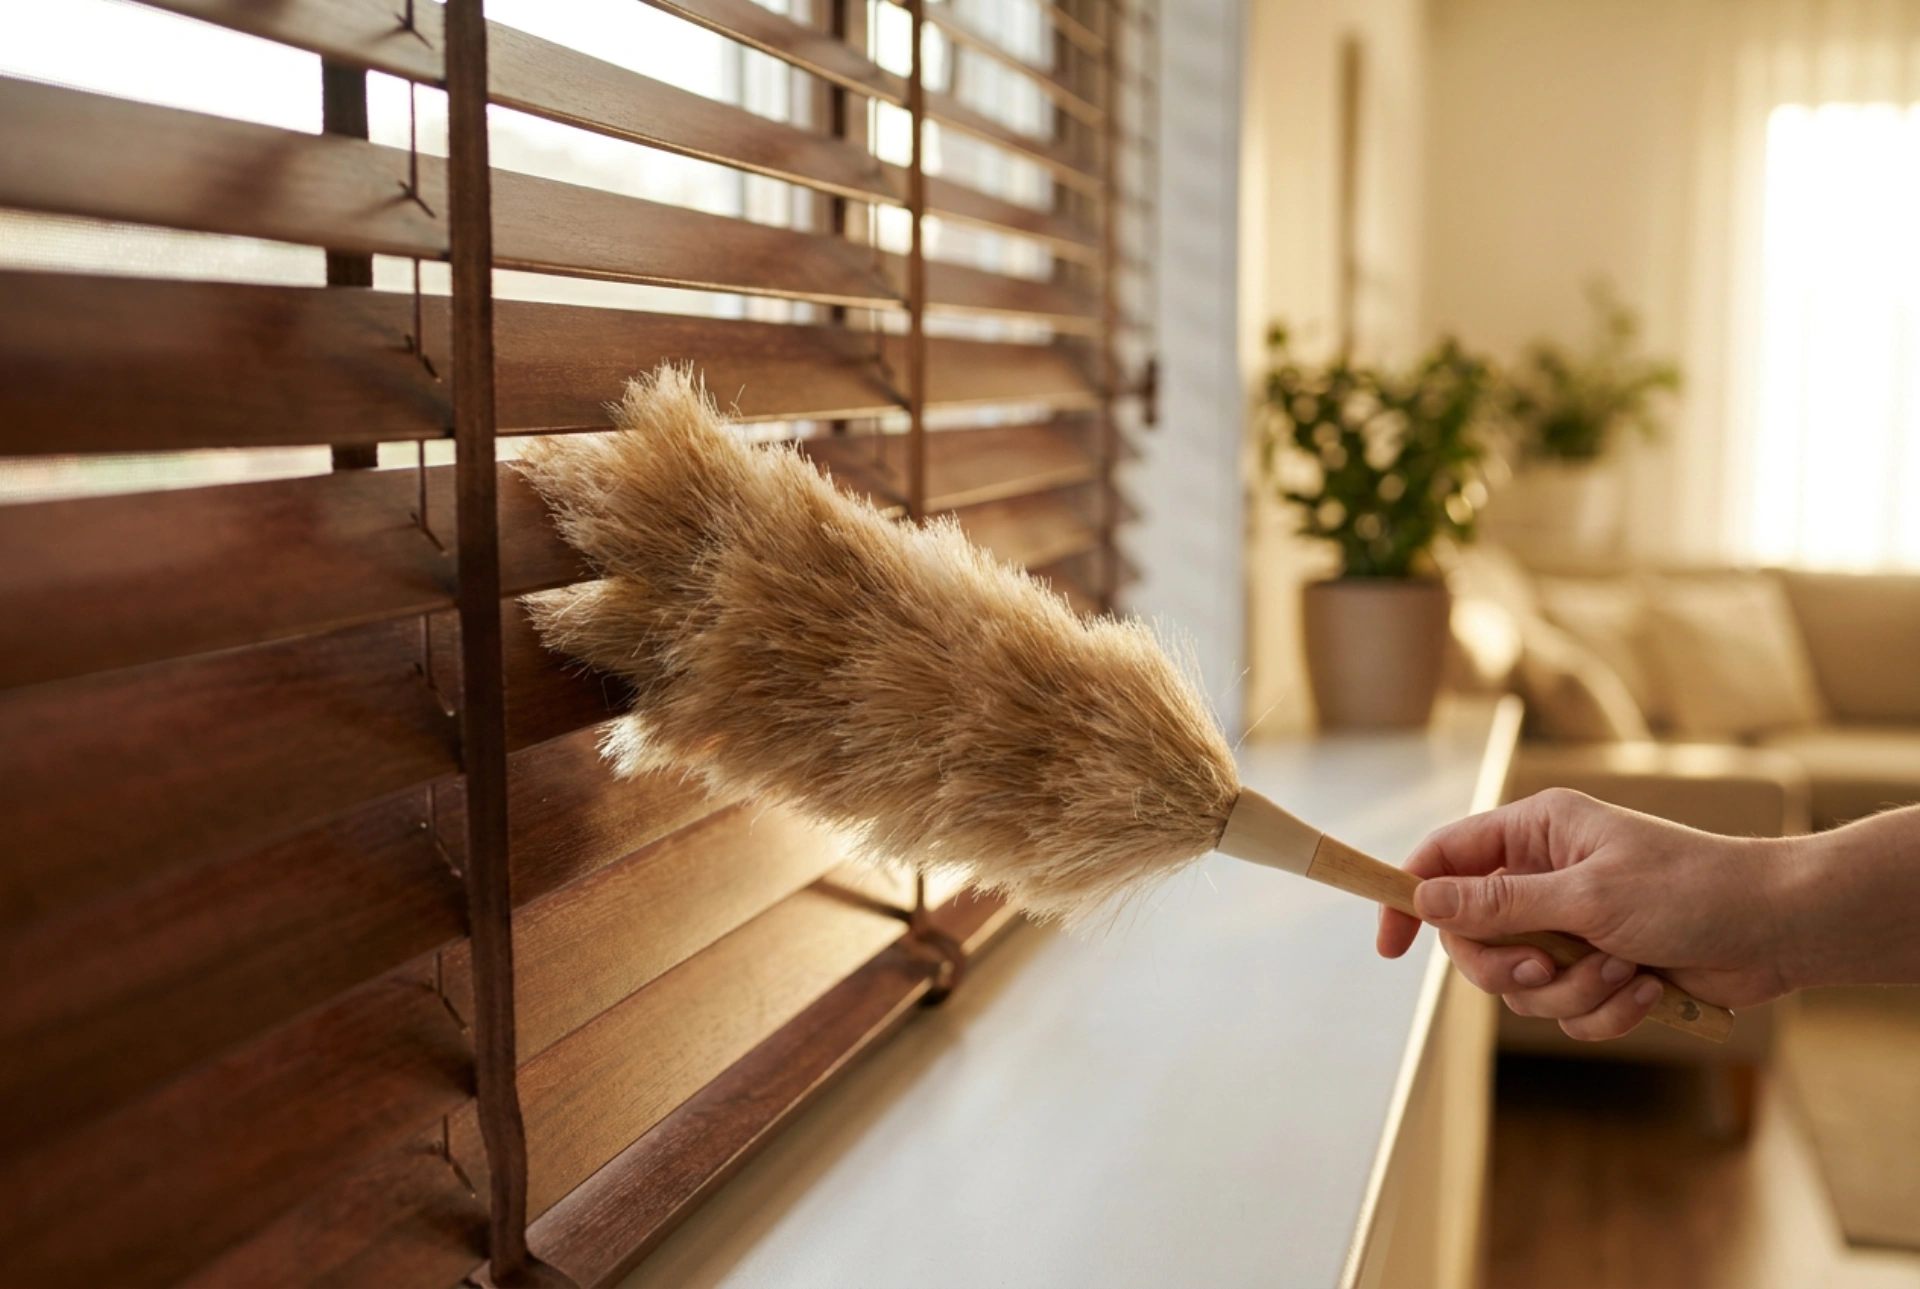
To avoid surface scratches, the physical properties of the cleaning brush must be carefully considered. Natural fibres, such as goat hair, horsehair, or ostrich feathers, possess naturally split ends and microscopic scales that gently trap dust particles through physical adhesion rather than scraping. If utilising synthetic alternatives, split-tip microfiber brushes are highly effective. The microstructures in these fibres generate a mild electrostatic charge when rubbed against the wooden slats, lifting negatively charged dust particles away from the surface without requiring heavy mechanical pressure. Avoid stiff nylon or polypropylene bristles, as their high tensile strength and rigid tips easily compromise delicate varnishes.
The Physics of Dry Dusting: Step-by-Step Technique
Dry dusting must always precede any wet cleaning phase to prevent the dust from turning into an abrasive mud that can smear and scratch the wood. Follow these steps for an optimal dry clean:
- Angle the Slats: Rotate the wooden slats to an almost closed, flat position. This provides a continuous, stable surface and prevents the slats from flexing too much under pressure.
- Top-to-Bottom Direction: Always work from the top slat downward. Gravity pulls released dust particles down; working upward would result in redepositing dust on already cleaned areas.
- Linear Overlapping Strokes: Glide the soft brush horizontally along the grain of the wood. Moving with the grain minimises the visibility of any minor contact and works with the natural texture of the timber. Use gentle, sweeping motions from the centre of the slat out to the edges.
- Rotate and Repeat: Tilt the slats in the opposite direction to expose the reverse side, and repeat the process using the same methodical, horizontal sweeps.
Addressing Stubborn Grime Without Moisture Damage
When airborne grease from kitchens or heating systems binds dust to the wooden surface, dry brushing alone is insufficient. However, excess water is the primary enemy of wood. Wood is hygroscopic, meaning it readily absorbs moisture from its environment. Excess water can penetrate through tiny cracks in the protective coating, causing the wood fibres to swell, warp, or split. To clean safely, use a slightly damp cloth or a damp brush head with a highly diluted, pH-neutral soapy solution. The surfactant lowers the surface tension of the water, allowing it to lift grease without soaking the wood. Immediately follow with a dry, lint-free microfiber cloth to absorb any remaining liquid before it can evaporate and leave mineral spots or streaks.
Preventing Streaks through Controlled Evaporation
Streaks occur when dirty water evaporates, leaving behind dissolved minerals and suspended soil on the surface. To ensure a streak-free finish, the rate of mechanical drying must exceed the rate of natural evaporation. Never allow damp wood to air-dry slowly in direct sunlight, as rapid heat accelerates uneven evaporation, concentrating mineral residues. Instead, work in small sections and immediately buff the wood dry using circular motions with a high-density microfiber cloth. This physical action removes the boundary layer of moisture completely, leaving a uniform, polished surface.