

Using a toilet brush effectively is less about brute force and more about applying correct mechanics and chemical principles. Mastering the physical angles of brushing and understanding how cleaning agents interact with ceramic surfaces ensures a hygienic finish without damaging the protective glaze.
The Chemistry of Ceramic Soiling
To clean a toilet bowl efficiently, one must first understand what needs to be removed. The primary culprit behind stubborn toilet stains is limescale, which consists of calcium carbonate deposits. These mineral deposits create a rough, porous surface on the smooth ceramic glaze, acting like a microscopic scaffold that traps organic matter and bacteria. Regular water flow is completely insufficient to dislodge this bonded structure.
To break this bond, chemical dissolution must precede mechanical action. Applying an acidic cleaner—such as one formulated with citric acid or sulfamic acid—lowers the pH, converting insoluble calcium carbonate into soluble salts. Applying the cleaner and immediately scrubbing is a common mistake; the chemical reaction requires time. Giving the acid five to ten minutes to break down the crystalline lattice of the scale significantly reduces the mechanical force required during the brushing phase.
The Water Displacement Technique
Before initiating any scrubbing, the water level within the bowl should be temporarily lowered. Scrubbing directly into a full bowl dilutes the active surfactants and acids in your cleaning solution, rendering them far less effective. This can be solved using a simple physical displacement technique.
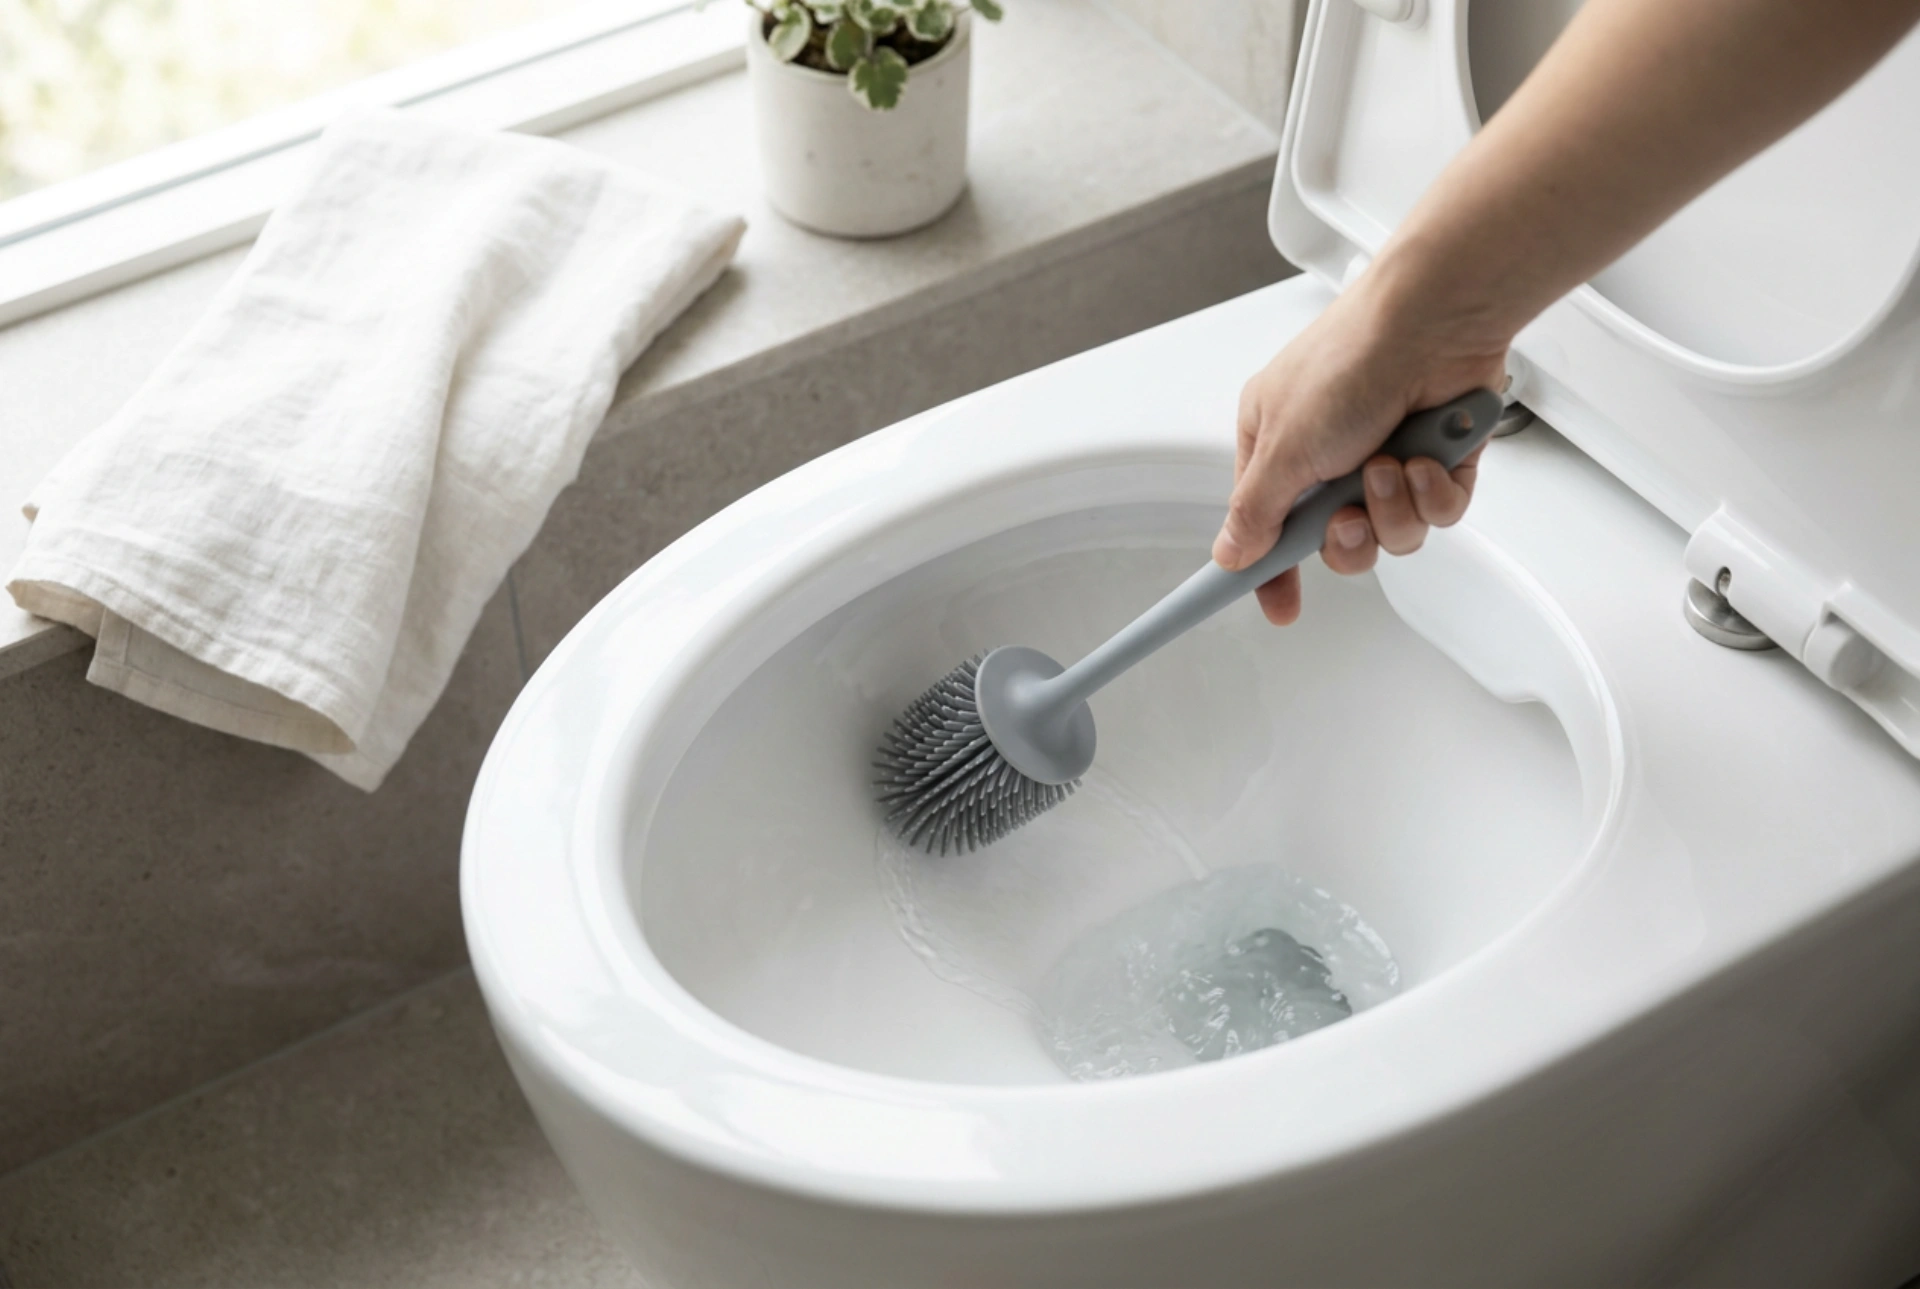
Take the toilet brush and push it rapidly up and down into the trapway (the bottom hole of the bowl) several times. This pumping action forces water over the trap, lowering the water level in the bowl by several inches. With the water line recessed, you can apply your acidic cleaner directly to the exposed ceramic surfaces, ensuring the active ingredients work at maximum concentration on the area most prone to mineral rings.
Scrubbing Mechanics and Bristle Dynamics
When the chemical agent has completed its dwell time, mechanical action can begin. The choice of brush material dictates the technique. Traditional plastic bristles rely on high friction and multiple contact points, whereas modern silicone brushes use flexible, non-porous pads that conform to the shape of the ceramic. Regardless of the tool, abrasive materials like steel wool or stiff wire brushes must be avoided, as they scratch the vitreous enamel glaze, creating permanent crevices where future deposits will lock in.
- Under the Rim: Start at the top. The rim contains the flush holes where water enters. This dark, damp environment is a breeding ground for bacteria. Angle the brush upward, wedging the bristles deep into the channel. Work in a continuous horizontal sweep around the entire circumference.
- The Sides and Bowl: Move downward using firm, circular motions. Circular paths ensure that the bristles attack the microscopic ridges of limescale from multiple angles, breaking the structural integrity of the deposits more effectively than simple vertical strokes.
- The Trapway: Finish at the bottom. Insert the brush into the throat of the pipe, rotating it fully to clean the curved ceramic pathway.
Drying and Storage: The Critical Final Step
Storing a wet toilet brush in a closed holder creates a high-humidity microclimate that promotes anaerobic bacterial growth and unpleasant odours. Proper hygiene requires a drying phase before the brush is returned to its stand.
Once scrubbing is complete, flush the toilet while holding the brush head directly in the stream of clean water to rinse away any loosened debris and chemical residue. Next, suspend the brush over the bowl by trapping the handle securely beneath the lowered toilet seat. Let the brush drip-dry into the bowl for at least ten minutes. This simple gravity-assisted drying process prevents dirty water from accumulating in the canister, maintaining a sanitary bathroom environment.