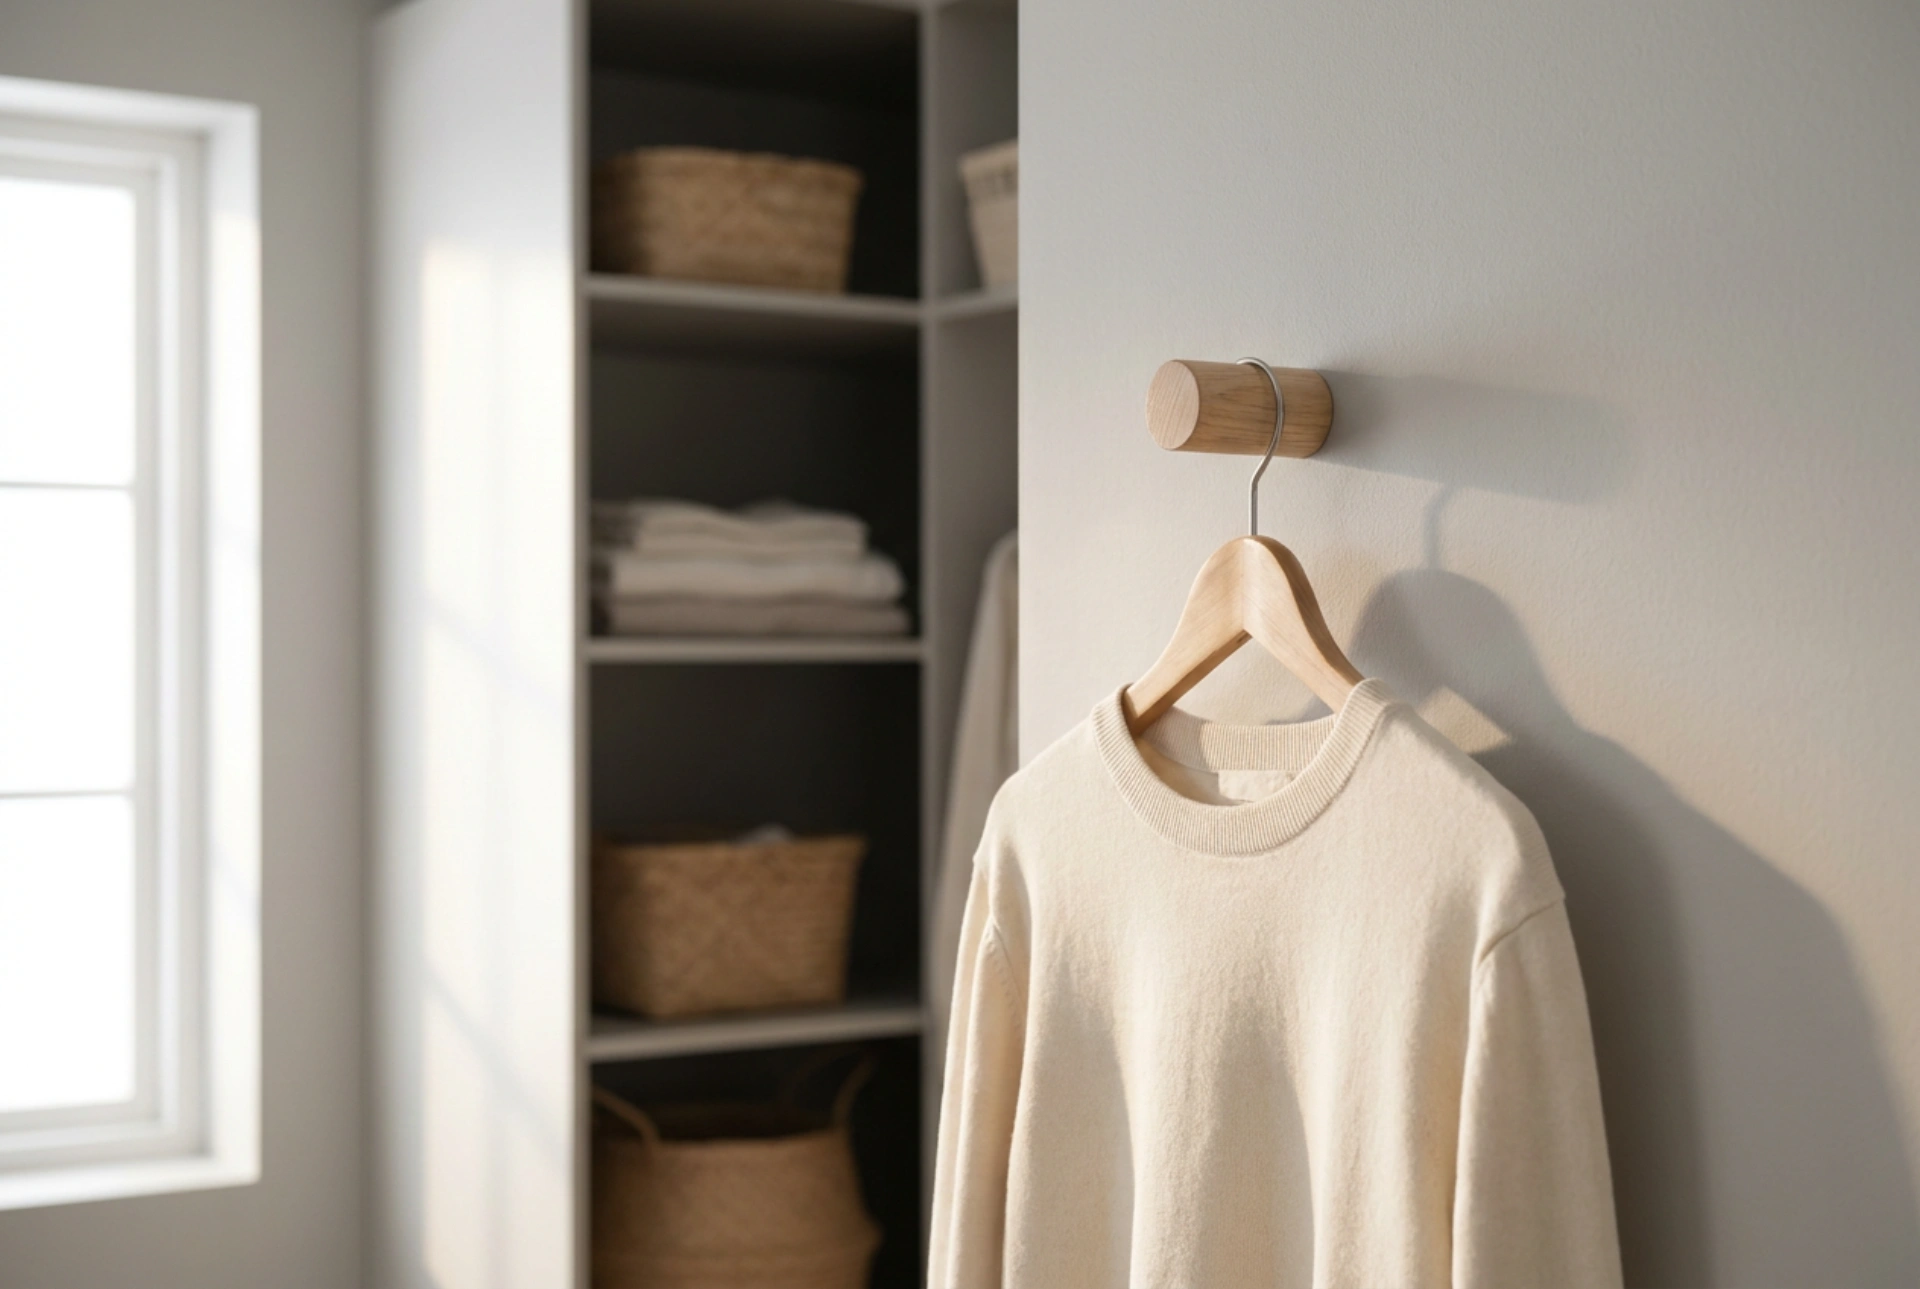


Maximising the efficiency of a wardrobe requires utilising vertical surfaces that often remain vacant. Mounting a wall-mounted hanger or hook system not only frees up valuable floor and rail space but also establishes a highly functional layout for daily accessories and outerwear.
Understanding Load Dynamics and Wall Materials
Before initiating any drilling, you must evaluate the substrate of your wardrobe wall. Wall hangers are subjected to dynamic loads—not just the static weight of the garments, but also the momentary downward pull when removing an item. This action exerts a lever force on the mounting screws, pulling them outward at the top and pushing into the wall at the bottom.
Drywall (plasterboard) requires specialised anchors because the gypsum core lacks the density to hold a standard wood screw under tension. For light-to-medium loads, self-drilling threaded nylon anchors are suitable. For heavier garments, toggle bolts or molly bolts are mandatory; they expand behind the drywall sheet, distributing the pulling force across a wider surface area. Concrete, brick, or solid timber walls offer much higher structural integrity. Timber requires pre-drilled pilot holes to prevent splitting, while masonry demands expansion plugs made of high-density polyethylene, which expand radially when the screw is driven in.
Calculating the Staggered Layout for Spatial Efficiency
Linear placement of hangers often leads to wasted space and overlapping garments. To optimise your wardrobe, implement a staggered or vertical column layout. This configuration prevents bulky items, such as coats or bags, from overlapping and creating a protruding mass that obstructs the wardrobe door.
- Vertical clearance: Maintain a minimum of 35 to 40 centimetres of vertical distance between hooks if they are aligned in a single column. This allows coats and scarves to hang without bunched fabric.
- Horizontal offset: If installing multiple individual hooks, space them diagonally. An offset of 15 centimetres horizontally and 25 centimetres vertically allows garments to nestle alongside each other rather than pile up.
- Depth management: Keep the profile of the hook itself under 8 centimetres if mounted inside a shallow wardrobe, ensuring that hanging garments do not interfere with sliding or hinged doors.
Step-by-Step Installation and Precision Alignment
Successful installation relies on precision to avoid weakening the wall substrate with misplaced holes. Gather a spirit level, a measuring tape, a pencil, a drill with bits matching your anchor size, and a manual screwdriver.
1. Marking and Levelling
Hold the hanger bracket against the wall at your designated height. Place the spirit level on top of the bracket. Adjust until the bubble is perfectly centred. Mark the exact centre of each mounting hole with a sharp pencil. Remove the bracket and mark a small 'X' over the dots to ensure your drill bit does not wander during the initial rotation.
2. Pre-Drilling with Precision
Select a drill bit that matches the exact diameter of your wall plug's body (excluding the collar). For masonry, use a masonry bit with hammer action. For drywall, use a standard wood or metal bit on rotary-only mode to prevent tearing the paper facing. Drill slightly deeper than the length of the plug to accommodate any dust pushed to the back of the hole. Vacuum out the dust from the hole; remaining debris can prevent the anchor from seating fully or expanding correctly.
3. Inserting the Anchors and Securing the Hanger
Tap the wall plugs gently until they sit flush with the plaster or masonry surface. If using self-drilling plasterboard plugs, screw them directly into the drywall using a manual screwdriver until flush. Position the hanger back over the holes. Insert the screws manually to feel the threads catch. Tighten the screws using a manual screwdriver rather than an impact driver. Excess torque from power tools can easily strip the plastic threads of the wall plug or crack the hanger bracket, compromising the entire installation's load capacity.
Material Compatibility and Longevity
The interface between the metal screw, the plug, and the wall material determines the long-term durability of the hanger. Stainless steel or zinc-plated screws resist corrosion caused by damp garments. Additionally, choosing hooks with a wide mounting plate distributes the leverage forces over a larger area of the wall, significantly reducing the risk of the bracket loosening or sagging over years of daily use.





