

Achieving a seamless kitchen finish requires precise calculation of the spatial relationship between your integrated dishwasher, the surrounding cabinetry, and the floor. Accurate height measurements ensure the decorative front panel aligns perfectly with adjacent drawer lines and swings freely without colliding with the plinth.
The Mechanics of Appliance Height Adjustment
Built-in dishwashers are engineered with variable heights to accommodate diverse countertop standards. Most standard models feature a base height range of 815 mm to 875 mm, while extra-tall variants accommodate recesses up to 925 mm. This adjustment is achieved via heavy-duty threaded levelling feet. The front feet are adjusted directly via hex screws or nuts at the bottom corners, while the rear foot is typically controlled via a tensioning screw located at the bottom-centre of the front toe kick area.
When measuring, you must account for the maximum and minimum extension of these feet. Extending the legs to their limit can compromise the stability of the appliance, whereas compressing them completely might not leave enough clearance for the appliance to slide over floor transitions or tile edges. The goal is to set the appliance height so the top seal makes firm, uniform contact with the moisture-barrier plate installed on the underside of your worktop.
Key Reference Points for Measurement
Before picking up a tape measure, you must establish three critical reference datums. Failing to measure from the correct surface is the primary cause of alignment errors during final installation.
- Finished Floor Level (FFL): Always measure from the final floor surface (tiles, wood, or vinyl), not the subfloor. If the flooring is not yet installed beneath the cabinetry, you must calculate its exact thickness and add it to your clearance calculations.
- Underside of the Worktop: This defines the absolute ceiling of your installation recess. Measure at both the left and right front edges, as well as the rear of the recess. Discrepancies here indicate a non-level worktop, which must be corrected or compensated for using the appliance's adjustable feet.
- Adjacent Cabinet Fronts: The height of the decorative dishwasher front panel must match the height of the adjacent cabinet doors. Take note of the standard horizontal gap size (usually 3 mm to 4 mm) to ensure the top of the dishwasher panel aligns with neighboring fronts.
Calculating the Front Panel Height and Clearance
The height of the custom front panel is not simply the height of the dishwasher door itself. To find the correct panel dimension, use the following calculation process:
1. Measure the Total Recess Height
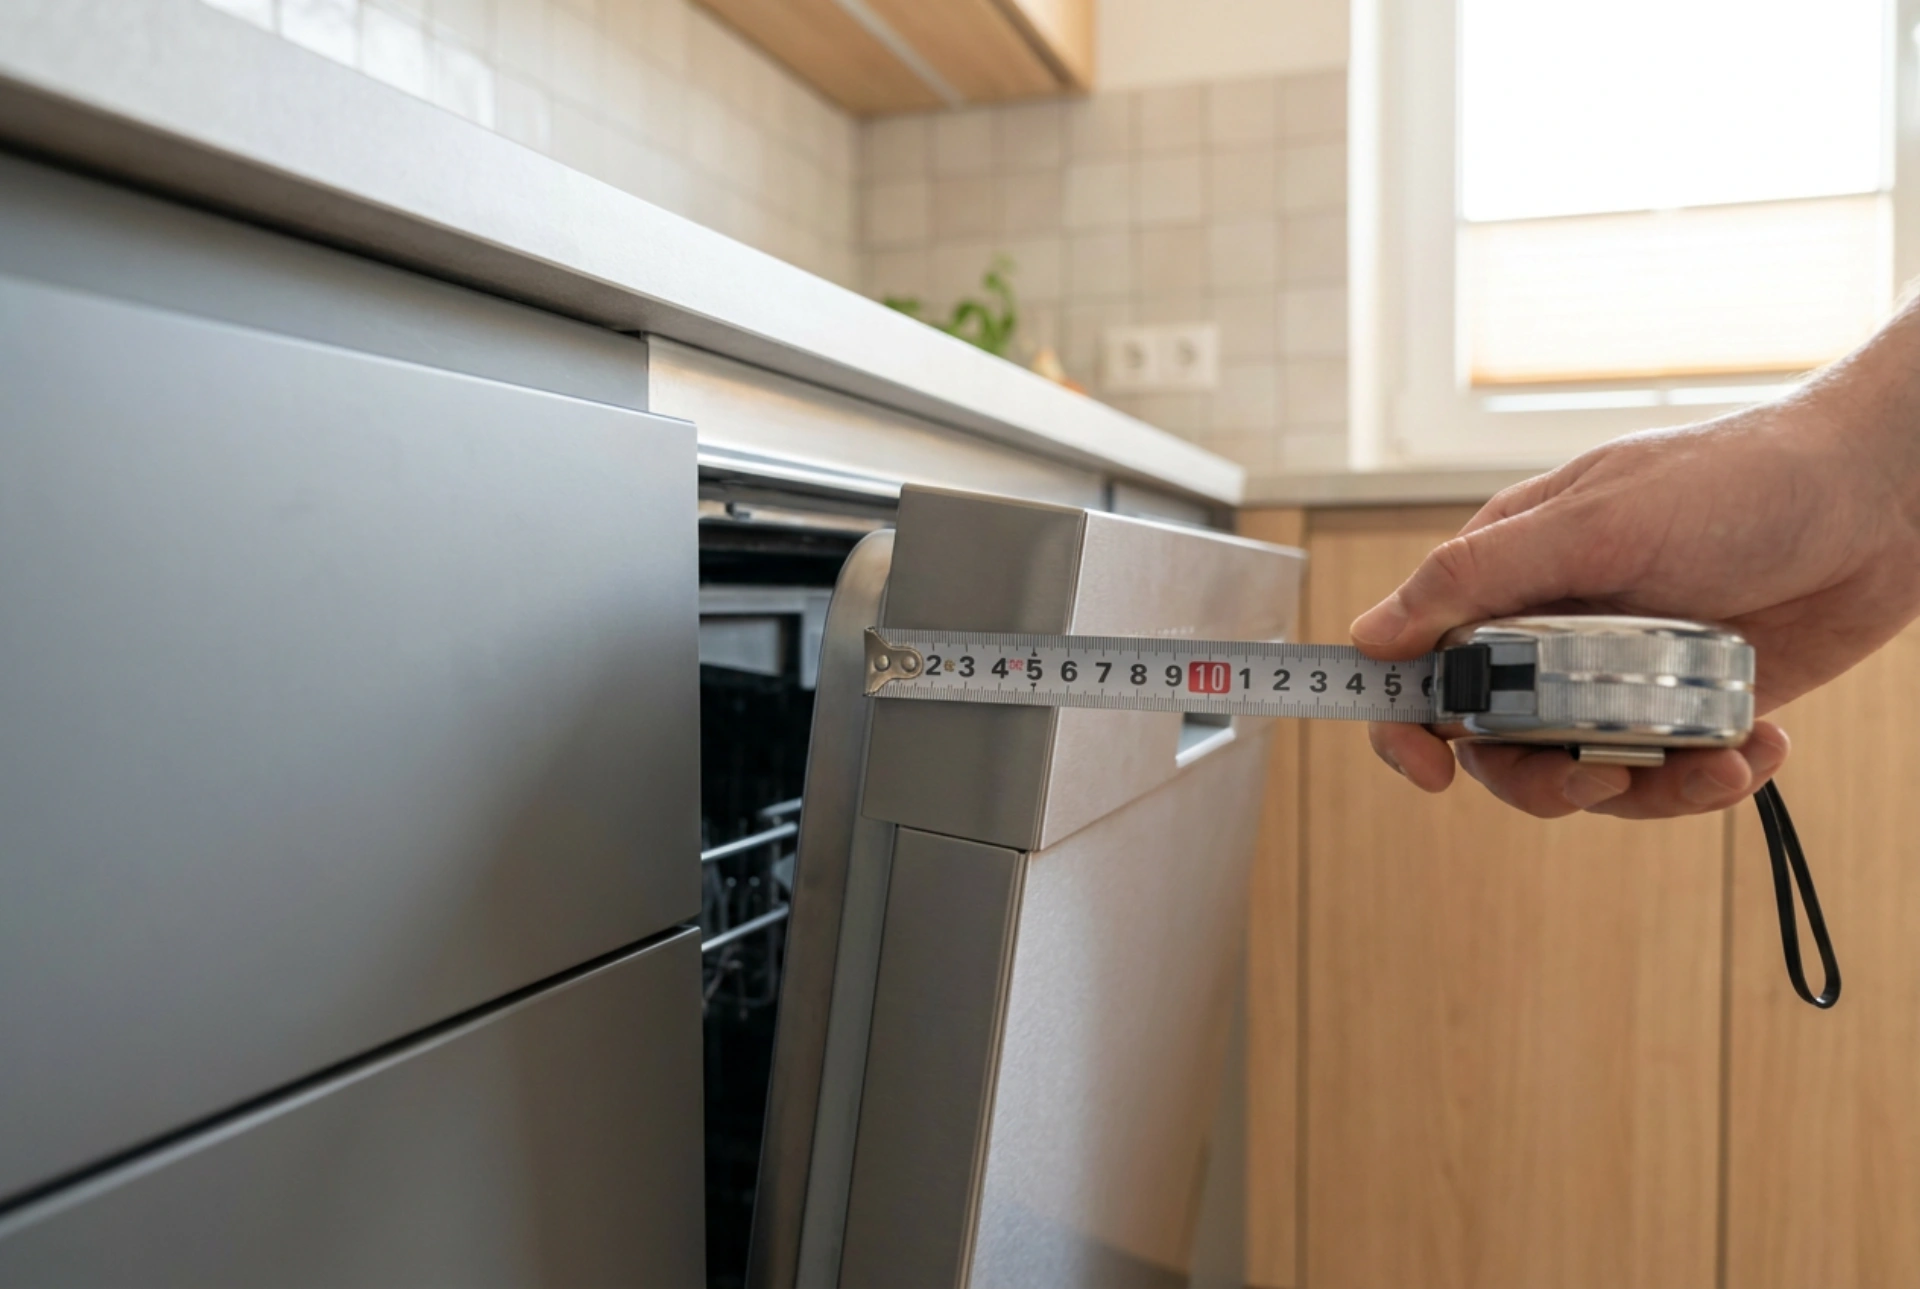
Measure the vertical distance from the finished floor to the underside of the worktop. Let us assume a standard height of 870 mm. Adjust the dishwasher's feet so the top of the machine's chassis sits exactly 2 mm to 3 mm below this ceiling to allow for installation clearance.
2. Determine the Plinth (Toe Kick) Height
The plinth height is the vertical distance from the floor to the bottom edge of your cabinet carcasses. This typically ranges from 100 mm to 150 mm. The height of your dishwasher front panel will be the total height of the adjacent cabinet door, which is calculated by subtracting the plinth height and the top gap from the total recess height.
3. Assess the Pivot and Swing Clearance
The most complex physical aspect of installing an integrated dishwasher front is the rotational path of the door. When the door opens, the bottom edge of the custom front panel swings inward and downward. If the panel is too long or the plinth is set too far forward, the panel will strike the plinth, preventing the door from opening fully to 90 degrees.
To prevent this, you must consult the appliance's technical drawing for the minimum plinth return or cutout. Some modern appliances utilise a sliding hinge system (sometimes called a vario-hinge), which automatically slides the front panel upward as the door opens, reducing the required plinth clearance. Standard fixed-hinge models require you to either cut a notch in the plinth or chamfer the bottom edge of the front panel to facilitate a smooth, collision-free arc.
Installation Checklist for Perfect Alignment
Before securing the custom panel to the integrated door, run through this final spatial check:
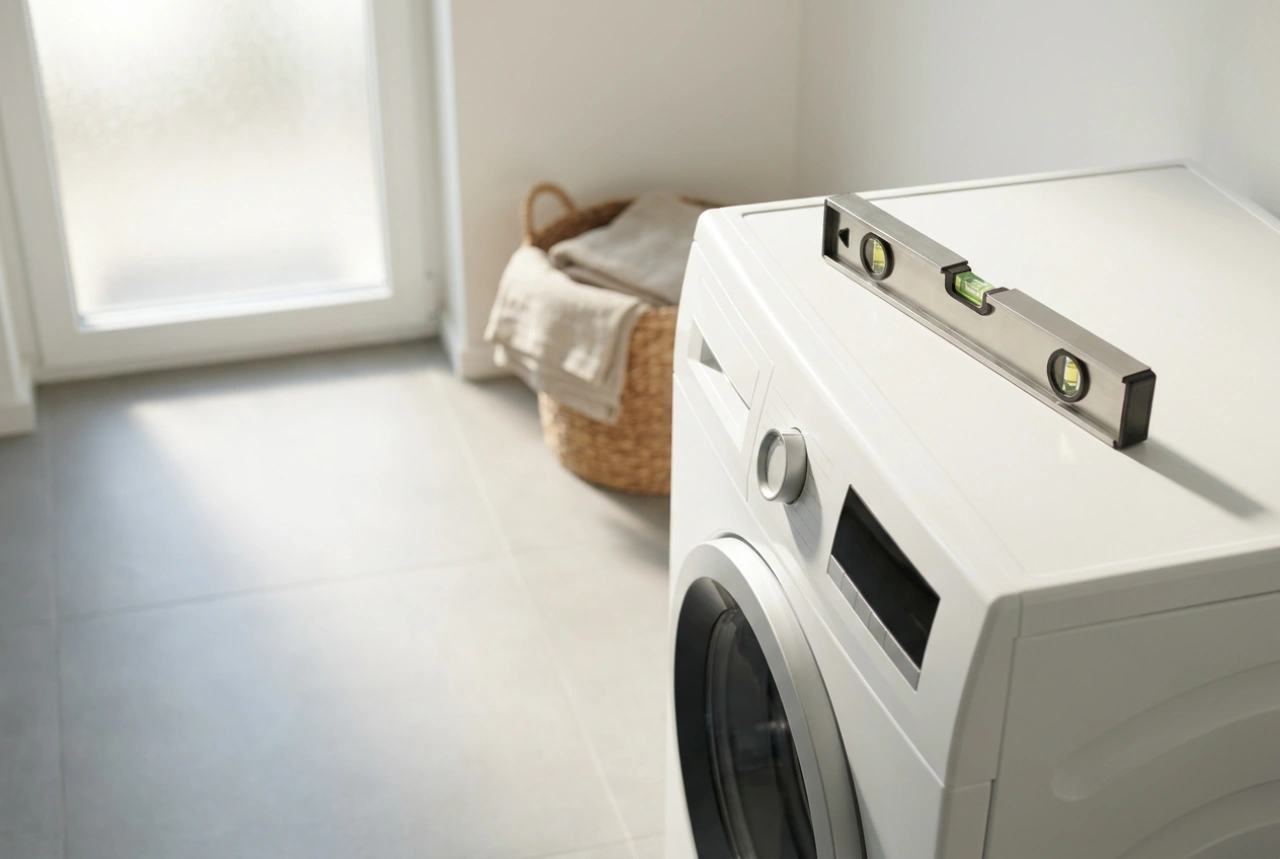
- Verify the appliance is perfectly level along both the lateral and longitudinal axes using a spirit level placed inside the tub.
- Ensure the side gaps between the dishwasher door and adjacent cabinets are uniform (usually 2 mm on each side).
- Check that the rubber steam protection strip is correctly adhered to the underside of the worktop before raising the appliance to its final height.
- Test the door tension springs after mounting the panel; the weight of the wooden front must be balanced by adjusting the spring tension screws at the base so the door remains stationary at any open angle.