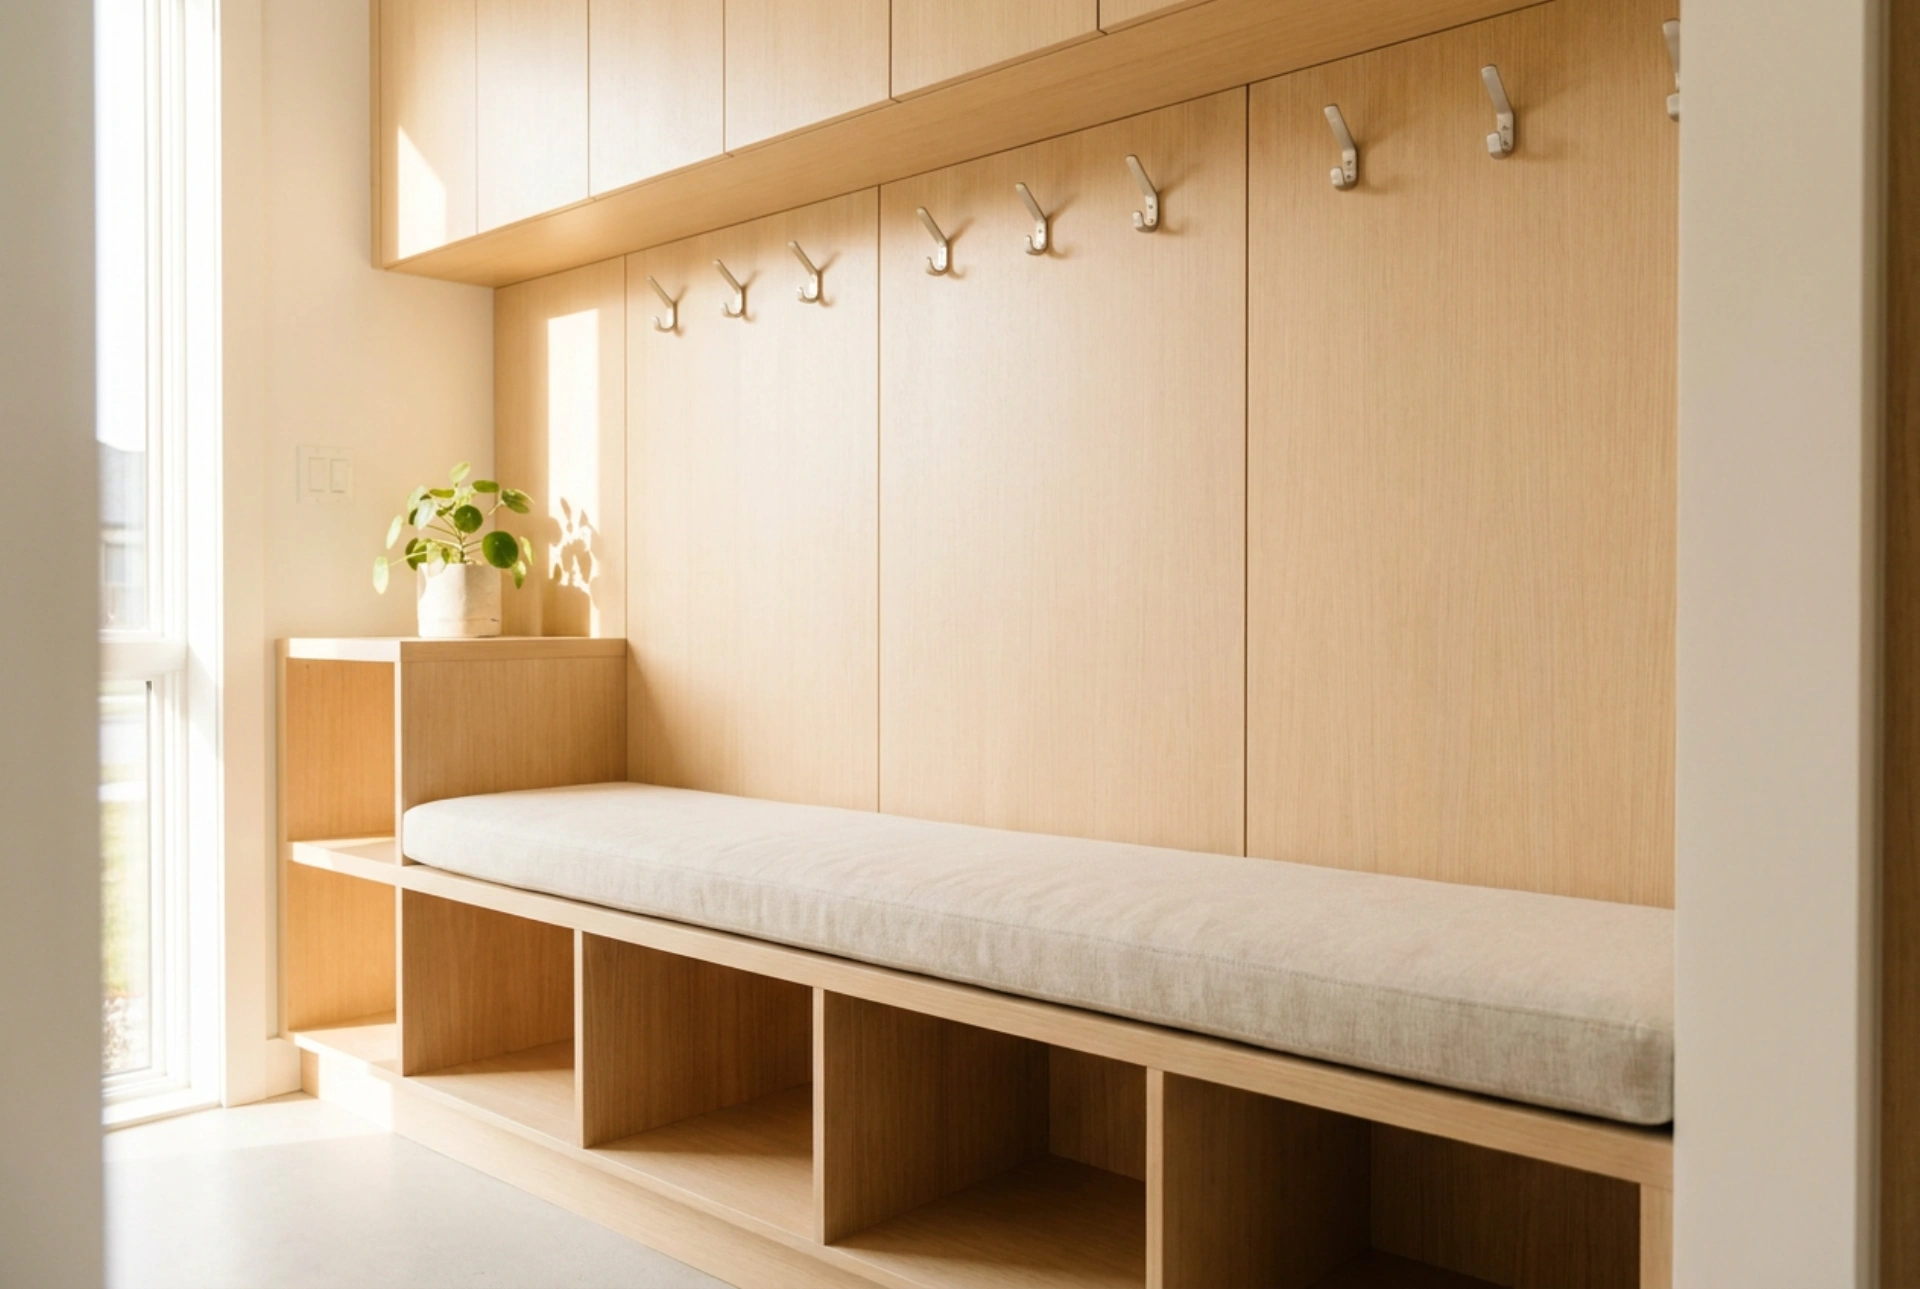


Planning built-in hallway seating requires a precise balance of ergonomics, material durability, and ventilation to withstand daily traffic and seasonal moisture. By applying principles of spatial design and material science, you can create a highly functional entryway that organises outerwear while preserving the structural integrity of your home.
Ergonomics and Spatial Dimensions of Entryway Seating
The success of built-in hallway furniture relies on matching human proportions to physical dimensions. To ensure comfortable seating while putting on or removing shoes, the bench height should range precisely between 400 and 450 millimetres from the finished floor level. This range aligns with average lower leg lengths, preventing joint strain and allowing the feet to rest flat on the floor.
Depth is another critical variable. A seat depth of 350 to 450 millimetres is sufficient for adult seating without protruding unnecessarily into the hallway clearance zone. Above the bench, coat hooks require strategic vertical placement. Standard jackets and coats require a hanging clearance of at least 1200 millimetres, whereas long overcoats need up to 1600 millimetres of vertical space to hang freely without dragging across the seating surface or pooling on the floor. Additionally, allow a horizontal clearance of at least 150 to 200 millimetres between hooks to prevent bulky garments from overlapping, which restricts air drying.
Material Selection for High-Moisture Environments
Entryways are transition zones exposed to external elements, meaning materials must withstand humidity, dirt, and mechanical abrasion. Standard particle board easily absorbs atmospheric moisture, leading to swelling, warping, and eventual structural delamination. Instead, specify moisture-resistant medium-density fibreboard (MR MDF) or high-pressure laminates (HPL) for the core structural components of the cabinetry.
If you prefer natural timber for the seating surface, choose dense hardwoods like oak, ash, or beech. These timbers possess high Janka hardness ratings, making them highly resistant to scratches from keys, metal zippers, and shoe buckles. To protect the wood from liquid ingress and salt stains carried in on winter footwear, seal the timber with a polyurethane-based varnish or a high-quality hardwax oil. These finishes penetrate the wood fibres, creating a hydrophobic barrier that prevents water from raising the grain while allowing for easy cleaning with a damp cloth. Avoid cheap veneers, which can easily peel when subjected to wet coats rubbing against them.
Managing Moisture and Odour through Passive Ventilation
Storing wet footwear in unventilated, enclosed compartments creates a microclimate high in relative humidity, which promotes the growth of mould, mildew, and bacteria. This moisture can also trigger hydrolysis, a chemical reaction that breaks down the polyurethane bonds in modern shoe soles, causing them to crumble prematurely. To prevent this, apply the physical principles of passive air convection. Warm, moist air is less dense and naturally rises, while cooler, dry air sinks to take its place.
Incorporate open-front cubbies or slatted shelving made from stainless steel tubes or powder-coated aluminium for shoe storage. These materials do not absorb moisture and are easy to sanitise. Slats allow air to circulate freely around the entire shoe, accelerating evaporation. If closed doors are preferred for aesthetic reasons, integrate metal ventilation grilles at the base and top of the cabinetry to establish a continuous convective loop that moves stagnant air out of the enclosure. For wet umbrellas and boots, incorporate a dedicated, removable drip tray made of non-reactive polymer at the base of the unit to collect runoff without letting it contact the wooden structure.
Installation and Levelling: The Order of Operations
A stable installation prevents squeaks, ensures doors align perfectly, and distributes weight safely. The process must follow a strict sequence, beginning with floor analysis. Most floors are not perfectly level; therefore, the cabinetry must sit on adjustable plinth feet hidden behind a kickboard rather than directly on the floor. Adjust these feet using a spirit level to establish a perfectly horizontal base before mounting the vertical carcass panels.
- Levelling the base: Adjust the plinth feet to compensate for floor slope, ensuring the weight is distributed evenly across all load-bearing points. This prevents the frame from twisting, which would cause cabinet doors to bind.
- Wall anchoring: Secure the unit to the wall using heavy-duty brackets anchored into structural wall studs, preventing tipping when multiple people sit on the bench simultaneously.
- Sealing transitions: Apply a flexible, mould-resistant silicone sealant along the junction where the cabinetry meets the floor. This prevents water from wet shoes or floor mopping from seeping under the unit and damaging the subfloor or the base of the furniture.





