

Achieving a perfectly smooth, cylindrical finish on shirt sleeves requires understanding fabric thermodynamics and mastering the use of a sleeve board. Eliminating sharp, unnatural side creases is a matter of rotating the fabric continuously to prevent flat-pressing the edges.
The Science of Pressing: Hydrogen Bonds and Heat
To iron a sleeve successfully, you must manipulate the molecular structure of the textile fibres. Cotton, linen, and wool contain natural polymers held together by hydrogen bonds. When heat and moisture are applied, these bonds temporarily break, entering a plasticised state where the fibres can be rearranged easily. As the fabric cools and dries, new hydrogen bonds lock the fibres into their new, flat shape. When you press a sleeve flat on a standard ironing board, you compress two layers of fabric simultaneously, creating a sharp fold at the outer boundary where the heat and pressure concentrate. Using a sleeve board allows you to isolate a single layer of fabric, preventing this double-layer compression and avoiding permanent crease lines.
Setting Up the Sleeve Board
Before heating the iron, select the correct temperature setting based on the textile composition. Cotton and linen require high heat (usually between 180°C and 220°C) with high steam output to break their strong crystalline regions. Synthetics like polyester require much lower heat (around 110°C to 150°C) to prevent melting the thermoplastic fibres. Place the sleeve board securely on your main ironing table. Slide the narrow end of the sleeve board inside the cuff of the sleeve, moving the garment up towards the shoulder seam. The sleeve should drape naturally around the padded core of the board, ensuring only one layer of fabric lies flat on the working surface.
The Rotational Ironing Method
To ensure no sharp creases are pressed into the edges, apply a continuous rotational technique. Do not press the iron flat down onto the side folds of the sleeve. Instead, follow these steps:
- Place the iron on the centre of the sleeve portion resting on the board.
- Smooth the fabric from the centre outward, stopping approximately two centimetres short of the curved edges of the sleeve board.
- Apply steady, moderate pressure, moving the iron in the direction of the warp threads (lengthwise) rather than across them to prevent stretching the weave.
- Gently rotate the sleeve around the board by a few inches, exposing the unpressed portion to the flat top of the board.
- Repeat the pressing motion on the new section, overlapping slightly with the previously ironed area.
By keeping the actual edges of the sleeve suspended in the air or curved over the rounded sides of the board rather than pressing them flat, you completely eliminate the formation of sharp creases.
Managing Seams and Cuffs
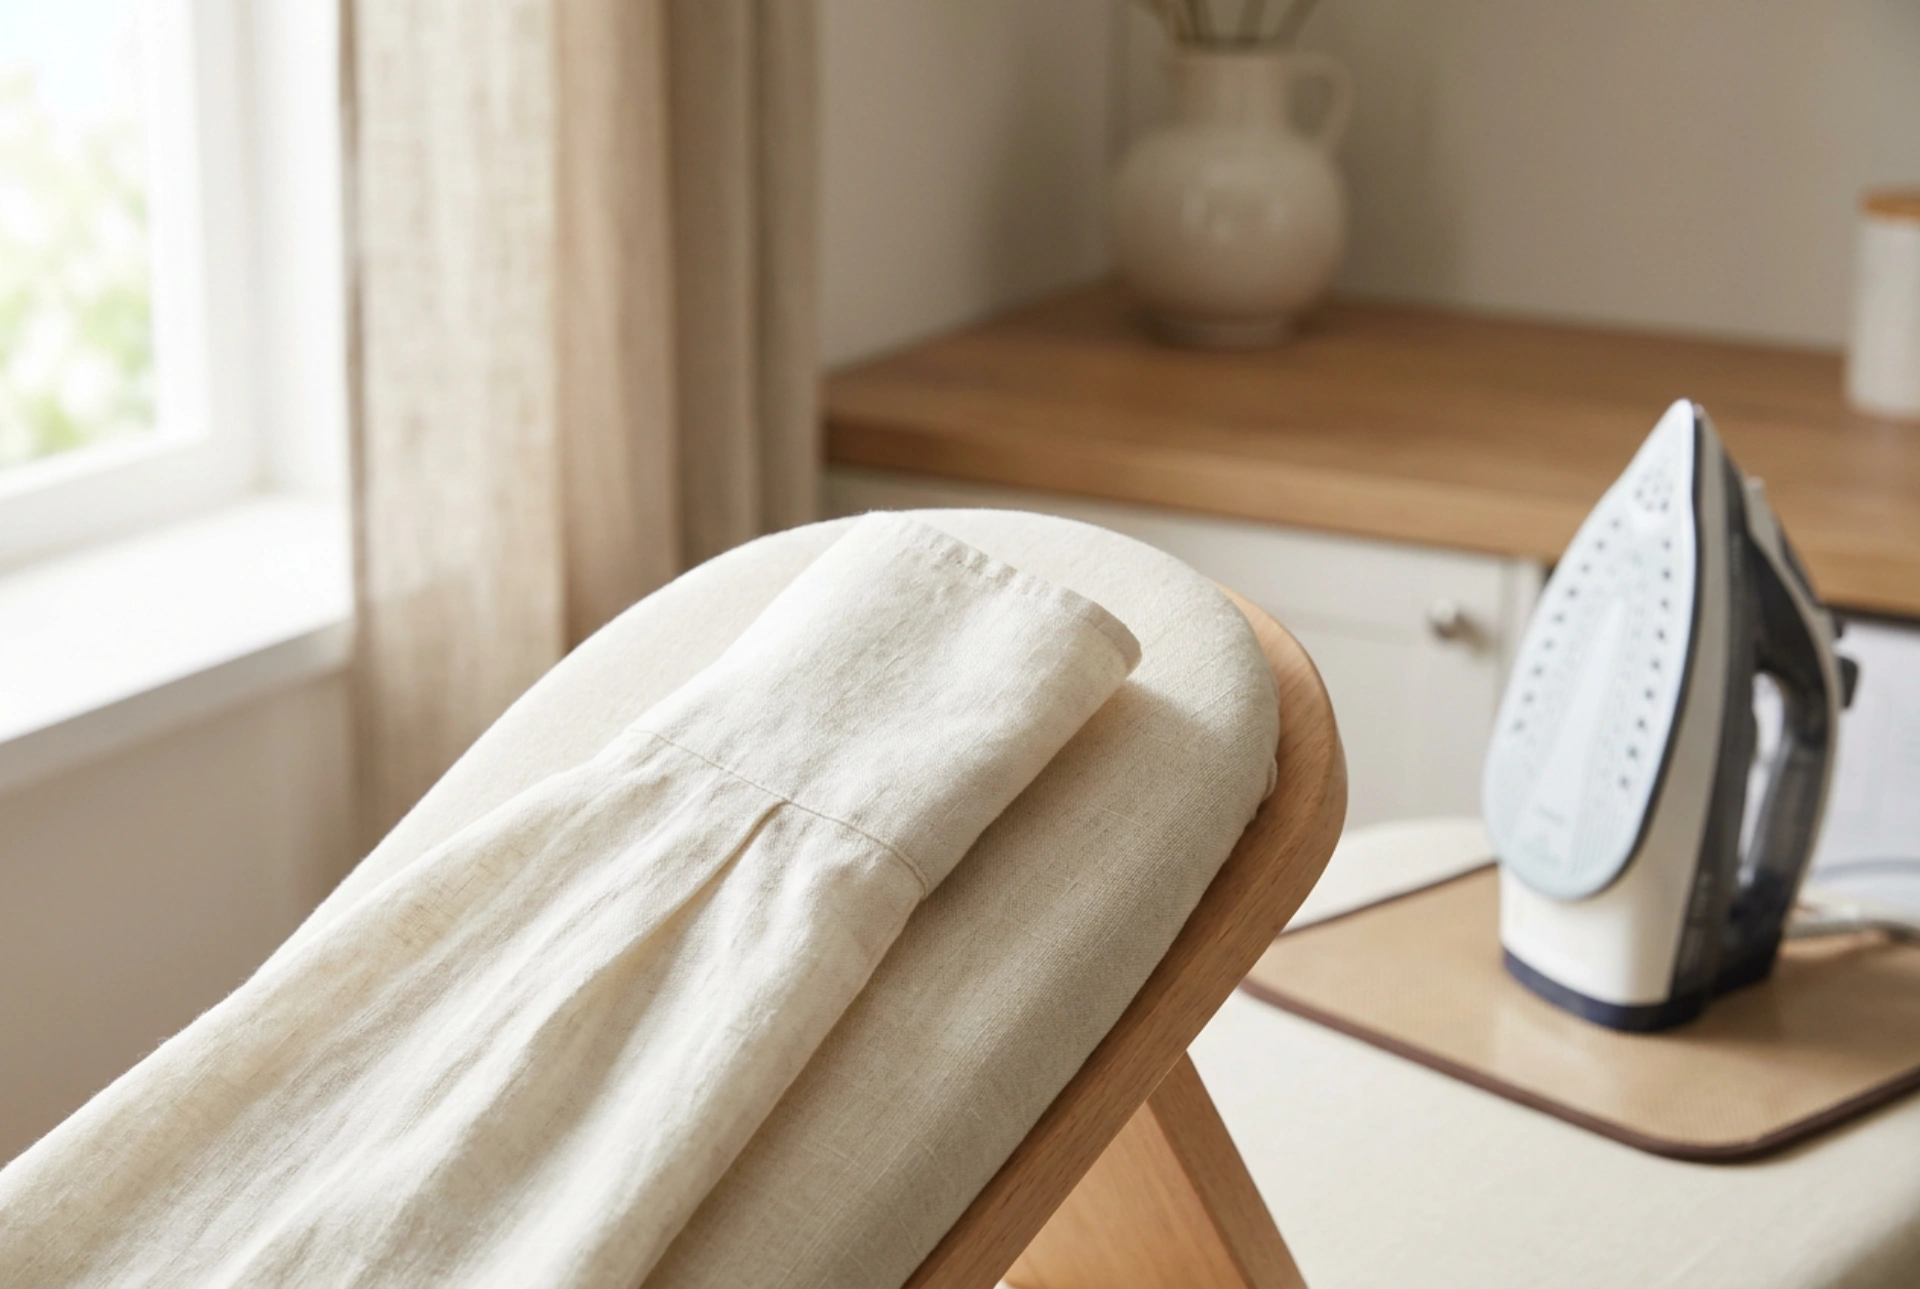
The sequence of operations is critical for a professional finish. Always iron the cuffs and sleeve plackets first. Unbutton the cuff and lay it flat on the main board, ironing the inside first to prevent puckering on the visible outer side. Once the cuff is complete, slide the sleeve onto the sleeve board. Align the main sleeve seam so it runs along the underside of the board. Iron over the seam with light pressure to avoid leaving an imprint of the seam allowance on the face of the fabric. Use the tip of the iron to navigate the gathers or pleats where the sleeve fabric joins the cuff, pressing upward into the folds to preserve their three-dimensional shape.
Cooling and Thermal Setting
Once the entire circumference of the sleeve has been pressed, immediately transfer the garment to a structured hanger. Because the fabric is still warm and slightly damp from the steam, the hydrogen bonds are still malleable. If the garment is folded or worn immediately, new, unwanted creases will form instantly. Hanging the shirt allows air to circulate, cooling the fibres below their glass transition temperature and evaporating any residual moisture. This step locks the smooth, cylindrical shape of the sleeve into the fabric memory, ensuring a crisp, long-lasting finish.