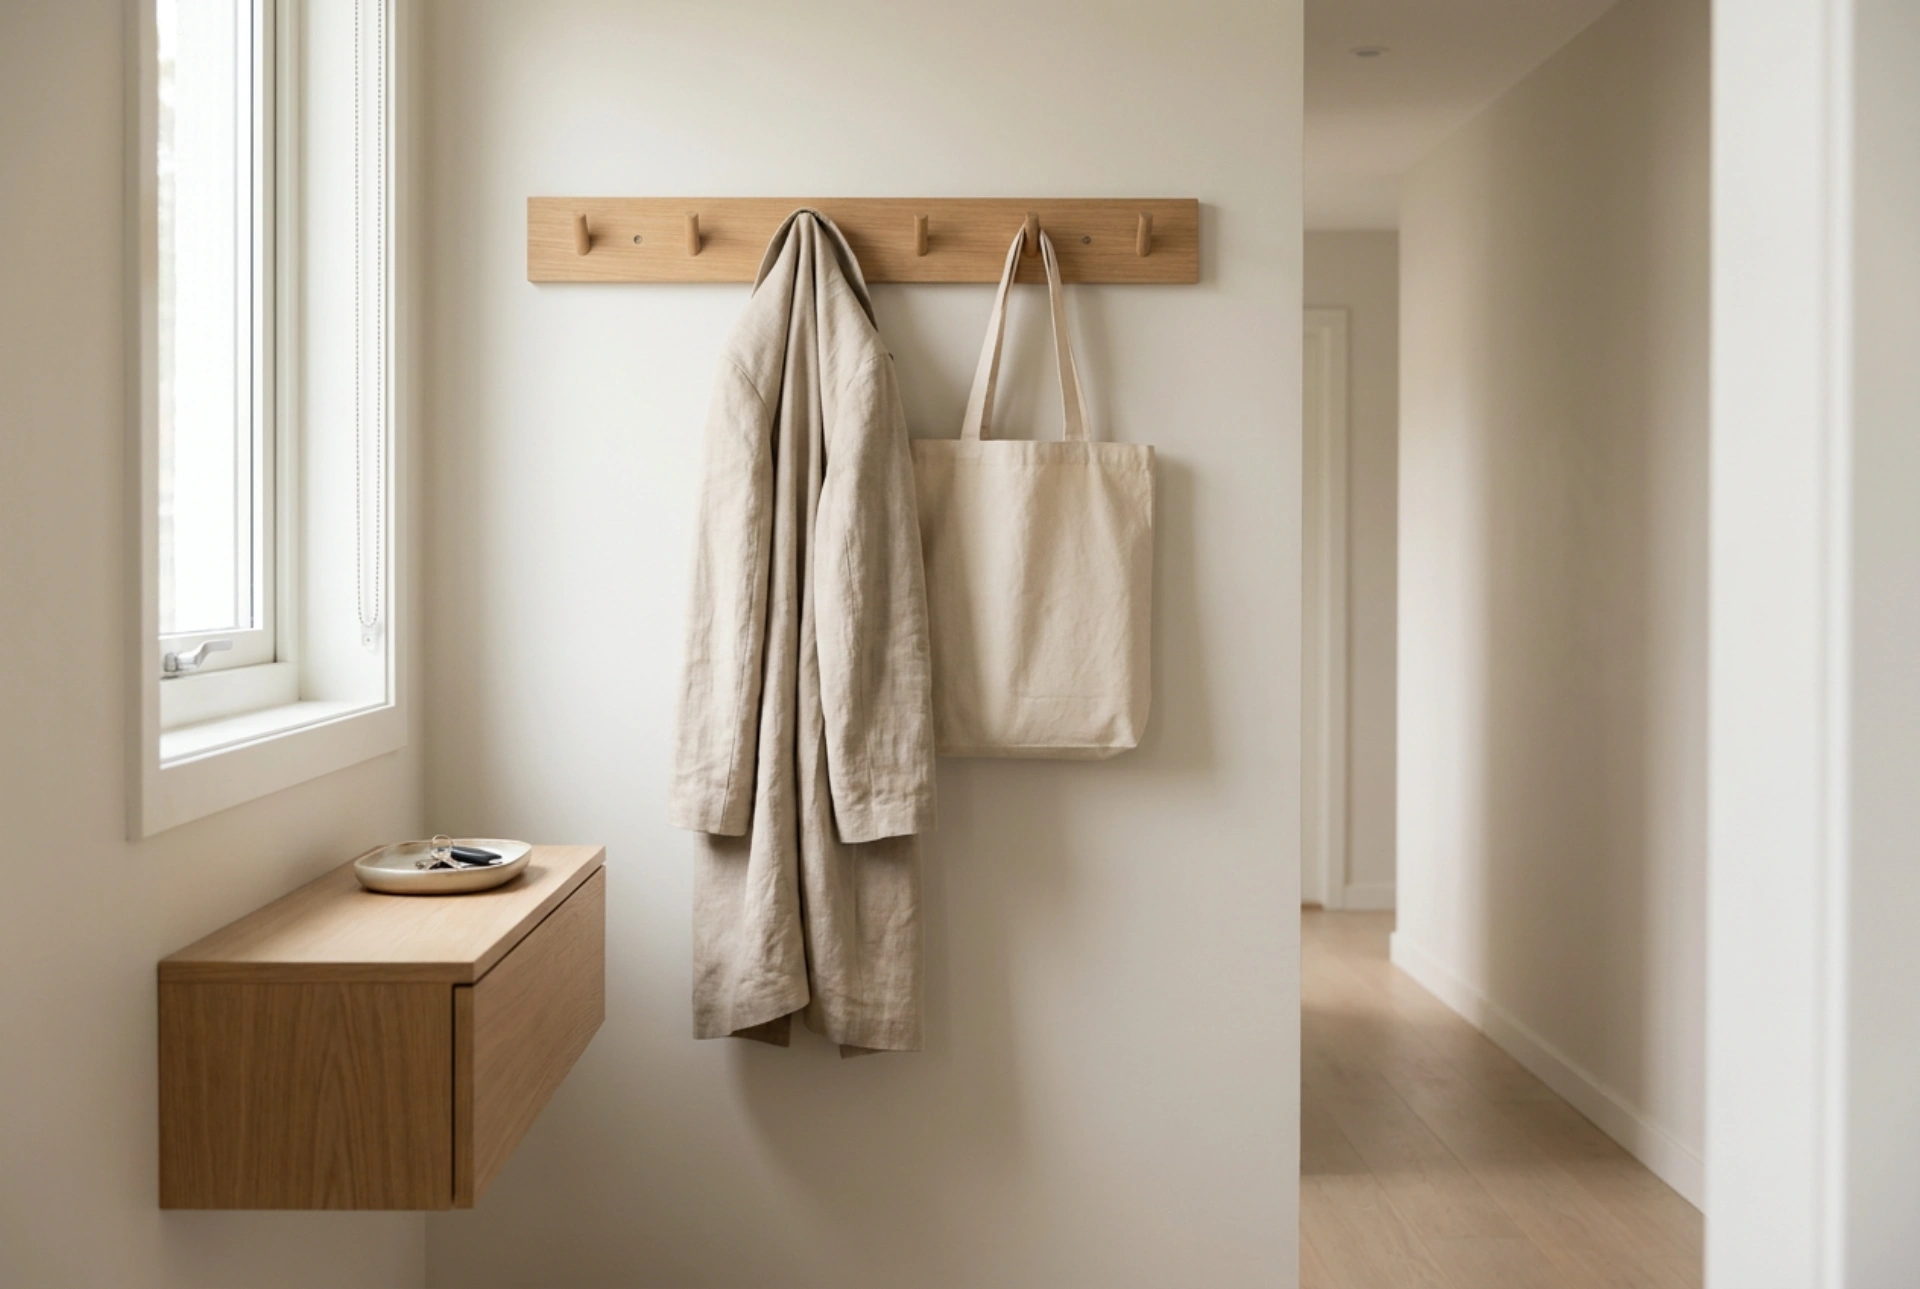


A wall-mounted coat rack often becomes a cluttered bottleneck, but with strategic zone planning and ergonomic weight distribution, it can be transformed into a highly functional entryway hub. By understanding physical limits, material behaviors, and daily habits, you can prevent the standard pile-up and create a streamlined transition zone.
The Physics of Hook Overload and Weight Distribution
The primary reason entryway coat racks descend into chaos is a disregard for load capacity and spacing physics. Every hook has a mechanical limit, determined by both its material and the wall anchors securing the unit. When heavy winter coats are layered on top of one another, the center of gravity shifts outward, pulling the rack away from the wall and creating physical strain on the mounting points.
To prevent structural failure and visual clutter, implement a strict single-item rule per hook. If your rack features double prongs, use the upper hook for lightweight, long items like coats, and the lower hook for compact items like bags or keys. Distributing the weight evenly across the horizontal axis prevents the rack from tilting and ensures easy access without knocking neighboring items to the floor.
Establishing the Three-Level Entryway System
An organized entryway relies on vertical division. By segmenting the area around your wall rack into three distinct functional zones, you maximize utility without needing heavy construction or footprint expansion.
- The Upper Zone (Out of Reach): Utilize the top shelf of your rack (or mount a simple floating shelf directly above it) for low-frequency items. Use lightweight, open-weave baskets to store seasonal accessories like gloves, scarves, or hats. This keeps them dust-free and out of sight while maintaining airflow.
- The Active Zone (Eye and Hand Level): This is the coat rack itself. Limit the items on these hooks to currently active outerwear—ideally one jacket or coat per household member. Active items should hang freely without touching the floor, allowing air to circulate around damp fabrics.
- The Lower Transition Zone (Floor Level): Position a low bench or a moisture-resistant tray directly beneath the hanging coats. This serves as a landing pad for shoes and bags, preventing wet soles from trailing dirt onto your carpets and keeping heavy items from weighing down your wall-mounted hooks.
Managing Moisture and Protecting Wall Surfaces
Outerwear often introduces water, road salt, and dirt into your home. When damp coats hang directly against a wall, capillary action can transfer moisture to the drywall or plaster, leading to paint peeling, staining, or even mold growth. To prevent this, ensure there is a physical clearance of at least three to five centimeters between the hung garments and the wall surface.
Choose hangers made of unfinished cedarwood or non-reactive metals for your heaviest coats. Unfinished wood naturally absorbs ambient humidity and repels moths, while stainless steel prevents rust transfer to wet fabrics. Avoid cheap plastic hangers, which bend under load, altering the drape of your clothing and causing items to slip off onto the floor.
The Rotation Principle: Keeping the Entryway Streamlined
An entryway is a high-traffic transition point, not a long-term storage wardrobe. To maintain organization, you must establish a strict rotation routine based on seasonal utility. As seasons change, transition non-active garments to deep closet storage. If a coat has not been worn in two weeks, it does not belong in the entry zone.
Complement this physical purge with dedicated containers for small daily essentials. A small solid wood or ceramic tray placed near the rack prevents "pocket dump" syndrome, where keys, coins, and mail accumulate on any flat surface. By assigning a specific, bounded container for these micro-items, you contain the clutter and ensure you never waste time searching for your essentials before leaving the house.





