

Applying a hydrophobic protectant to shower glass prevents limescale buildup and water spots, but improper application leads to unsightly, hazy streaks. Mastering the precise chemical preparation and physical buffing techniques ensures an optically clear, durable barrier that repels water for months.
The Chemistry of Glass and Hydrophobic Coatings
To the naked eye, float glass appears perfectly smooth, but at a microscopic level, its silica-based structure is filled with peaks, valleys, and reactive hydroxyl groups. These sites readily bond with minerals found in hard water, such as calcium and magnesium, as well as fatty acids from soaps. When water evaporates, it leaves behind crystalline structures that chemically bond to the glass, making them difficult to remove.
Shower glass protectants, typically formulated with active silane or silicone polymers, solve this by altering the surface energy of the glass. The molecules in the protectant chemically bond with the silanol groups on the glass surface, forming an ultra-thin, hydrophobic barrier. This covalent bond lowers the surface energy, causing water to bead up into tight spheres instead of sheeting. Because the water cannot cling to the glass, it rolls off, carrying dissolved minerals and soap residues with it.
Deep Chemical Cleaning: The Non-Negotiable First Step
Applying a coating over existing contamination seals in the minerals and prevents the polymer from bonding with the glass, resulting in premature failure and heavy streaking. The glass must be restored to a chemically pure state before application.
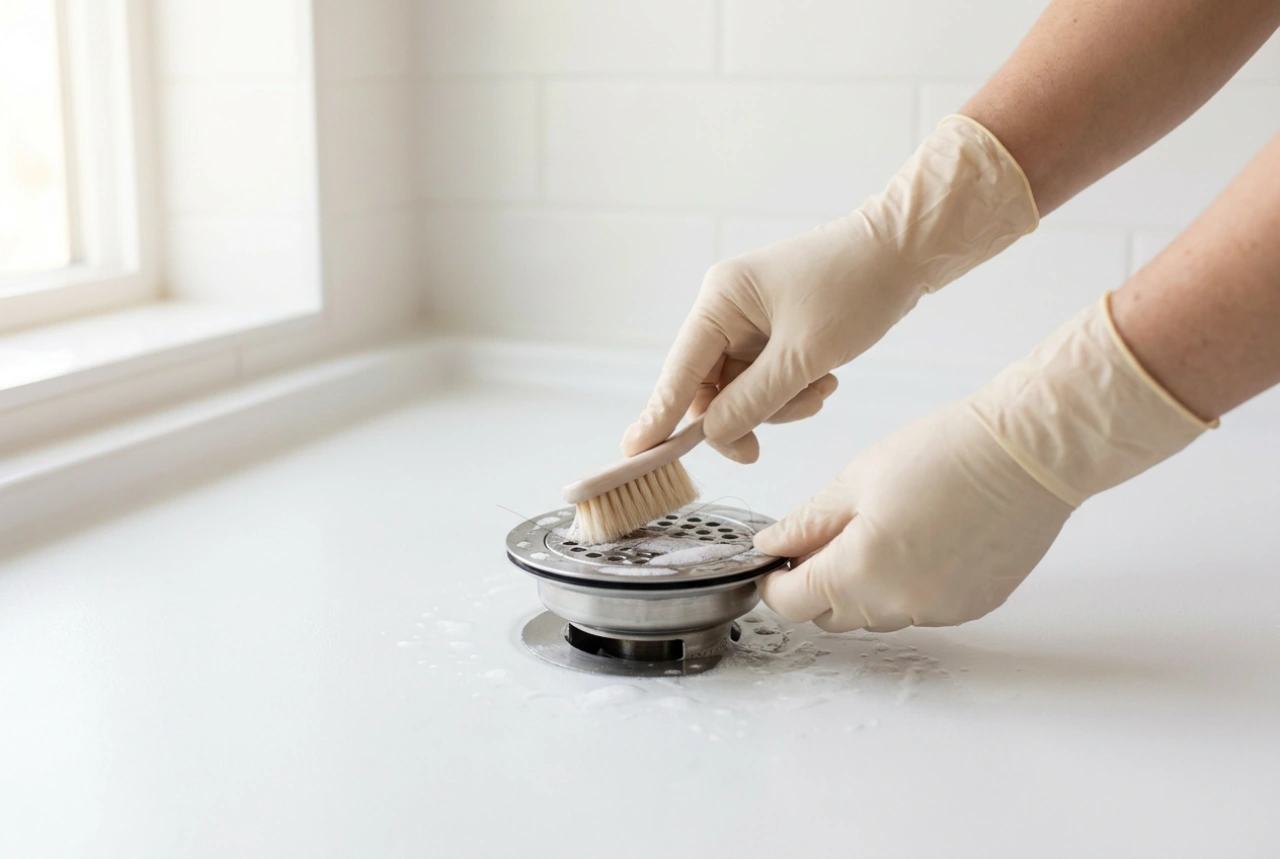
- Dissolve Mineral Buildup: Use a mild organic acid, such as a citric acid solution, to dissolve calcium carbonate deposits. Apply the acid, allow it to dwell for several minutes to break the ionic bonds, then scrub gently with a non-abrasive pad.
- Degrease the Surface: Soap scum and body oils form an organic barrier that blocks the protectant. Clean the glass with isopropyl alcohol (IPA) diluted to 50-70% with distilled water. Isopropyl alcohol dissolves lipids and evaporates cleanly without leaving surfactants behind.
- The Water-Break Free Test: To verify cleanliness, spray distilled water onto the pane. If the water sheets off in a single, unbroken film, the glass is chemically clean. If the water splits, beads, or avoids certain spots, organic residues are still present, and the cleaning step must be repeated.
The Mechanics of Streak-Free Application
Once the glass is completely dry, the protectant can be applied. The key to preventing streaks is controlling the thickness of the applied layer and ensuring even distribution.
Environmental Conditions
Ensure the bathroom is well-ventilated and dry. High humidity can cause the carrier solvent in the protectant to evaporate too slowly, leading to uneven curing, while extreme heat causes it to flash too quickly, leaving thick, stubborn polymer patches that are difficult to buff out.
Application Technique
Spray a small amount of the protectant onto a clean, dry microfiber applicator pad rather than directly onto the glass to prevent overspray and pooling. Work in small, manageable sections of about fifty by fifty centimeters. Apply the product using firm, overlapping circular motions to force the polymers into the microscopic pores of the glass. Follow up immediately with straight horizontal and vertical passes to ensure complete, uniform coverage.
The Curing and Buffing Phase
After application, the carrier solvent must evaporate, leaving behind the active polymer layer. During this phase, a slight haze will form on the glass. This haze consists of excess active ingredients that could not bond with the glass silica.
Timing is critical. Buffing too early removes the active ingredients before they bond, while waiting too long makes the residue hard and incredibly difficult to polish off. Refer to the specific chemical instructions, but generally, wait until the surface turns into a uniform, dry haze (usually two to five minutes).
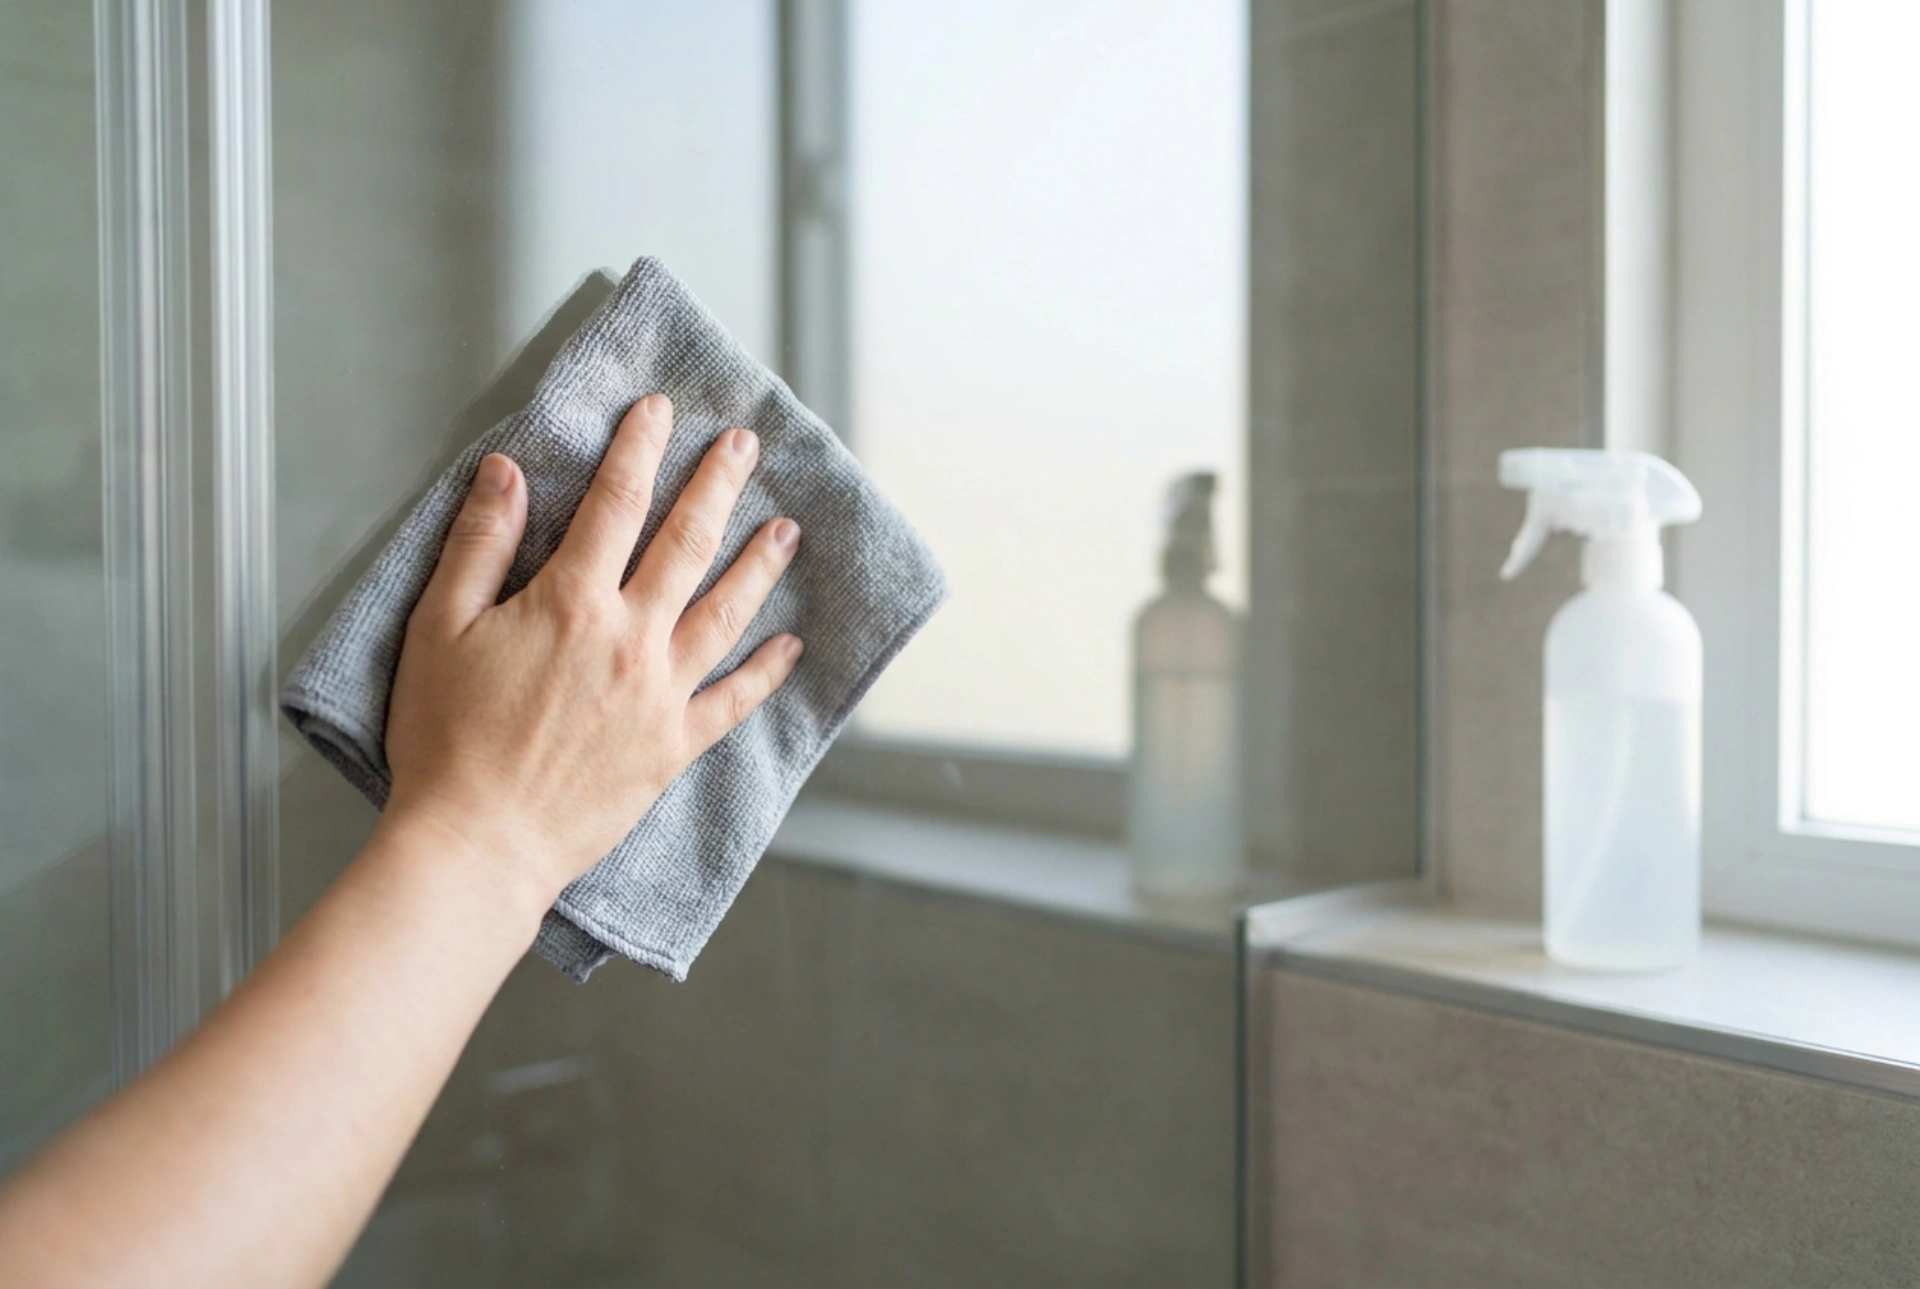
To remove the haze without scratching the glass or stripping the coating, use a clean, dry, high-pile microfiber cloth (at least 300 GSM). Fold the cloth into quarters. Using light to moderate circular pressure, buff the hazy areas. As the cloth loads up with excess polymer, flip it to a fresh, clean side. The friction generated by buffing helps flatten the molecular layer, ensuring optical clarity and a streak-free finish.
Post-Application Curing and Maintenance
Once buffed, the chemical bond requires time to fully cure and cross-link. Keep the shower dry and avoid using it for at least eight to twelve hours. Exposing the fresh coating to moisture prematurely will disrupt the chemical curing process, causing the protection to degrade rapidly. For routine maintenance, avoid abrasive sponges or harsh alkaline cleaners, which can abrade the polymer barrier. A simple wipe with a dry microfiber cloth or a soft squeegee after each shower is all that is needed to maintain the pristine, hydrophobic effect.