

Achieving perfectly smooth shirt sleeves without the dreaded double crease along the edge is a hallmark of professional garment care. While a standard ironing board excels at flat panels, the cylindrical geometry of a sleeve requires a specialized tool—the sleeve ironing board—and an understanding of fiber mechanics.
The Physics of Sleeve Geometry
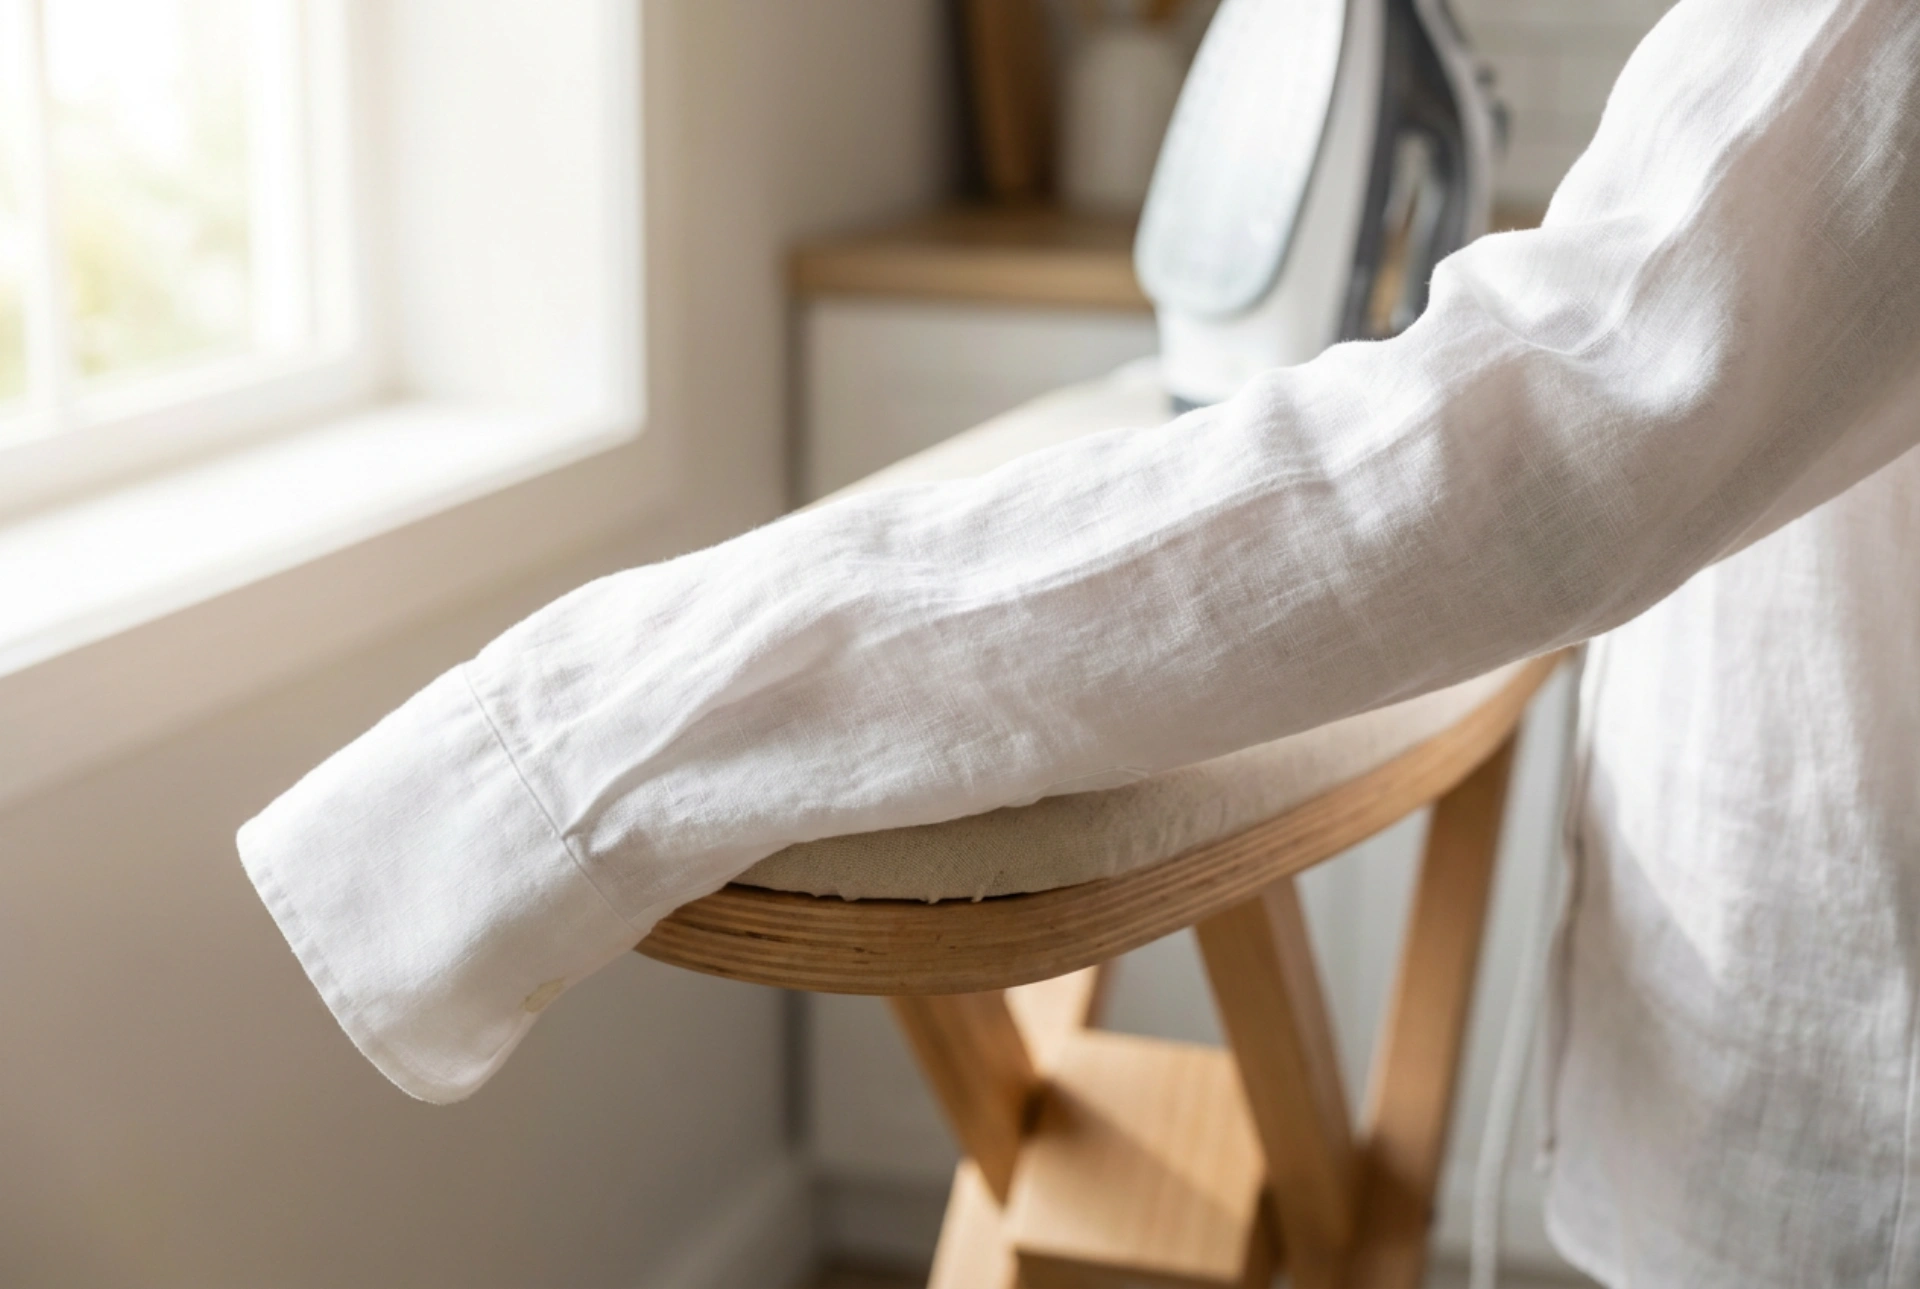
When you press a cylindrical tube of fabric flat on a standard ironing board, you inevitably create two sharp folds along the edges. A sleeve ironing board, also known as a sleeve board, solves this geometric problem. Raised on a small pedestal above your main workspace, this narrow, double-sided board mimics the natural taper of the human arm. By slipping the sleeve over the board, you isolate a single layer of fabric, allowing you to apply heat and pressure to one side without flattening or creasing the opposite side. This design preserves the natural drape and volume of the sleeve, turning a frustrating chore into a methodical, satisfying process.
The Chemistry of Crease Removal
To iron effectively, you must understand what happens to the fabric at a molecular level. Natural fibers like cotton and linen are made of cellulose chains bound together by hydrogen bonds. When fabric wrinkles, these bonds are locked in distorted positions. To flatten them, you must first break these temporary bonds. This is achieved through a combination of thermal energy (heat) and moisture. Water acts as a plasticiser, weakening the hydrogen bonds and making the polymer chains flexible. When you apply the hot soleplate of the iron, you realign these chains into a flat, smooth structure. As the water evaporates under the heat, new hydrogen bonds form in this newly flattened state, setting the fabric in its smooth shape.
The Rotational Pressing Technique
To press a sleeve flawlessly, avoid sliding the iron back and forth rapidly, which can stretch the fabric fibers diagonally and cause warping. Instead, use a structured, rotational sequence:
- Prepare the Sleeve: Unbutton the cuff and pull the sleeve onto the narrow end of the sleeve board, starting from the shoulder armhole. Ensure the rest of the shirt hangs freely beneath the board so it does not pull or warp the section you are working on.
- Press in Segments: Lay the fabric flat against the padded surface. Press the iron down gently and glide it from the shoulder seam down toward the cuff. Iron only the flat top portion of the sleeve resting on the board.
- Rotate the Fabric: Gently rotate the sleeve around the board by a quarter-turn. Press the next section. Repeat this process until you have completed a full rotation of the sleeve. This method ensures every square centimetre is pressed without creating any edge lines.
Perfecting the Cuff and Pleats
The cuff requires a distinct strategy because it contains multiple layers of fabric and interfacing material that add stiffness. Always iron cuffs from the inside out first. This pushes any excess fabric or slight bunching toward the outer seams where it is less visible. Lay the unbuttoned cuff flat on the narrow tip of the sleeve board. Press firmly from the outer edges toward the centre to avoid pushing wrinkles into the corners. Once the inside is crisp, flip the sleeve over and press the outside lightly. For the small pleats where the sleeve fabric meets the cuff, use the narrow nose of your iron. Gently press the folds of the pleats in their natural direction, applying a short burst of steam to set them sharply without flattening the surrounding sleeve fabric.
The Setting Phase: Cooling and Storing
A common mistake is immediately folding or wearing a freshly ironed shirt. Because the fabric is still warm and slightly damp from steam, the hydrogen bonds remain highly malleable. Any physical stress applied at this stage will instantly reintroduce deep wrinkles. Once you finish pressing both sleeves and cuffs, immediately place the shirt on a contoured wooden or thick plastic hanger. Button the top button to maintain the collar shape, and let the garment hang undisturbed in a well-ventilated space for at least fifteen minutes. This cooling phase allows the newly formed molecular bonds to fully lock, ensuring your smooth sleeves and crisp cuffs remain pristine throughout the day.