

Achieving a high-gloss finish on laminate panels without turning your living room floor into a hazardous ice rink requires a precise understanding of polymer chemistry and application mechanics. The key lies in controlling layer thickness and ensuring proper chemical bonding between the polish and the synthetic top wear layer of the laminate.
The Science of the Slip: Why Laminate Becomes Slippery
Laminate flooring is engineered with a dense core board topped by a photographic design layer and sealed with a hard, non-porous wear layer made of melamine resin. Unlike solid wood, melamine lacks natural pores. It does not absorb liquids, waxes, or oils. When you apply a gloss-enhancing liquid—typically containing acrylic polymers or silicones—the product cannot penetrate the surface; it must bond strictly to the very top interface.
When floor polish is applied too thickly, the excess liquid cannot evaporate uniformly. This results in an uneven curing process where the outer skin dries first, trapping uncured, liquid-like polymers underneath. Under foot traffic, this soft underlayer shears easily, dramatically reducing the coefficient of friction and creating an extremely slippery surface. Furthermore, if the polish contains silicones or natural oils, these molecules align their hydrophobic tails outward, creating an ultra-low friction barrier that repels moisture but makes walking dangerous.
Phase 1: Deep Cleansing and Stripping Old Residues
The most common cause of a slippery, hazy floor is the accumulation of multiple product layers. To prevent this, you must thoroughly strip all old residues before applying a new polish. Any trapped dust, fat, or soap residue will prevent the fresh polish from bonding, causing it to slip and slide on the surface.
- Decontaminate: Use a dilute solution of isopropyl alcohol and water in a one-to-four ratio or a dedicated neutral pH floor stripper. This breaks down oily residues and old surfactants without damaging the melamine wear layer.
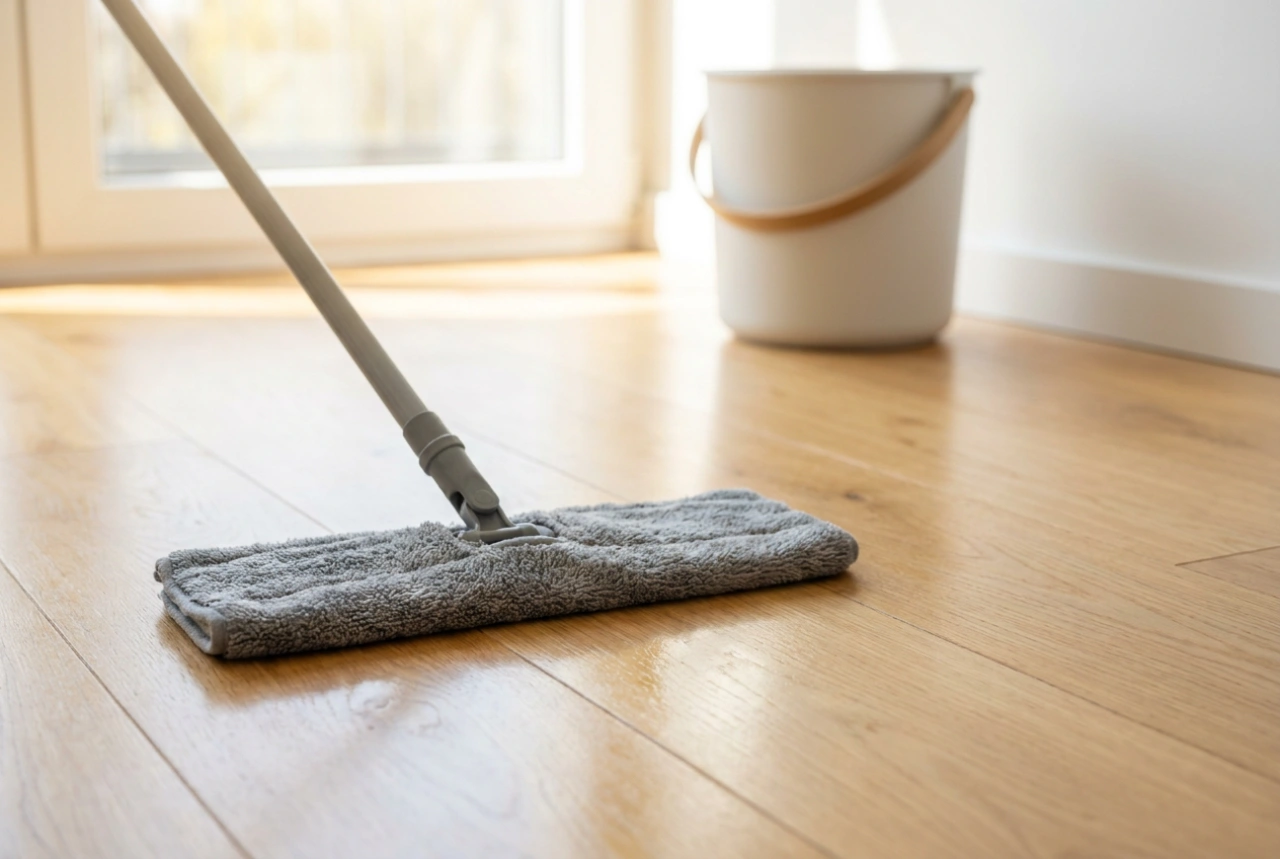
- Mechanical Action: Wipe the floor using a flat microfiber pad. Avoid traditional cotton string mops, which distribute water unevenly and dump too much moisture into the joints.
- Dry completely: Wait at least 30 minutes after cleaning to ensure all moisture has evaporated from the microscopic ridges of the laminate surface.
Phase 2: The Micro-Layer Application Technique
To achieve a safe, slip-resistant gloss, you must apply the polish in ultra-thin, microscopic layers. This technique relies on the physics of thin-film evaporation, allowing the polymer chains to cross-link tightly into a hard, high-traction matrix.
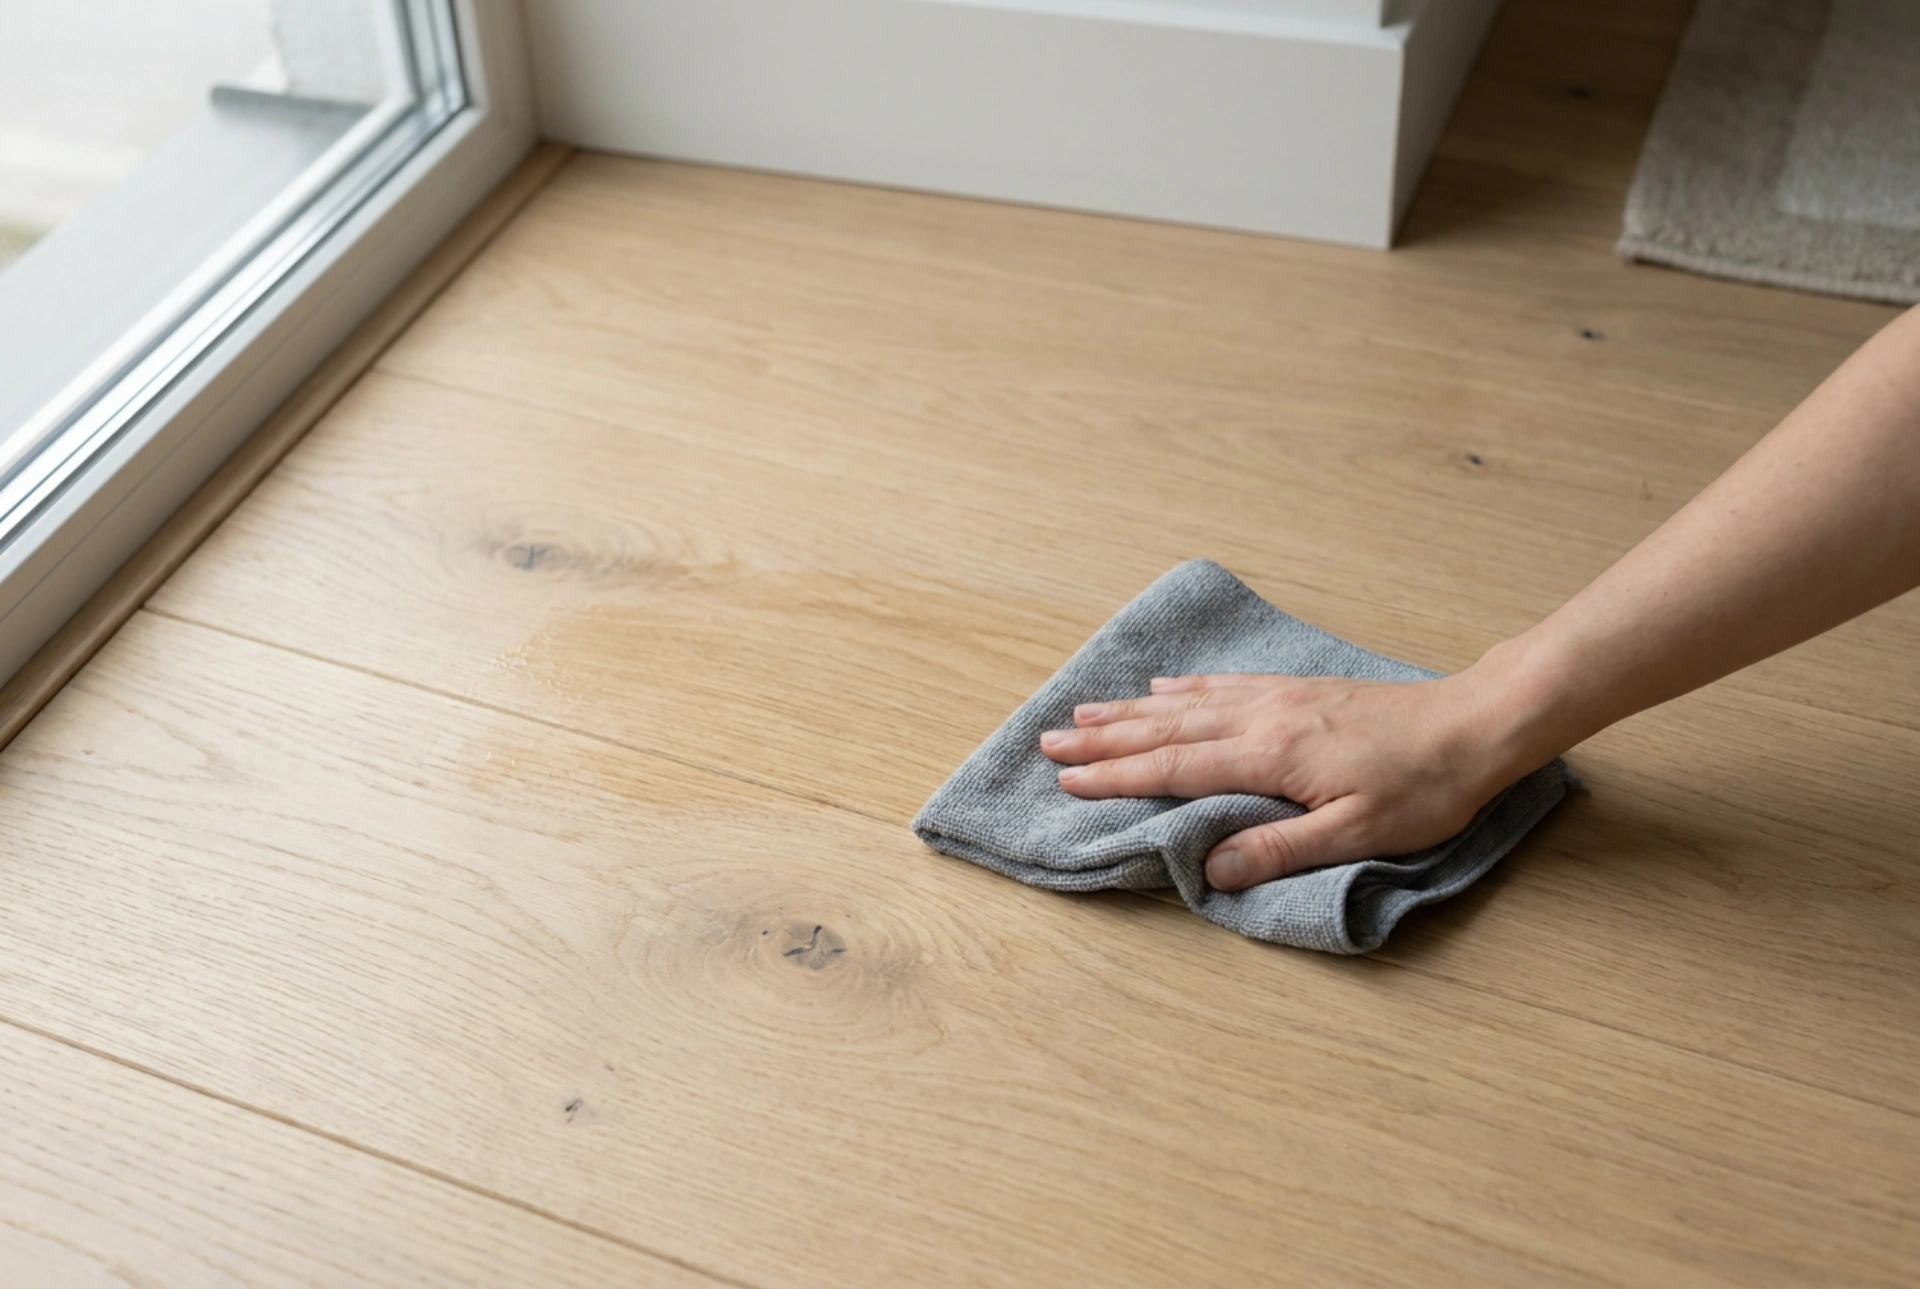
First, dampen your microfiber application pad slightly with clean water and wring it out until it is barely moist. This prevents the pad from absorbing and wasting the polish. Never pour the polish directly onto the laminate floor; doing so leads to puddles, uneven thickness, and eventual peeling or slick spots. Instead, apply a thin line of polish directly onto the microfiber pad, or use a fine-mist spray bottle to distribute a light, even haze over a two-square-meter area.
Work in long, continuous strokes parallel to the direction of the laminate planks. This ensures that any microscopic ridges formed during application align with the visual pattern of the floor, minimizing light distortion. Apply light, even downward pressure. Do not buff or rub back and forth vigorously, as this introduces air bubbles into the drying film, which will dry as cloudy, brittle, and slippery pocket imperfections.
Phase 3: The Curing Process and Environmental Controls
Once applied, the liquid polymers must undergo a transition from a liquid emulsion to a solid, stable film. This cross-linking process is highly dependent on ambient temperature and relative humidity. Ideally, the room should be kept between 18°C and 22°C with a relative humidity below 60%.
If the air is too cold or humid, the carrier solvent evaporates too slowly. This delays the alignment of the polymer chains, resulting in a tacky finish that attracts dirt and remains dangerously slick. Allow the first coat to cure completely for at least two hours before evaluating the gloss level. If you desire a higher shine, apply a second micro-layer using the exact same technique. Never apply more than two coats in a single 24-hour period, as thick accumulations will inevitably destabilise and slide.
How to Maintain a Safe, Glossy Finish
Once you have successfully applied a slip-free gloss, daily maintenance must focus on preserving the traction. Avoid all wax-based cleaners, oil soaps, or products containing silicones. These substances do not dry to a hard finish and will slowly build up a greasy film. Instead, use a dry, electrostatic microfiber mop to remove abrasive dust particles daily. For weekly cleaning, use a damp microfiber pad with water and a tiny drop of pH-neutral detergent or isopropyl alcohol. This maintains the clean, hardened polymer surface, ensuring lasting shine with maximum physical traction.