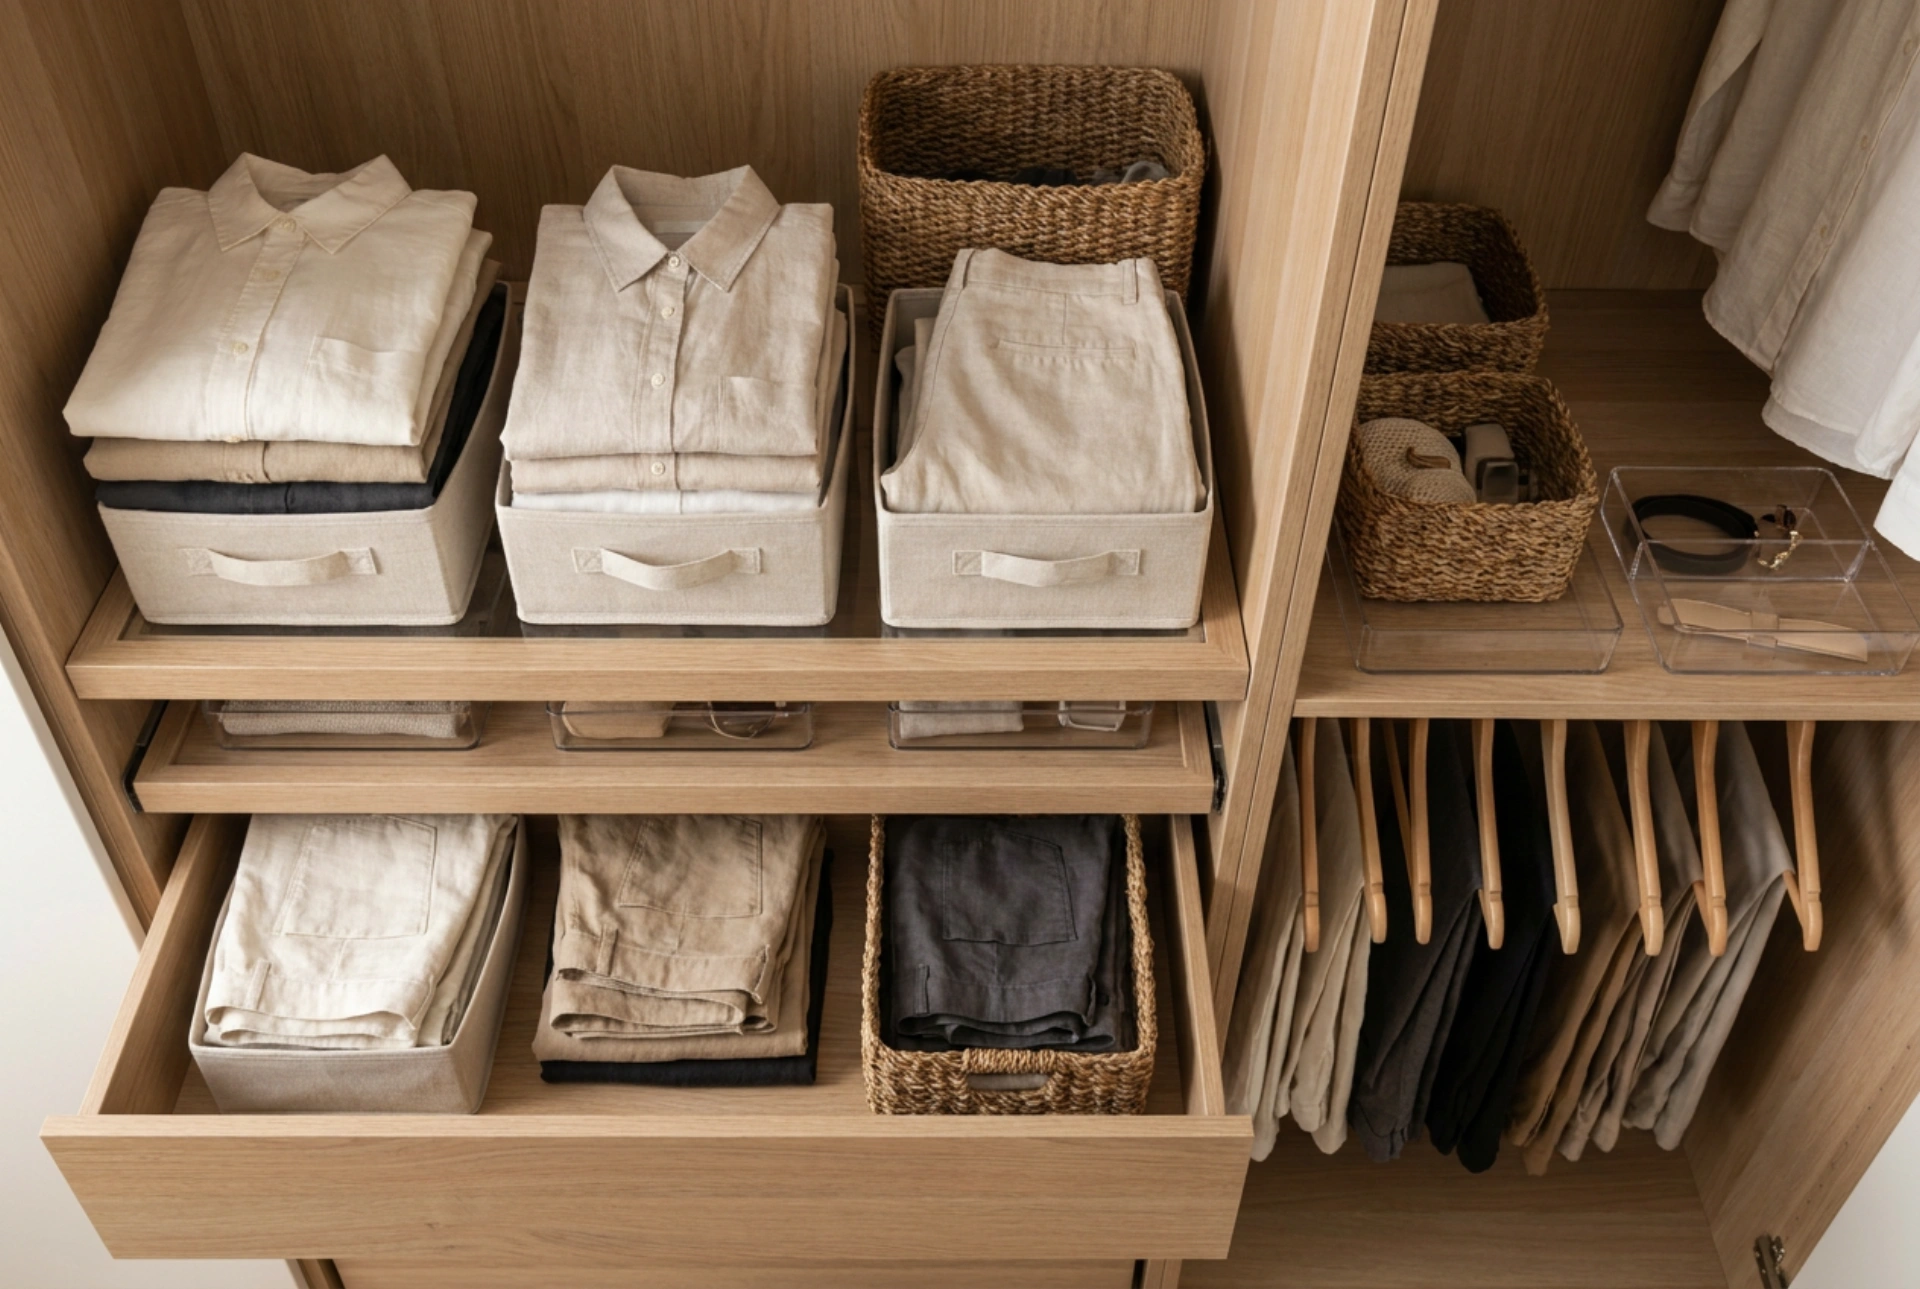


Designing an efficient custom wardrobe is an exercise in applied ergonomics, material science, and spatial physics, ensuring every centimetre supports your daily routine without structural failure.
The Physics of Load Bearing: Calculating Shelf Span and Thickness
When planning shelves, material deflection under gravity is the primary engineering challenge. Most custom wardrobes utilize Melamine Faced Chipboard (MFC) or Medium-Density Fibreboard (MDF), typically at a standard thickness of 18 mm. While these materials offer excellent flat surfaces, they have limited tensile strength when spanning long distances under load.
To prevent sagging—known physically as deflection—you must adhere to strict span limits. A standard 18 mm shelf holding folded clothing (which exerts a distributed load of approximately 15 to 20 kg per metre) should not exceed a width of 800 mm without vertical support. For heavier items like bed linens, reduce this limit to 600 mm. If your layout demands wider spans, you must increase the shelf thickness to 25 mm or introduce a solid wood front lip, which acts as a structural beam to resist bending forces.
Anthropometrics and Vertical Zone Planning
An optimized wardrobe layout aligns with human kinetic reach zones to maximize usability and reduce physical strain. Storage is divided into three distinct vertical zones based on body mechanics:
- The Active Zone (700 mm to 1700 mm): Located between your thighs and eye level, this is the easiest area to access without bending or stretching. Place daily wear, active hanging rails, and frequently used drawers here.
- The Low Zone (Below 700 mm): Requires bending or squatting. This zone is ideal for pull-out shoe racks or deep drawers housing seasonal items or heavy utility pieces.
- The High Zone (Above 1700 mm): Requires reaching or a step stool. Reserve this space for lightweight, low-frequency storage, such as spare duvets, pillows, or travel gear.
Defining Critical Dimensions for Hanging and Depth
Depth is the most critical dimension of a wardrobe. A standard clothes hanger is 420 mm to 450 mm wide. Once shirts, blazers, or winter coats are added, the effective width expands to 550 mm or 580 mm. Therefore, a wardrobe must have a minimum internal usable depth of 580 mm to allow garments to hang freely. If you are installing sliding doors, you must add an extra 80 mm to 100 mm to the total external depth to accommodate the tracks, bringing the required total depth to 650 mm or 680 mm. Insufficient depth causes clothing to brush against the doors, leading to fabric friction damage and obstructed movement.
Vertical hanging clearances must match specific garment categories to avoid pooling at the bottom:
- Short Hanging (shirts, jackets, folded trousers): Requires a vertical clearance of 1000 mm to 1100 mm from the rail to the shelf below.
- Long Hanging (dresses, overcoats): Requires a vertical clearance of 1500 mm to 1700 mm.
- Double Hanging: By placing two rails vertically, you can double your capacity. Ensure the top rail is positioned at approximately 2100 mm and the bottom rail at 1050 mm.
Microclimates and Wardrobe Ventilation
A closed wardrobe can trap stagnant air, leading to microclimates where relative humidity rises, encouraging mildew or musty odours. This risk increases if the wardrobe is built against an external wall, where temperature differentials cause condensation.
To mitigate this, design for passive ventilation. Leave a 20 mm gap at the rear of each shelf to allow air to circulate vertically. When installing doors, consider incorporating integrated mesh panels or leaving a small 5 mm gap at the plinth and top trim to encourage continuous convective airflow. Additionally, ensure the wardrobe backboard is offset from the cold wall by at least 10 mm to prevent direct thermal bridging.





