

Creating a dedicated home mailbox for holiday correspondence streamlines your seasonal mail workflow while offering a durable, functional piece of festive decor. By understanding the structural properties of cellulose materials and the chemistry of household adhesives, you can build a sturdy receptacle that protects paper from damage and establishes an efficient system for managing seasonal greetings.
The Physics of Cardboard and Adhesive Selection
To construct a mailbox that maintains its shape under the weight of multiple letters, you must select the appropriate grade of cardboard. Double-wall corrugated cardboard offers the highest strength-to-weight ratio for home projects. The internal fluting acts as a continuous arch bridge, distributing external pressure evenly across the surface.
When bonding cardboard, standard school glues often introduce excessive moisture, causing the cellulose fibres to swell and warp. Instead, use a heavy-duty polyvinyl acetate (PVA) wood glue or a hot-melt adhesive (polyethylene-vinyl acetate). PVA glue penetrates the porous paper fibres, creating a chemical lock as the water evaporates. To prevent warping during the drying phase, apply the adhesive in a thin, uniform layer using a stiff-bristled brush, and clamp the joints with light pressure or utilise temporary painters tape to hold the seams at a precise 90-degree angle.
Step-by-Step Construction of a Desktop Mailbox
Begin with a clean, dry rectangular cardboard box, approximately 30 cm in height and 20 cm in width. To create the classic curved dome of a traditional mailbox, construct a semi-cylindrical top. Carefully score the inner liner of a separate flat piece of cardboard parallel to the fluting lines at 1 cm intervals; this breaks the tension of the outer paper layer, allowing the cardboard to bend smoothly without folding or cracking.
Use a utility knife with a fresh, sharp blade to cut a mail slot. A dull blade tears the paper fibres, leaving jagged, structurally weak edges. Position the slot 5 cm below the top curve, measuring 15 cm wide and 2 cm high to accommodate standard envelopes and thick cardstock. Cut at a 45-degree bevelled angle pointing downwards; this slope sheds dust and guides inserted envelopes smoothly into the collection chamber. Reinforce the inner edges of the slot with a thin layer of paper tape to prevent wear from repeated friction.
Preserving and Organising Holiday Correspondence
Paper is highly hygroscopic, meaning it readily absorbs moisture from the surrounding air. High humidity levels (above 60%) weaken the hydrogen bonds between cellulose fibres, leading to limp paper and potential ink bleeding. Conversely, extremely dry environments (below 30% humidity) make paper brittle. Store your seasonal cards in a cool, dry area with a stable relative humidity of around 45% to 50%.
To prevent ink degradation, pay attention to the chemical composition of your writing instruments. Traditional water-based inks dissolve easily when exposed to moisture. If you are writing cards that will travel through cold transit networks where condensation occurs, use pigment-based archival inks. These inks contain microscopic solid colour particles that sit on top of the paper fibres and resist water dissolution, unlike dye-based inks that penetrate deep into the paper matrix and bleed when damp.
A Systematic Workflow for Seasonal Mail
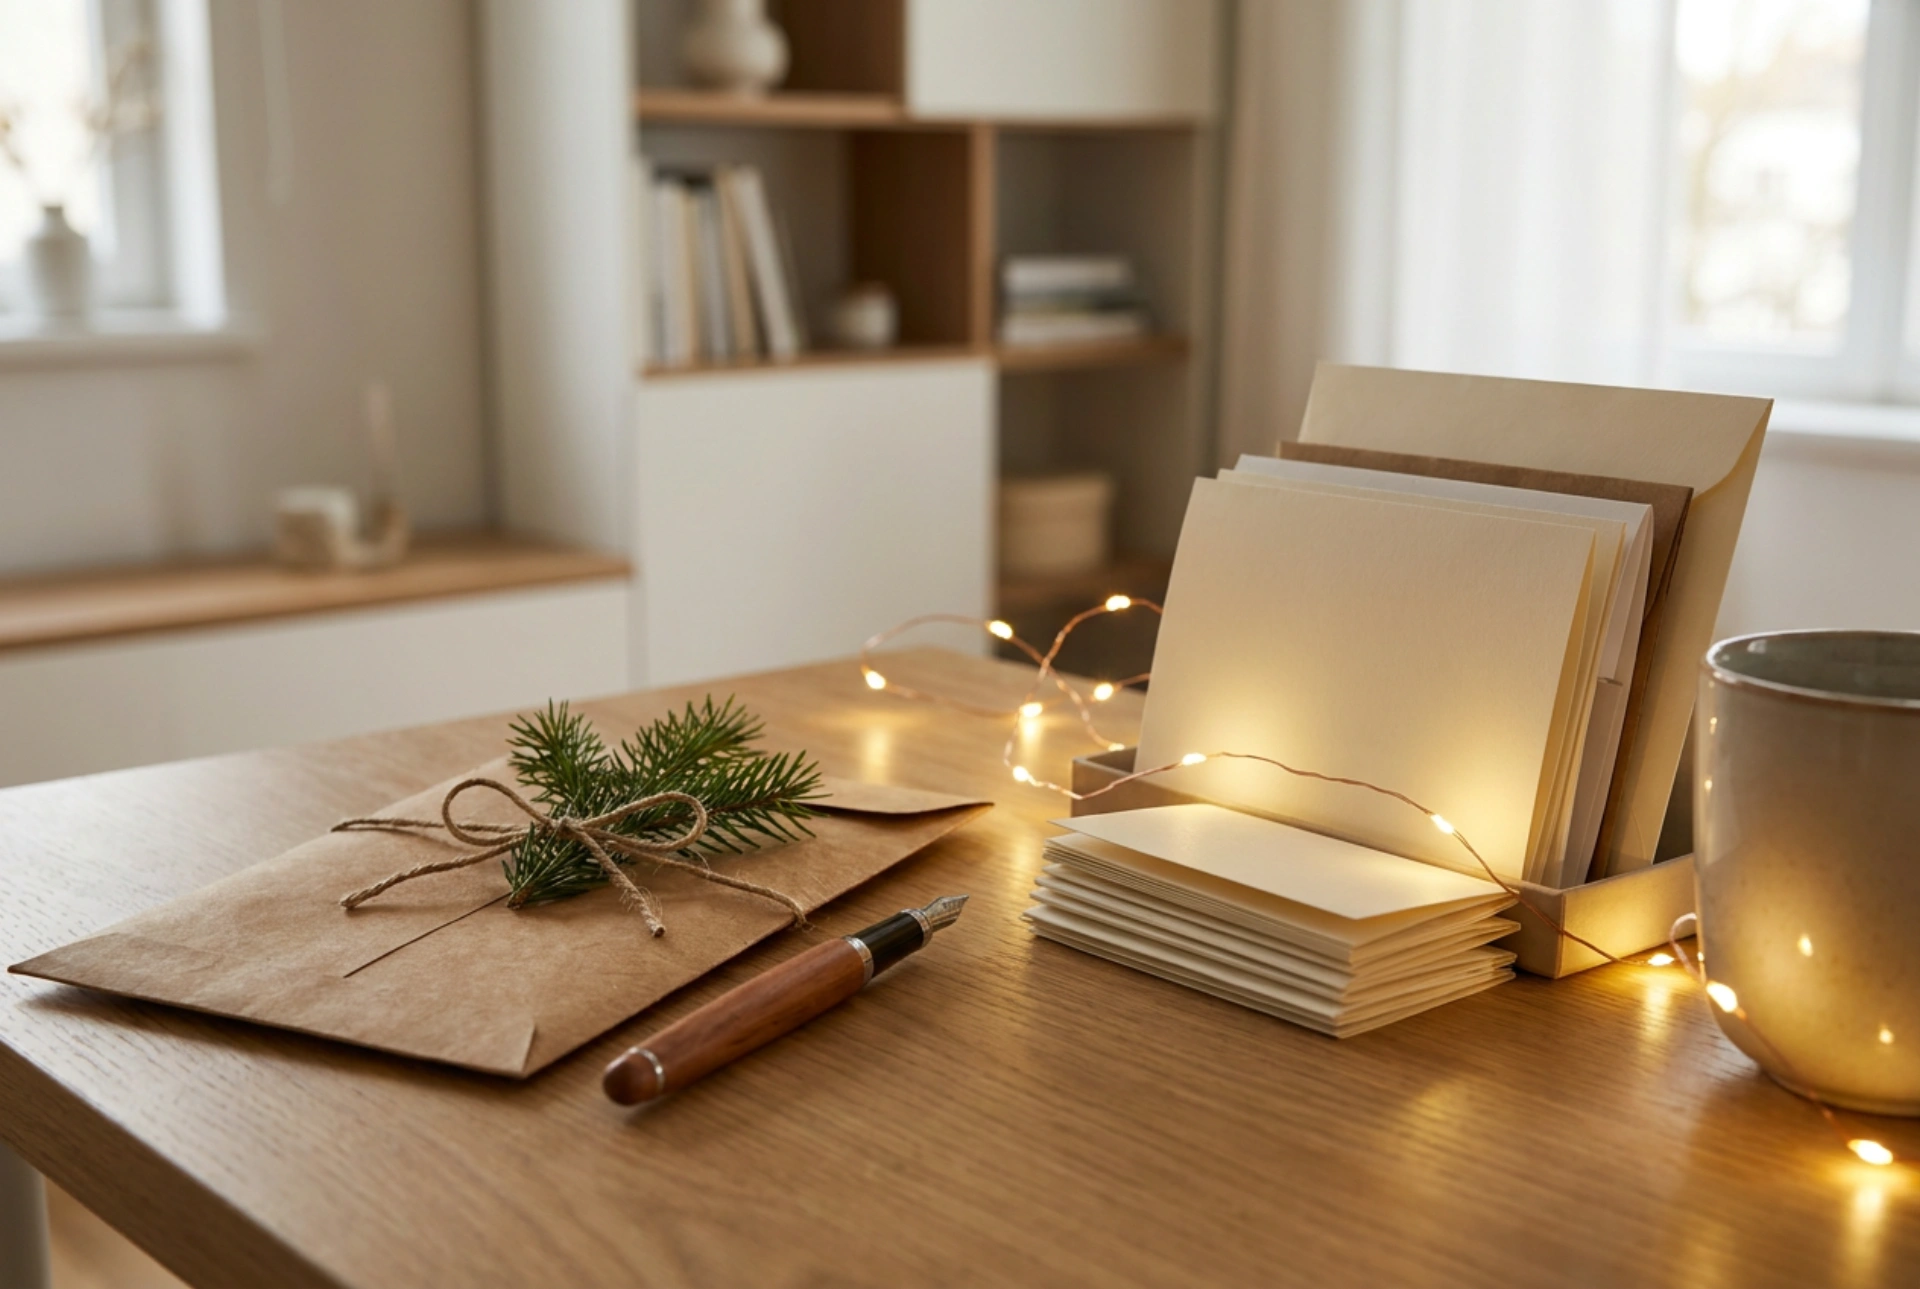
Manage incoming and outgoing mail using a simple batch-processing system to avoid clutter and missed deadlines. Divide your correspondence area into three distinct physical zones: pending verification (incoming cards to be read and logged), active processing (blank cards, envelopes, and addresses), and outbound dispatch (sealed, stamped envelopes ready for the post box).
- Phase 1: Log and Update: As cards arrive in your Santa mailbox, extract them and immediately log any updated return addresses in a physical or digital address book to maintain accuracy for future mailings.
- Phase 2: Temperature and Acidity Control: Display cards away from direct heat sources like radiators or fireplaces, as thermal exposure accelerates the yellowing of wood-pulp paper. Avoid placing cards in direct sunlight to protect delicate dyes from UV-induced photodegradation.
- Phase 3: Archiving: At the end of the season, select cards of sentimental value for long-term storage. Store them flat in acid-free, lignin-free boxes. Lignin naturally occurs in wood-pulp and breaks down over time into acidic compounds that cause paper to turn yellow and crumble.