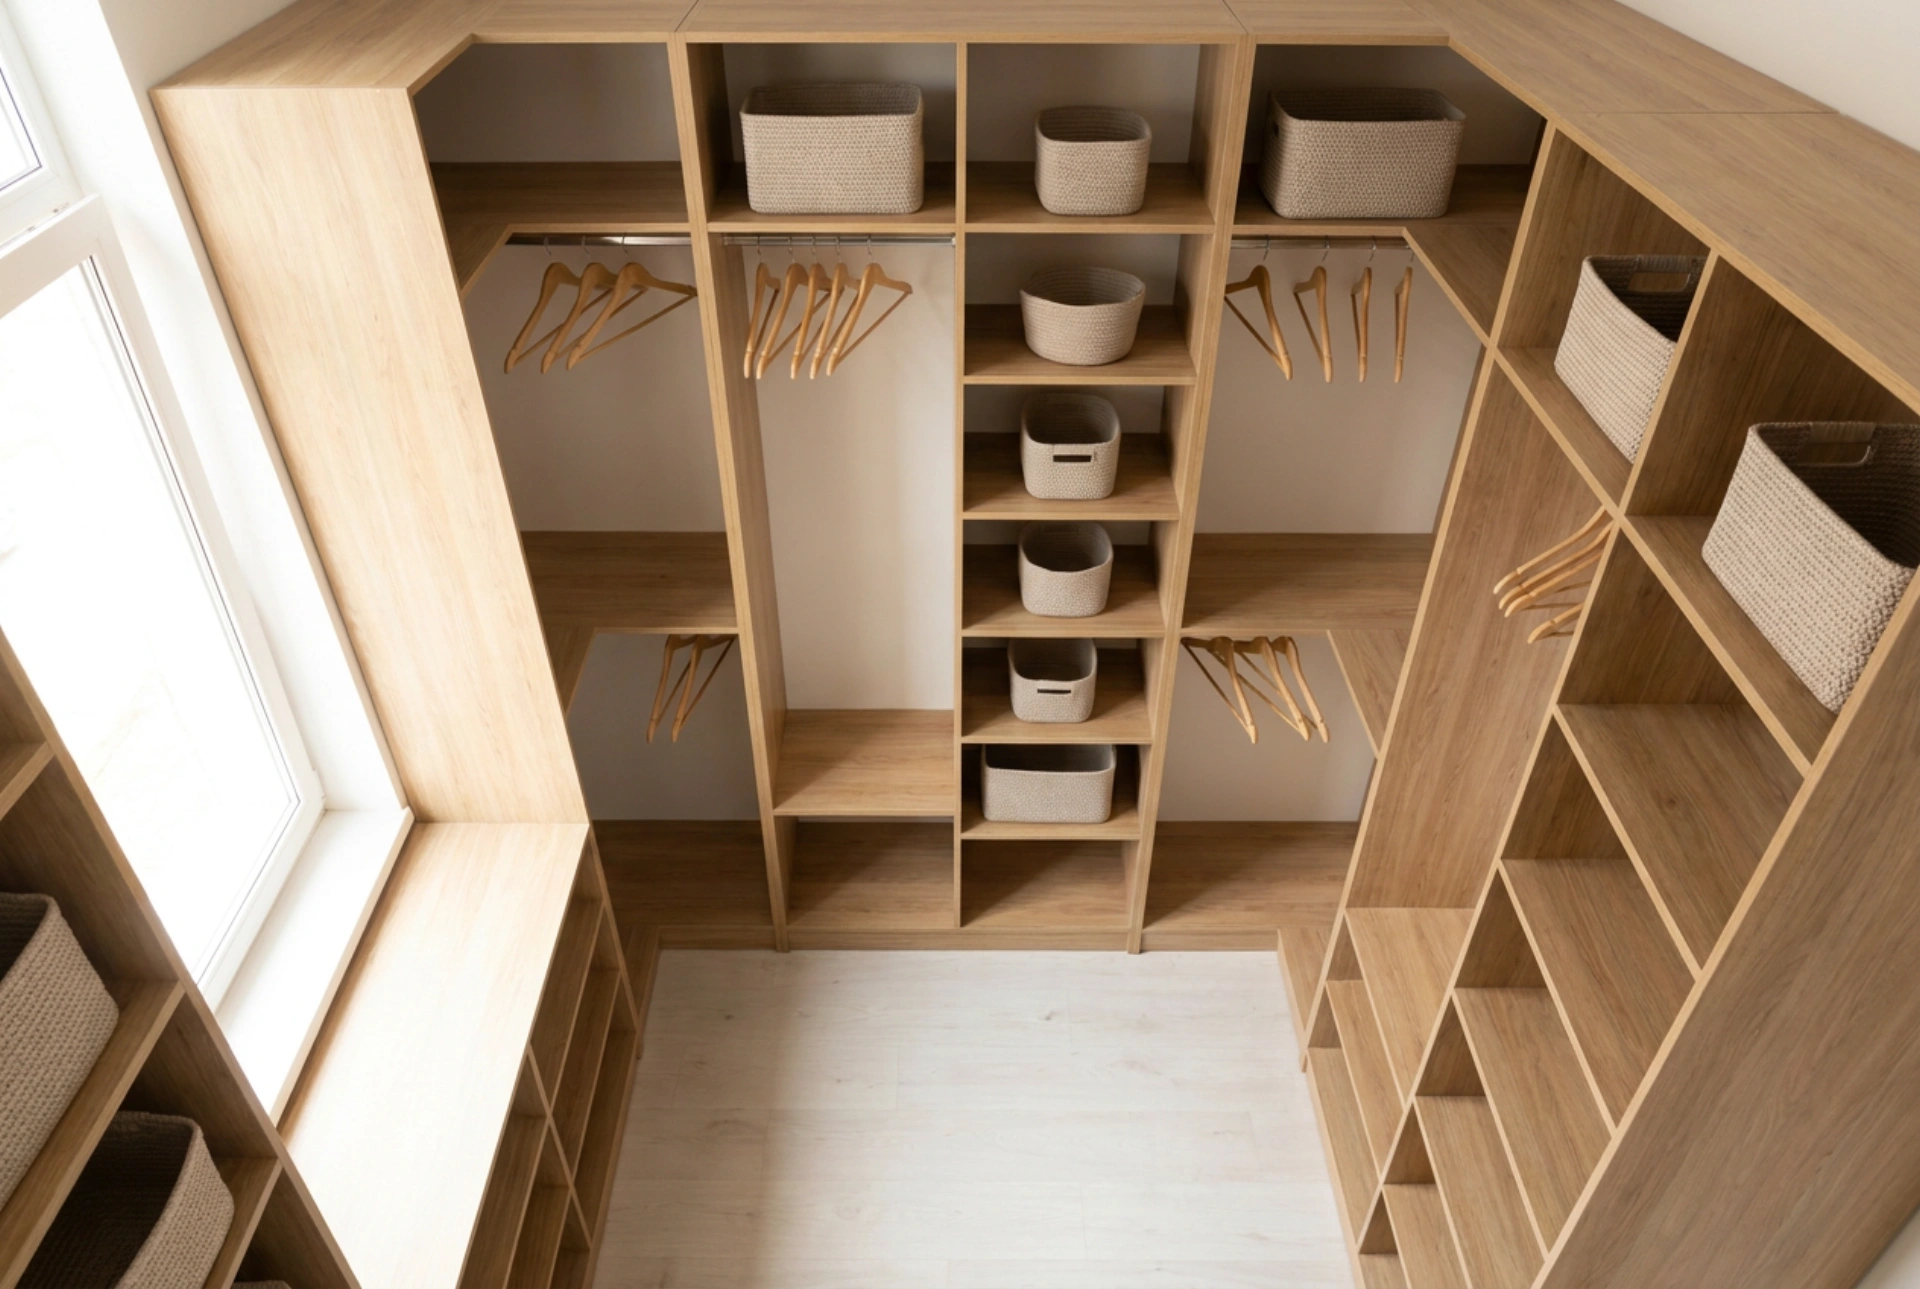


Planning a modular wardrobe requires a clear understanding of structural load distribution, physical clearance, and mechanical fastening systems to ensure the layout remains genuinely adaptable over time. Organizing these components systematically allows you to reconfigure shelves, hanging rails, and pull-out drawers as seasonal needs shift, without compromising the structural integrity of the frames.
The Physics of Modular Stability: Load Distribution and Leveling
Every modular wardrobe relies on a rigid skeletal frame. Before attempting any internal layout changes, you must address the fundamental forces of gravity and shear stress. A common mistake is adjusting interior components without ensuring the main carcass is perfectly plumb and level. If the vertical panels are tilted by even a fraction of a degree, sliding elements will bind, and shelf support pins will experience uneven lateral pressure, leading to structural fatigue.
- Precision Leveling: Always adjust the leveling feet of the wardrobe carcass first. Use a spirit level along both the horizontal base and the vertical side panels. Frame distortion prevents modular inserts from sliding out smoothly.
- Securing Wall Anchors: Modular systems are dynamic; opening multiple drawers shifts the center of gravity forward. Heavy-duty wall anchors, selected based on your wall material such as toggle bolts for drywall or expansion anchors for masonry, must secure the top back rail to prevent tipping during reconfiguration.
- Weight Stratification: Always place the heaviest, most static components at the very bottom. Large pull-out wire baskets, solid wooden drawers, and heavy storage boxes act as stabilizing ballasts. High-level areas should be reserved for lightweight items to minimize the system’s top-heavy tipping potential.
The Grid System: Standardizing Vertical Clearance
Modular wardrobes utilize pre-drilled vertical hole patterns, typically spaced at 32mm increments. Understanding the clearance requirements of your garments allows you to reposition elements instantly without trial-and-error measurements.
Optimizing Hanging Zones
Hanging rods require specific vertical clearances to prevent clothing from bunching or dragging along lower shelves, which creates friction and restricts airflow. Long coats and dresses require a minimum clearance of 140 to 160 centimeters. Suits, jackets, and trousers hung from the waist require 100 to 110 centimeters, while folded trousers on hangers need only 70 to 80 centimeters. By grouping similar garment lengths together, you free up vertical columns of space that can be filled with adjustable shelving.
Shelving and Air Circulation
For folded clothing, a distance of 25 to 35 centimeters between shelves is optimal. Any larger, and clothing stacks will inevitably topple, creating clutter. From a material science perspective, natural fibers like wool and cotton require adequate ventilation to prevent moisture accumulation. Utilize wire mesh shelves or leave a 5-centimeter gap at the back of solid shelves to facilitate continuous convective airflow throughout the wardrobe interior.
Mechanics of Pull-Out Components and Drawers
Unlike static shelves, drawers and pull-out trays introduce dynamic loads and friction. Smooth operation depends entirely on the type and alignment of the runner mechanisms. Ball-bearing runners provide high load capacity and lateral stability, making them ideal for heavy drawers. Roller runners, operating on nylon wheels, are easier to detach, which is crucial if you plan to reposition drawers frequently. When installing pull-out components, always ensure they are positioned below eye level. Placing a drawer too high creates a blind vertical reach, increasing the risk of pulling items down onto yourself and placing unnecessary upward leverage on the drawer tracks, which can warp the metal rails over time.
Step-by-Step Reconfiguration Protocol
When changing the layout of your modular wardrobe, following a strict order of operations prevents physical strain on both you and the furniture materials:
- Complete Depressurization: Completely empty all shelves and drawers in the target section. Attempting to move components while loaded risks snapping the support pins or stripping the pre-drilled holes.
- Removing Moving Parts: Slide drawers out to their maximum extension, engage the release levers on the runners, and remove them entirely. Remove hanging rods from their brackets.
- Repositioning Hardware: Carefully extract shelf support pins using pliers if they are tightly wedged, ensuring you do not twist them laterally, which can enlarge the pre-drilled holes and cause future sagging.
- Re-leveling and Load Verification: Once the new layout is in place, verify that all drawers slide effortlessly without catching. If a drawer sticks, slightly adjust the opposite side's level to restore perfect parallelism.





