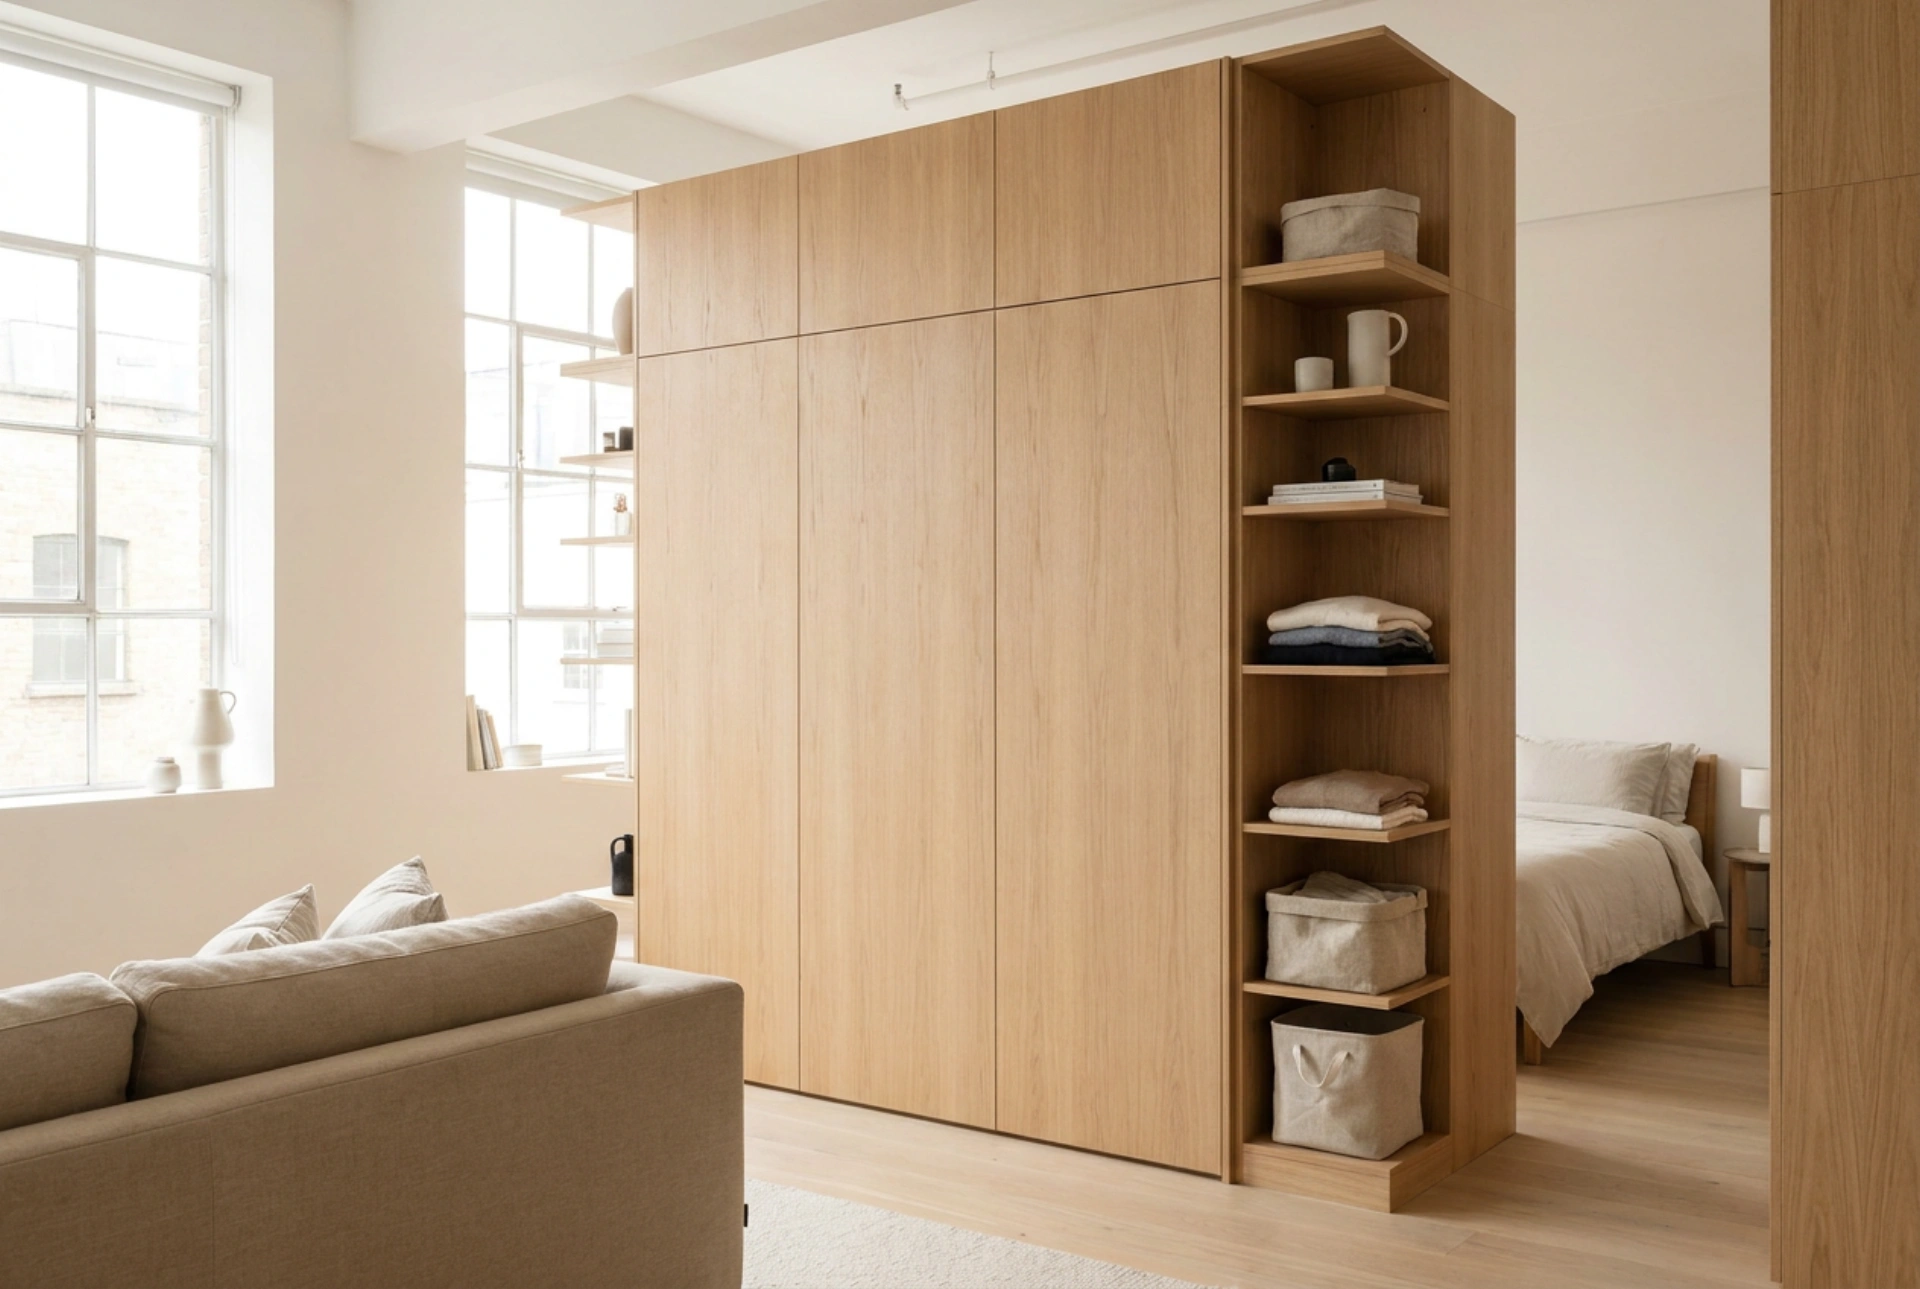


Using a wardrobe as a freestanding partition is an exceptionally efficient way to zone a room while maximizing storage capacity. By understanding the structural physics, depth calculations, and sound attenuation principles, you can divide your living space seamlessly without the permanent commitment of a drywall partition.
Structural Stability and Safe Anchoring Mechanics
A standard wardrobe is designed to lean against a load-bearing wall, which prevents lateral tipping. When repurposed as a freestanding room divider, the unit’s center of gravity shifts, making it vulnerable to physical forces. To prevent tipping without undertaking heavy construction, you must secure the frame to solid architectural boundaries.
The most reliable method involves using heavy-duty tension expansion bolts or top-anchoring blocks secured directly into ceiling joists. If drilling into the ceiling is not possible, the base footprint must be physically widened. Placing a wide, heavy plinth or extending the bottom platform of the wardrobe creates a larger support base, effectively lowering the center of gravity. Additionally, load distribution plays a crucial role: place heavy items like books, luggage, and winter coats in the lowest compartments, while reserving the top shelves for lightweight textiles.
Optimizing Back Panel Aesthetics and Acoustic Dampening
Standard mass-produced wardrobes feature thin, unfinished high-density fibreboard (HDF) backing. This material is structurally weak, visually unappealing, and highly resonant, turning the wardrobe interior into a hollow drum that amplifies sound waves. To make the wardrobe look and function like a real wall, the rear panel must be treated for both aesthetics and acoustics.
- Acoustic Felt and Panelling: Applying felt sheets or wood-slat acoustic panels to the rear of the wardrobe dampens sound waves. The porous fibres of the felt absorb medium-to-high frequency airborne sounds, preventing them from penetrating into the adjacent zone.
- Double-Sided MDF Cladding: Screwing a 12mm medium-density fibreboard (MDF) sheet to the back adds mass. According to the mass law of acoustics, heavier barriers are significantly better at blocking low-frequency noise. This board can then be painted or wallpapered to match the room's walls.
- Mirrored Surfaces: Attaching lightweight acrylic mirror panels to the rear bounces light back into the newly created zone, counteracting the shadowing effect caused by a tall, solid partition.
Spatial Ergonomics and Dual-Sided Accessibility
Positioning a deep cabinet in the middle of a room alters the flow of foot traffic and air circulation. A standard wardrobe requires a depth of 60 cm for hangers. When configuring your layout, ensure there is a minimum clearance of 80 cm between the open wardrobe doors and any adjacent furniture to maintain ergonomic passage.
To maximize every square centimetre, consider an alternating access configuration. By removing back panels from specific sections and installing them on the opposite side, you can create a double-sided storage unit. For example, the bottom half opens into the bedroom area for clothes, while the top half opens into the living area for books or decorative objects. This technique eliminates dead zones and distributes the functional load of the partition evenly between both micro-environments.
Ventilation and Thermal Considerations
A floor-to-ceiling partition can disrupt natural air convection currents, leading to micro-climate pockets where humidity can accumulate, especially near exterior windows. To ensure adequate airflow, maintain a gap of 5 to 10 cm between the top of the wardrobe and the ceiling. This gap permits continuous hot air escape and prevents stagnant air zones, reducing the risk of moisture condensation on the back of the wardrobe panels.





