

Achieving a sharp, professional crease on suit trousers while preserving the original matte texture of the wool requires an understanding of textile physics rather than sheer downward force. Direct contact with a hot iron can permanently flatten natural wool fibres, creating an unsightly, reflective shine that ruins the drape of the garment.
The Physics of Shine: Why Wool Flattens
Wool and high-grade wool blends are made of protein fibres containing keratin, which are covered in microscopic scales. Under dry, excessive heat, these scales flatten completely and fuse together, transforming a texturized, light-diffusing surface into a smooth, highly reflective pane. Once these fibres are melted or scorched, the damage to the matte finish is often irreversible.
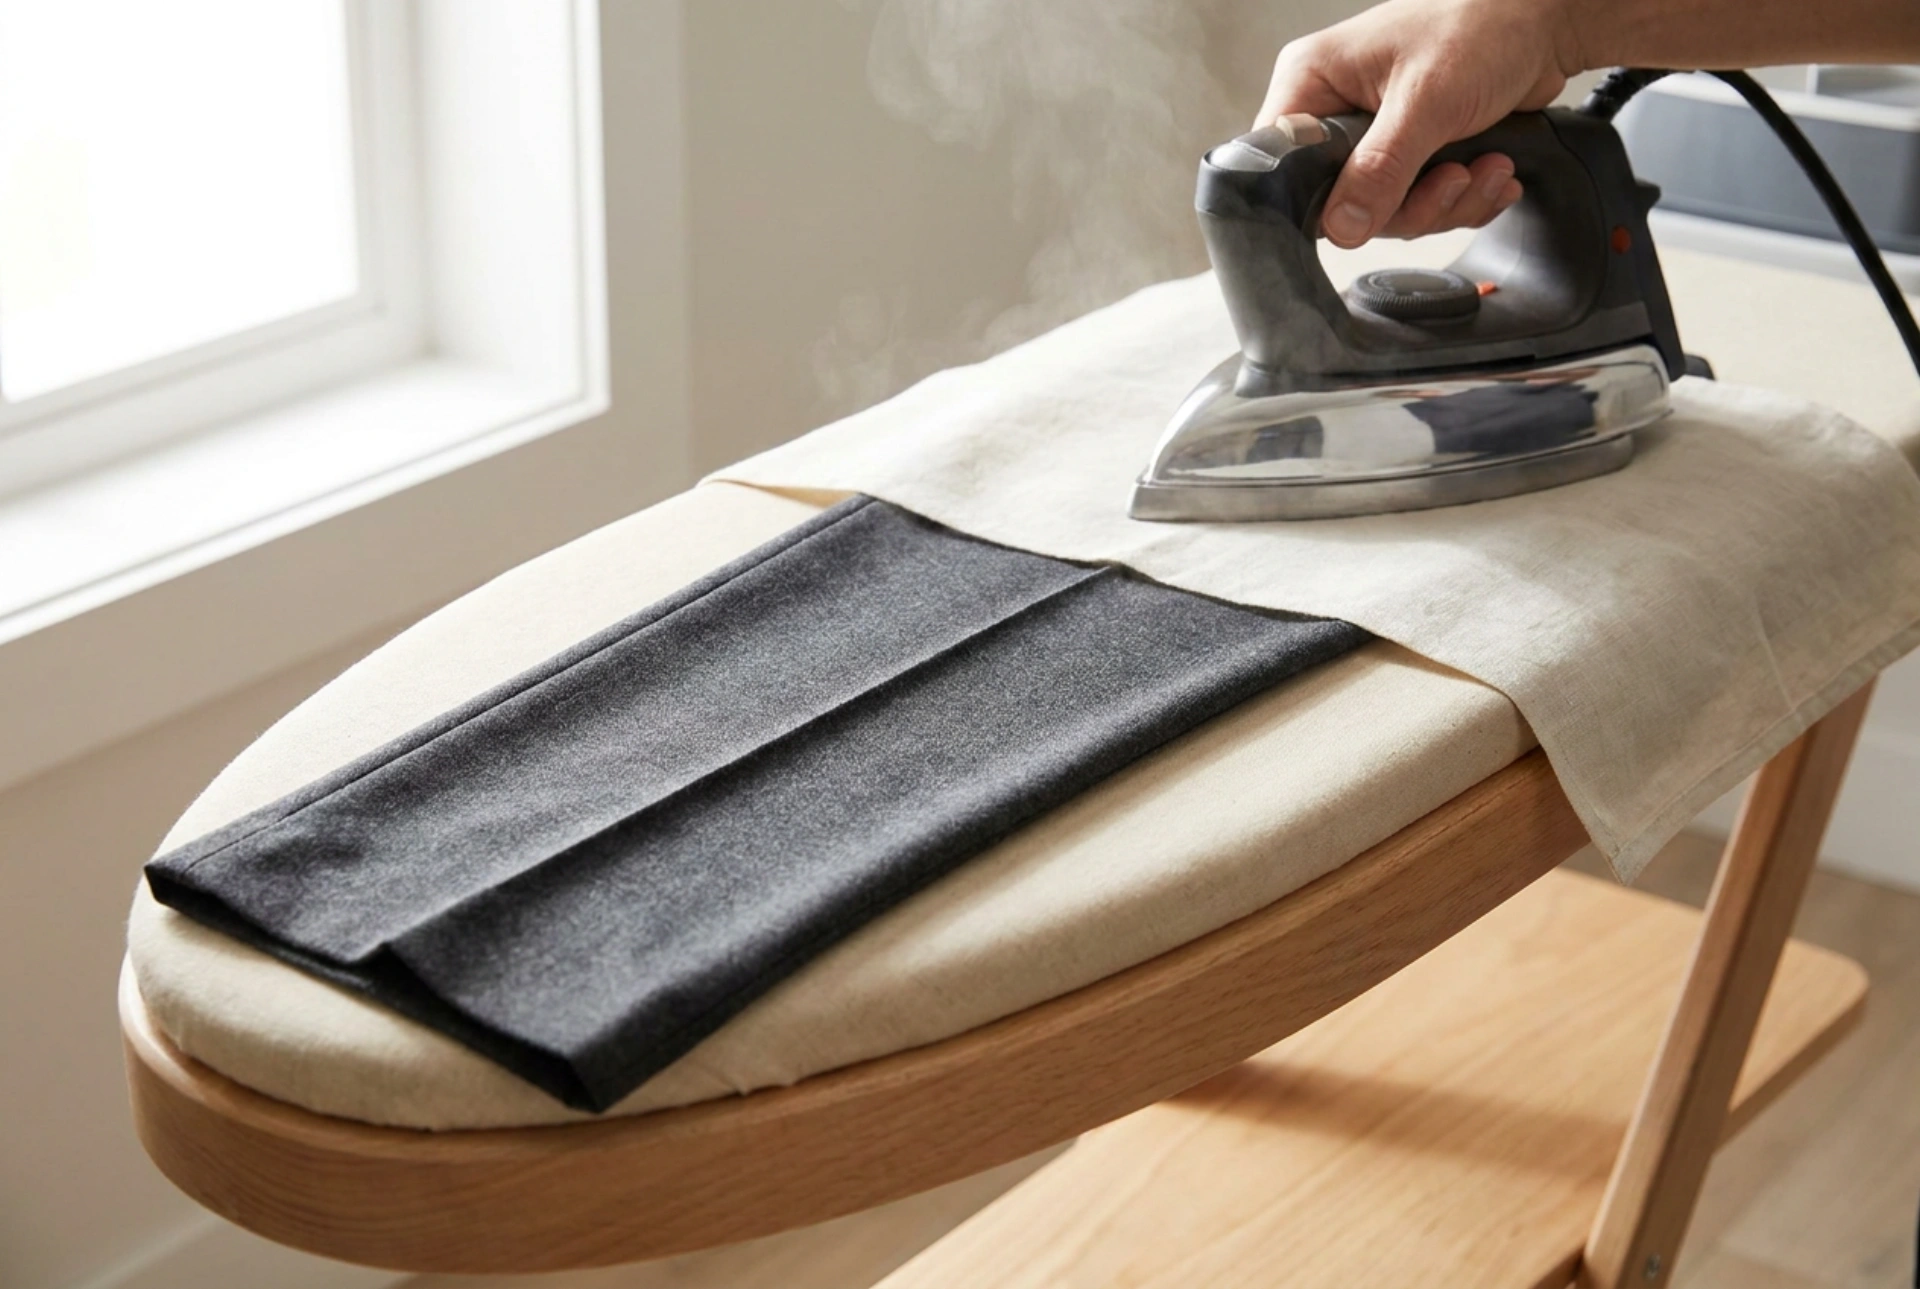
To prevent this, you must introduce a physical barrier and leverage the power of moisture. A pressing cloth—ideally made of untreated, un-dyed cotton or linen—acts as a thermal buffer. It absorbs the direct dry heat of the iron soleplate while allowing steam to penetrate the trouser fabric. Steam relaxes the hydrogen bonds within the wool fibres, making them temporarily pliable. As the fabric cools, these bonds reform in the new, pressed shape without the fibres being crushed.
Essential Preparation and the Pressing Toolset
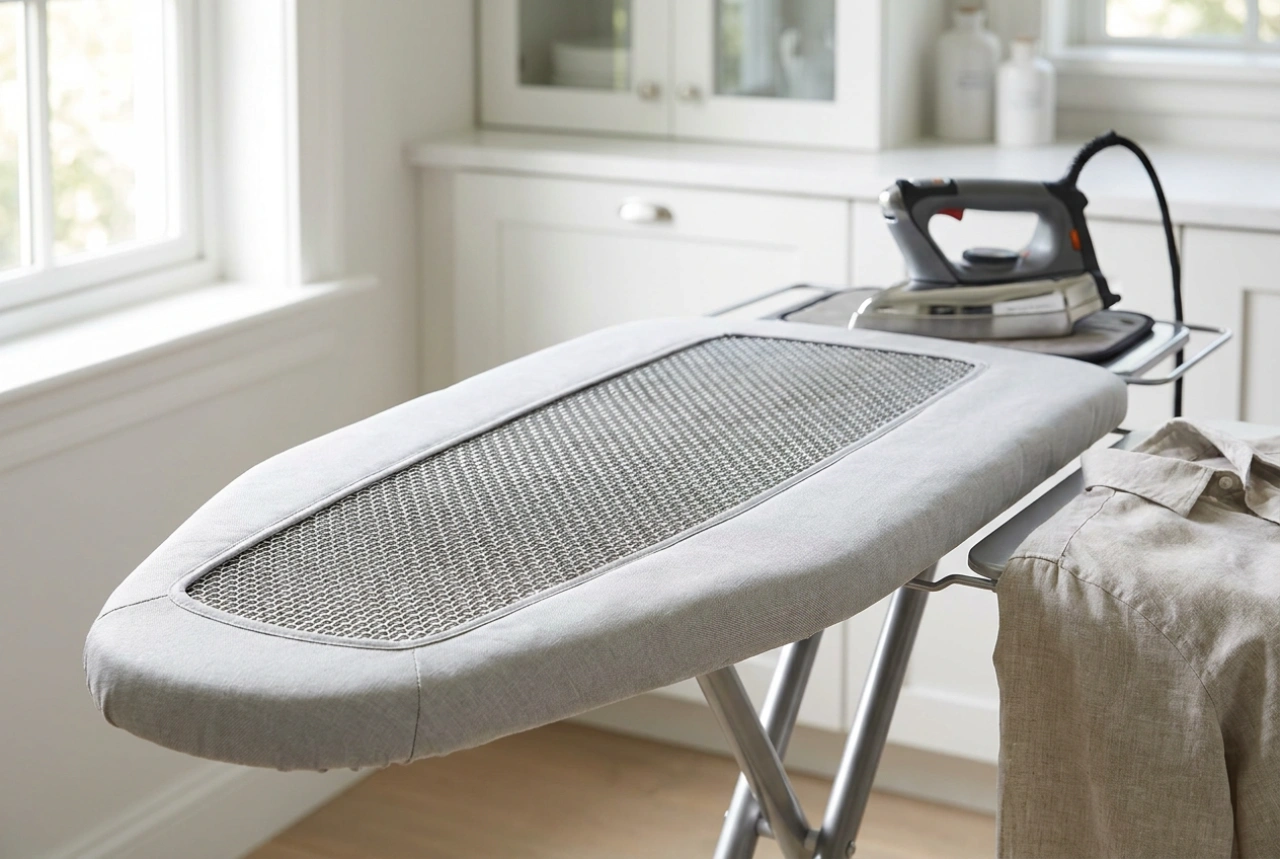
Before beginning, ensure your ironing surface is clean and heavily padded. A thin board cover will transfer the grid pattern of the metal mesh onto your trousers. You will need:
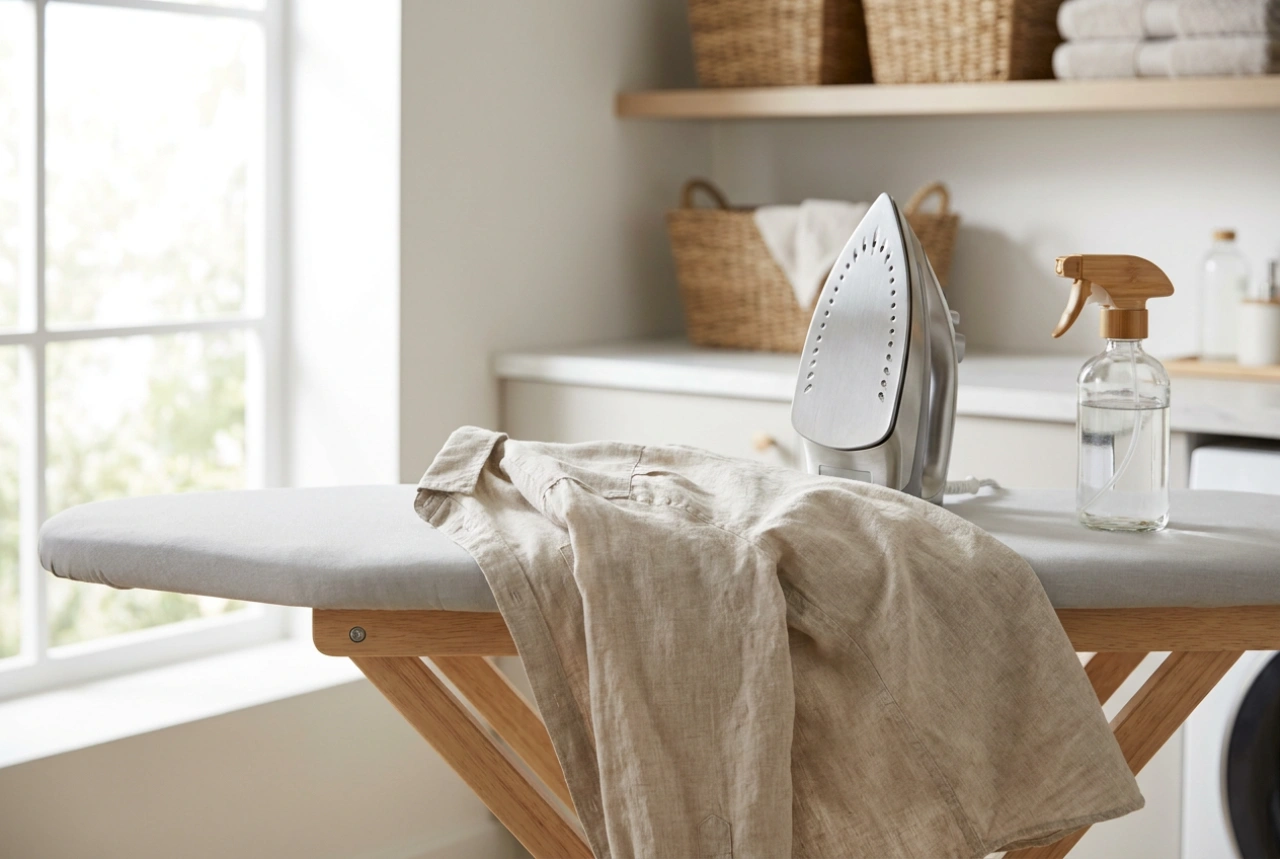
- A steam iron: Set to the correct wool setting, typically medium heat around 150°C.
- A pressing cloth: A clean, lint-free linen or cotton cloth. Do not use synthetic fabrics, as they can melt under high heat.
- A tailors wooden clapper: A block of hardwood used to trap steam and flatten seams or creases without applying further heat.
Step-by-Step Sequence for Perfect Alignment
Never start by pressing the legs directly. To avoid transferring internal bulk to the outer face of the fabric, you must work from the inside out and top to bottom.
1. Pockets and Waistband
Turn the trousers inside out. Lay the pocket bags flat on the board and press them dry. If pocket bags are wrinkled, they will transfer those ridges to the exterior of the wool when you iron the outer layers. Next, slide the waistband over the narrow end of the ironing board. Rotate and press the waistband, pockets, and fly area, taking care around buttons and zippers.
2. Aligning the Crease Lines
Turn the trousers right-side out. Hold the trousers by the cuffs and find the natural alignment of the leg. This is done by matching the inner leg seam (inseam) exactly to the outer leg seam (outseam) from the hem up to the crotch level. Lay one leg flat on the ironing board, letting the other leg hang off the side or fold up out of the way. Smooth out any internal pocket linings so they lie completely flat inside the leg.
The Press-and-Lift Technique
The most common mistake when ironing trousers is sliding the iron back and forth along the fabric. Sliding stretches the warm, pliable wool fibres out of shape and creates waves along the crease. Instead, use a strict press-and-lift motion.
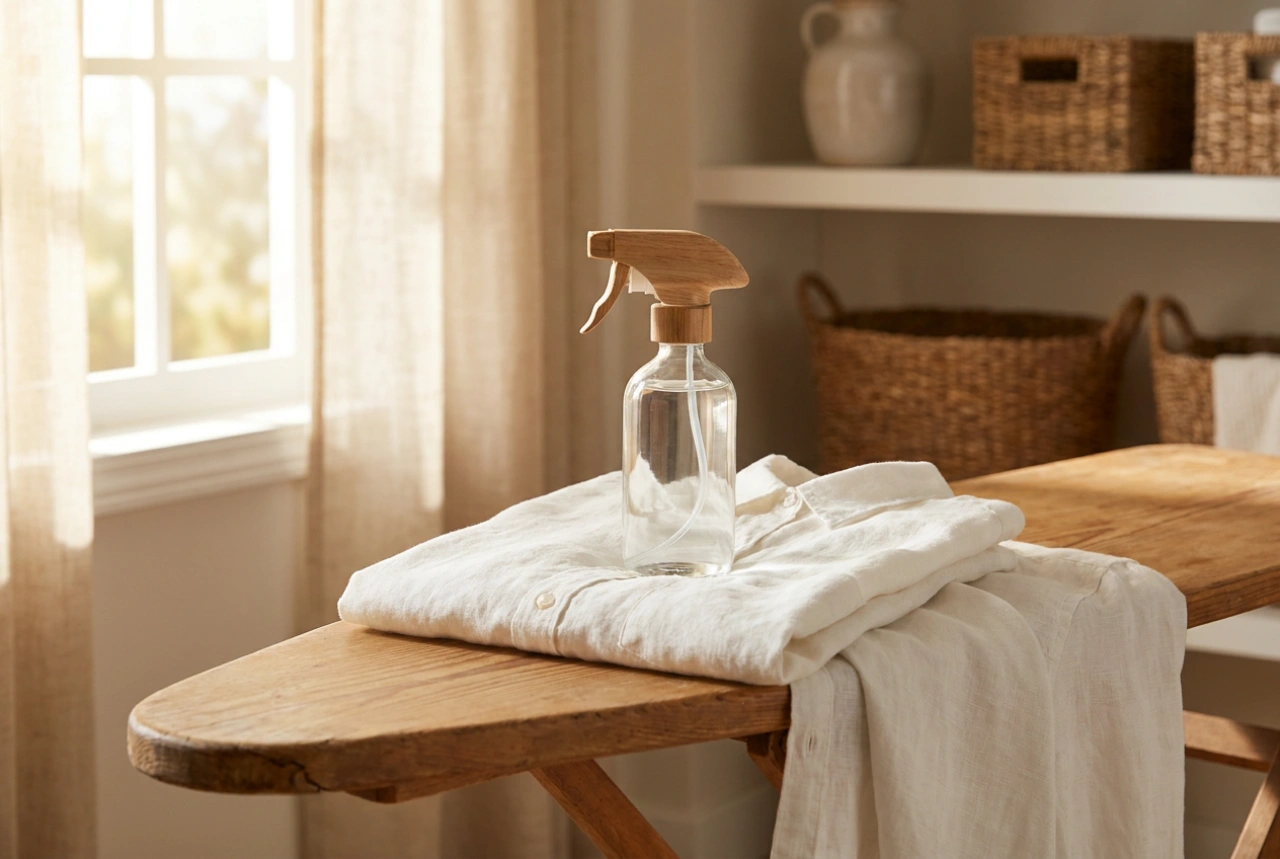
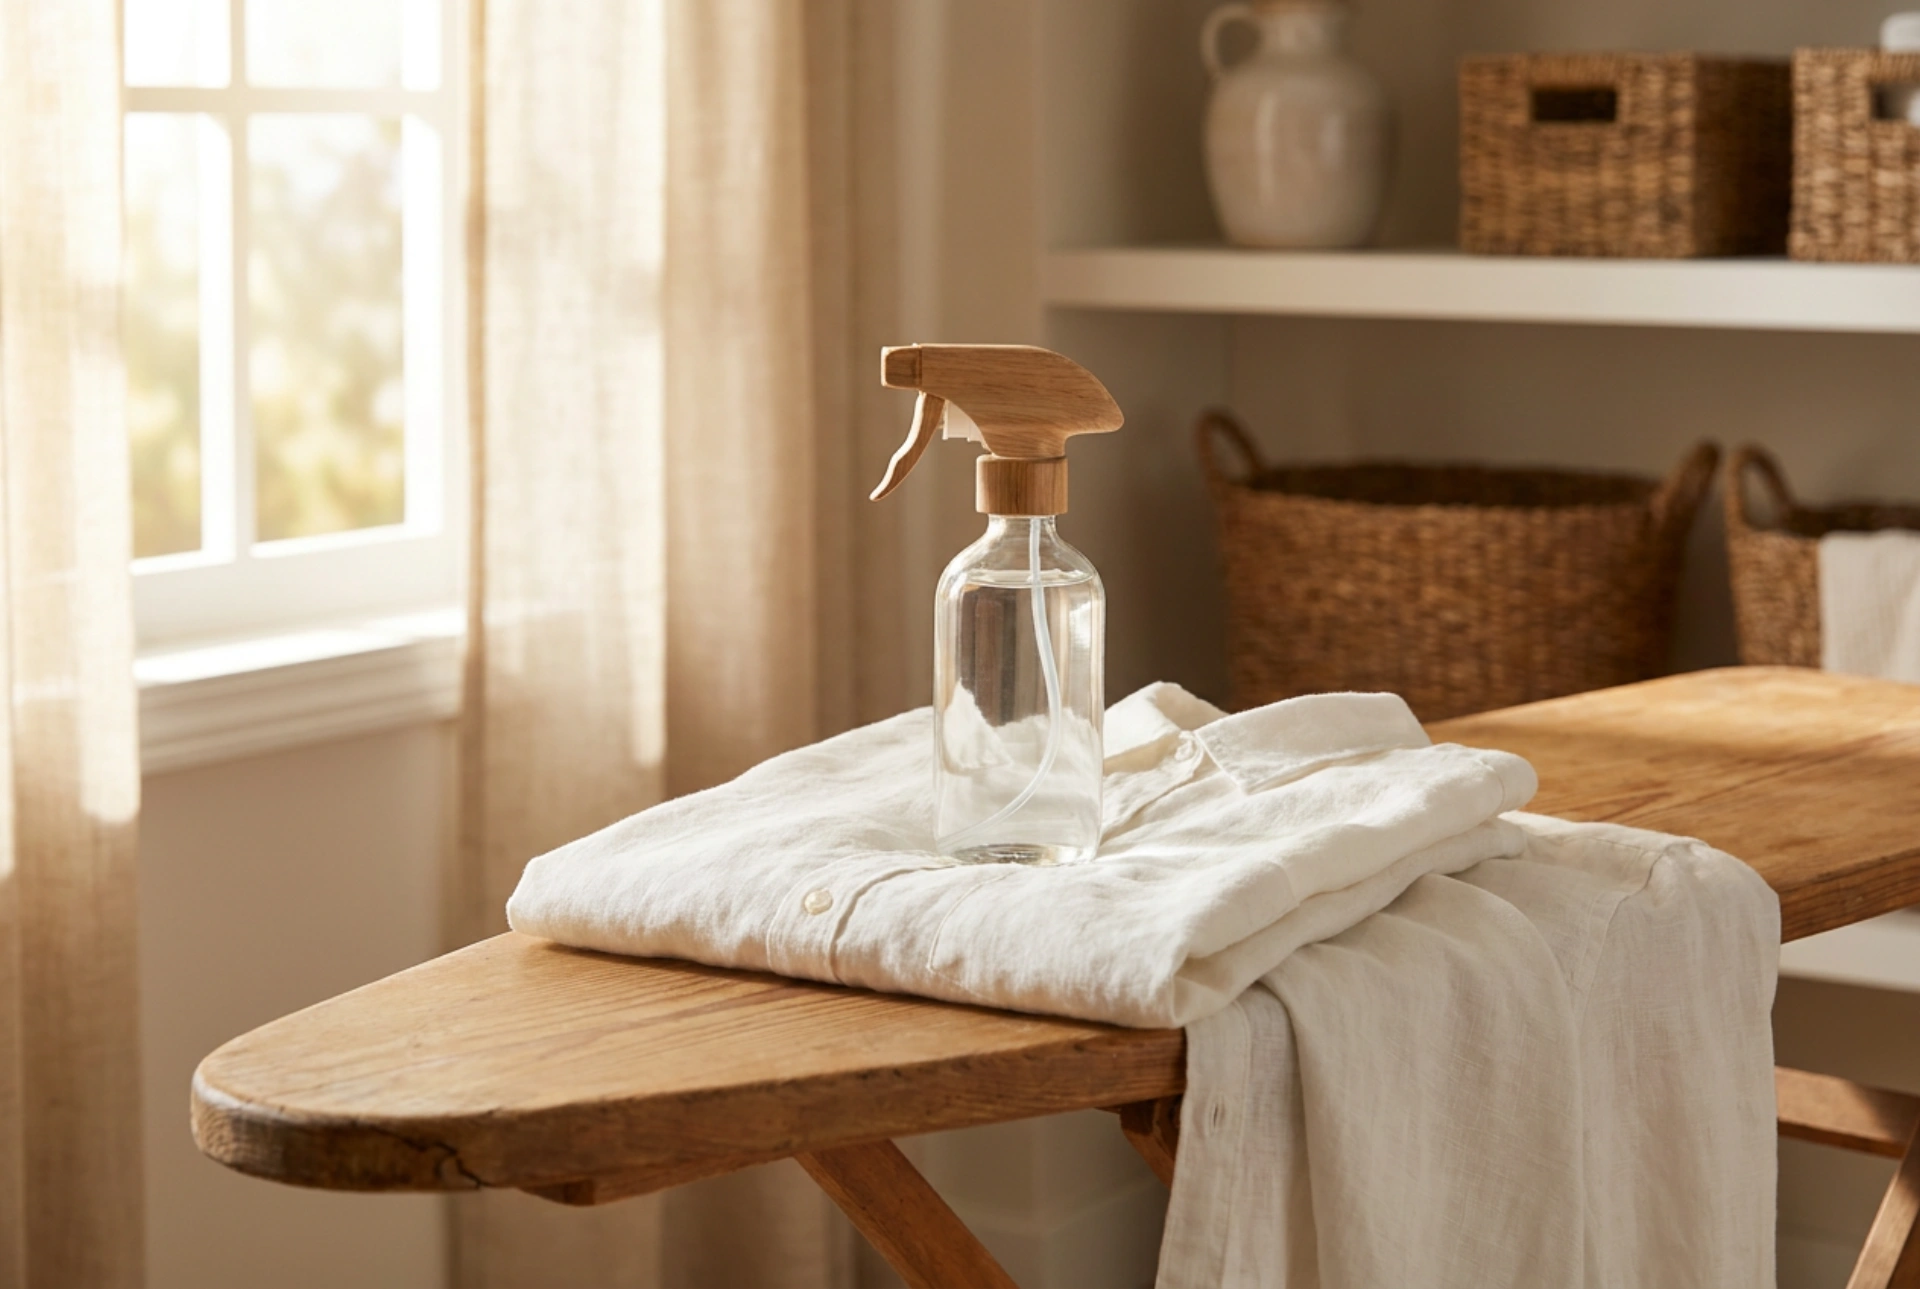
Dampen your pressing cloth slightly with a spray bottle, then lay it over the aligned trouser leg. Place the iron firmly down on the cloth, hold it for three to five seconds while releasing a burst of steam, and then lift the iron entirely off the fabric. Move to the next section, overlapping the previous spot slightly to ensure even coverage. Repeat this down the length of the leg, focusing first on the center panel before moving to the creases.
Setting and Locking the Crease
Once the leg is flat and aligned, focus on the front and back creases. Lay the damp pressing cloth over the fold. Apply the iron firmly along the crease line using the press-and-lift technique. If you are using a wooden clapper, immediately press the wooden block down onto the steamed crease as soon as you lift the iron. Hold it there for several seconds. The wood absorbs the heat and moisture rapidly, locking the wool fibres into a razor-sharp, durable crease while keeping the finish perfectly matte.
After finishing one side, flip the trousers over carefully to repeat the process on the other side of the same leg, then move on to the second leg. Allow the trousers to cool completely on the flat board or hang them immediately by the cuffs on a dedicated trouser hanger before wearing them, as warm wool is still highly susceptible to creasing.