

Setting up an efficient ironing station requires managing heat, steam, and electricity safely. An ironing board with an integrated power socket and dedicated cable management solves the physical friction of tangled cords while minimizing mechanical wear on the iron's power cable.
The Physics of Cable Wear and Mechanical Stress
Power cords on household irons are subject to continuous dynamic stress. As you glide the iron across the fabric, the internal copper conductors undergo repetitive bending cycles, a phenomenon known as flex fatigue. Over time, tight bending radii cause micro-fractures in the copper strands, leading to increased electrical resistance, localized heating, and eventually cord failure. Furthermore, constant friction against the sharp metal edges of the ironing board or the coarse texture of the cover wears down the protective outer sheath, whether it is made of braided textile or synthetic polymer. Elevating the cable with a guide or cord support antenna reduces this mechanical stress. By holding the cord aloft, the bending motion is distributed over a wider arc, transforming sharp kinks into gentle curves and significantly extending the service life of the appliance.
The Practical Mechanics of Integrated Sockets
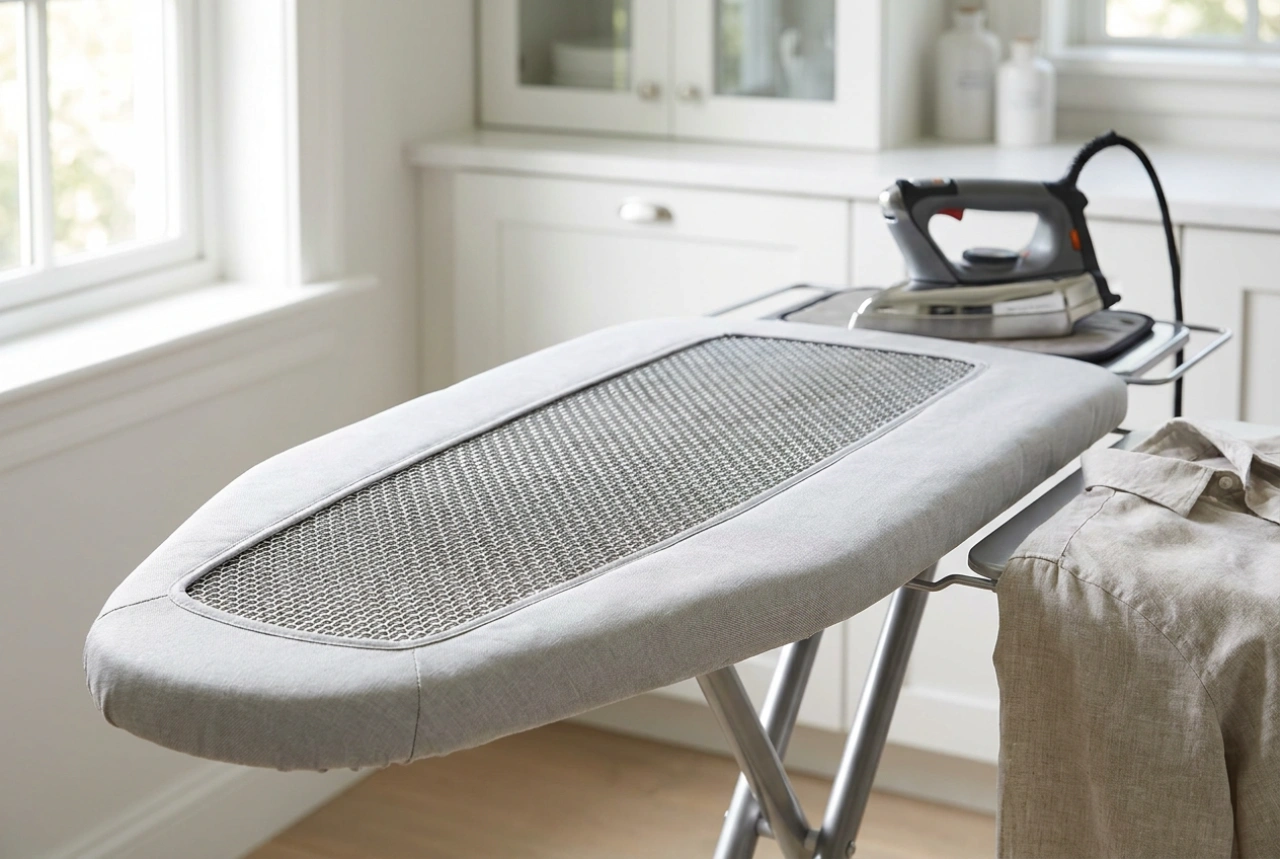
Using an ironing board with a built-in electrical outlet offers significant ergonomic and safety benefits. When an iron is plugged into a distant wall outlet, the moving cord must span a long distance. This creates a "tether effect," where the weight of the dangling cord pulls back on your hand, causing muscle fatigue and dragging across the fabric, which can re-introduce wrinkles to freshly pressed garments. An integrated socket on the frame of the board acts as a stationary anchor point. The heavy-duty extension cable of the board remains completely static on the floor, while only the short, highly flexible cord of the iron moves during the ironing process. This layout shortens the active length of the moving cord, reducing drag, minimizing the risk of tipping the board over, and keeping the work area neat and predictable.
Optimal Cable Routing and Setup Techniques
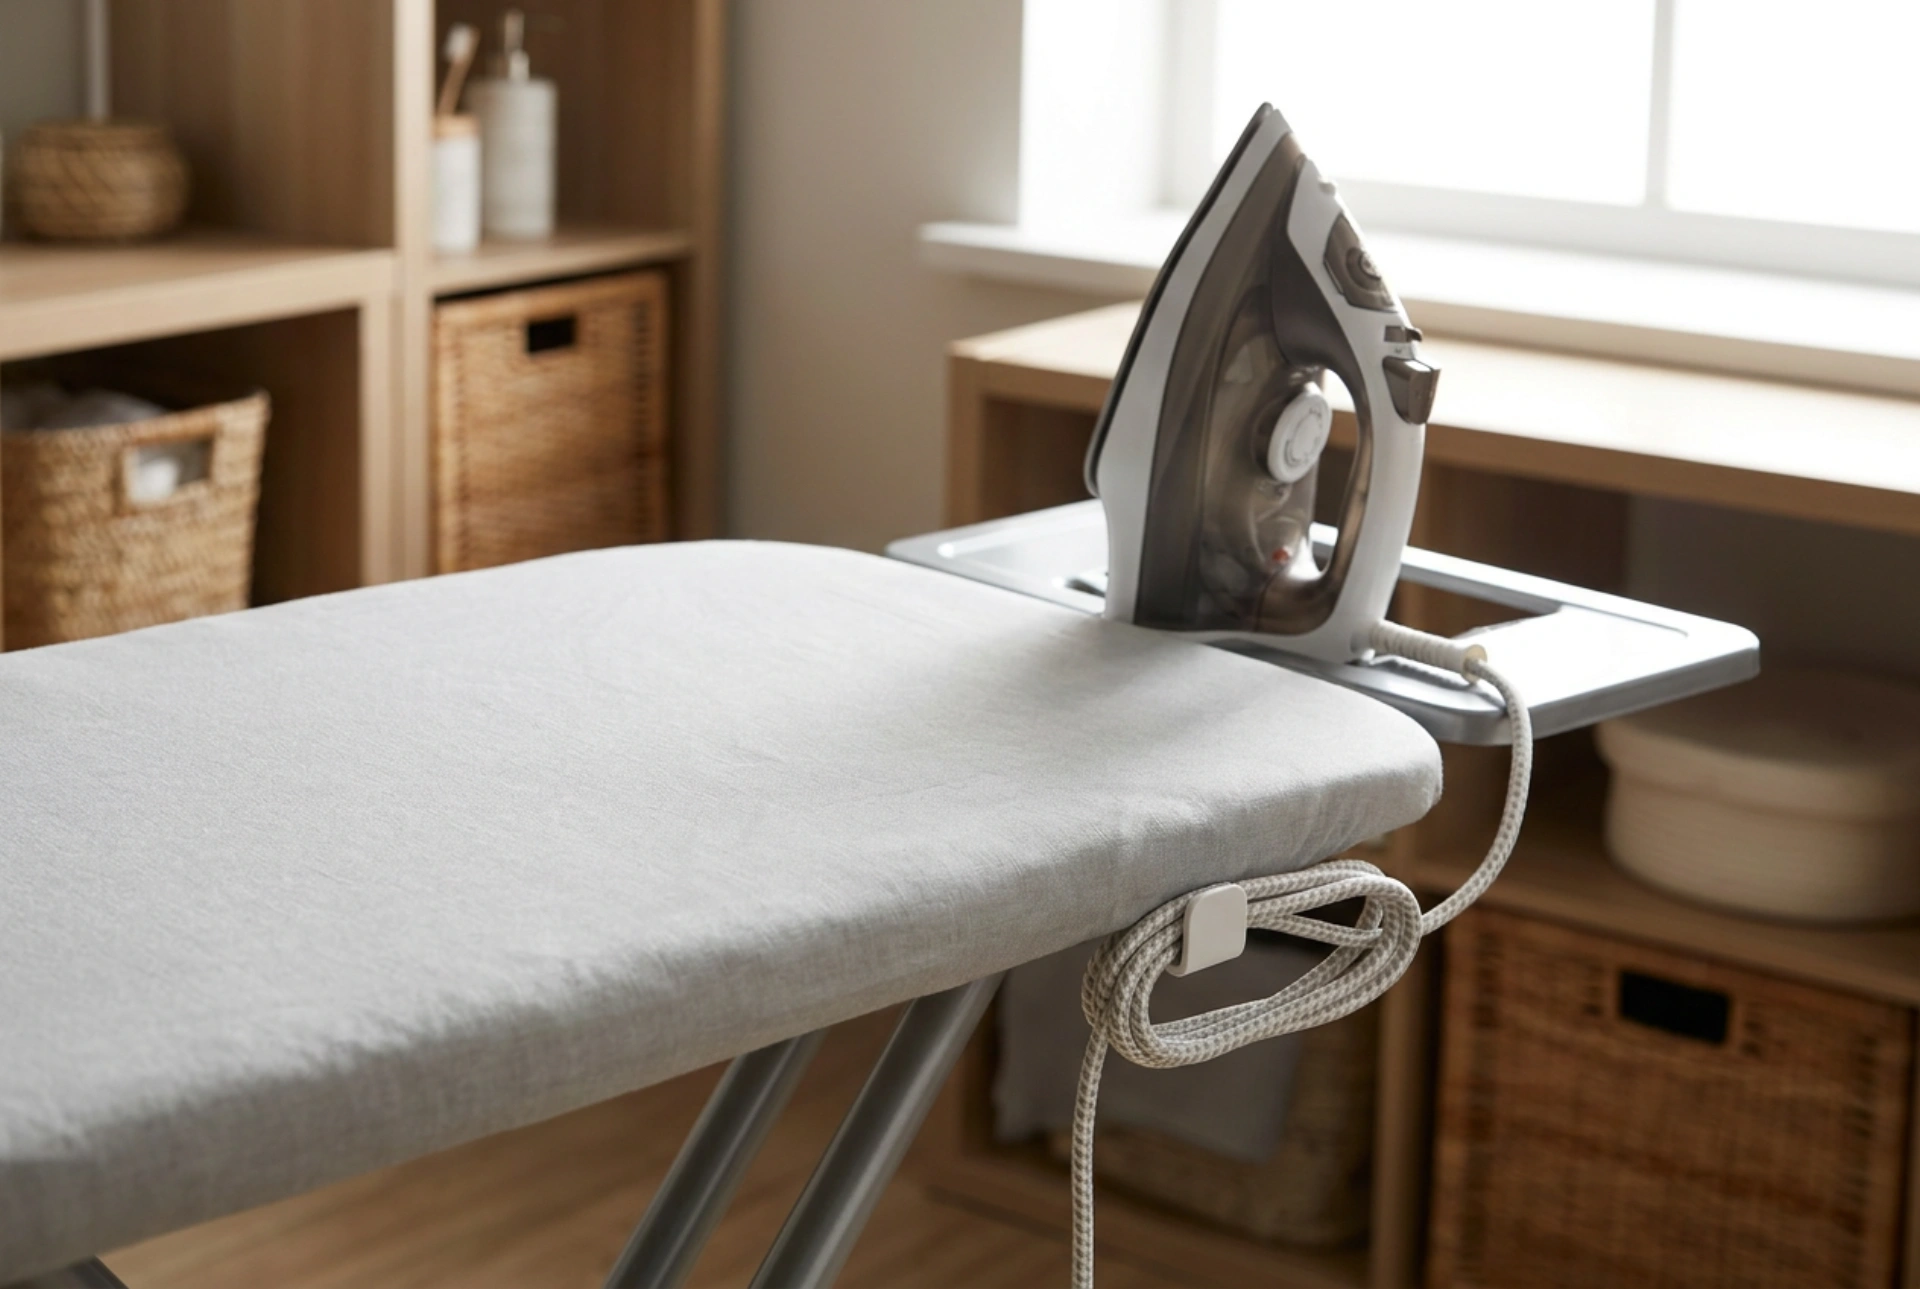
To maximize the efficiency of your ironing workstation, follow a logical system of cord management. First, position the cable guide or antenna on the rear, non-dominant side of the ironing board (e.g., on the left side if you are right-handed). This ensures the cord always feeds from behind your arm, keeping the workspace clear. Next, adjust the tension of the cord guide. Secure the iron's cable in the holder, leaving just enough slack so the iron can comfortably reach the furthest nose of the board without pulling the cord taut or bending the antenna excessively. Any excess cable between the holder and the integrated socket should be neatly bundled. Use heat-resistant silicone clips or hook-and-loop fasteners to secure the main supply cord along the lower framework of the board, ensuring it runs straight down the leg to the wall outlet, completely out of the foot path to eliminate trip hazards.
Thermal Protection and Cord Insulation Safety
High-wattage household appliances like steam irons and steam generators demand strict adherence to thermal safety rules. A standard steam iron operates between 1500 and 3000 watts, pulling substantial electrical current. Because of this, the integrated socket and its supply cable must be rated for high loads—typically requiring a cable with a conductor cross-section of at least 1.5 mm² to prevent resistive heating within the cord itself. Never drape the iron's cord across the hot soleplate. Even cords with heat-resistant textile braiding or silicone jackets can degrade when exposed directly to temperatures exceeding 200 degrees Celsius. When storing the equipment, always allow the iron to cool completely before organizing the cables. Wrapping a cord tightly around a hot iron transfers residual heat directly to the cord's insulation, causing it to become brittle and crack over time. Instead, coil the cords loosely in wide loops, respecting the natural curve of the wire.