

Installing a built-in dishwasher requires strict adherence to physical and mechanical principles to prevent leaks, structural vibration, and premature pump wear. This guide details how to secure the unit, configure the plumbing geometry, and execute precise levelling for optimal water distribution.
The Physics of Levelling: Preventing Vibration and Gasket Wear
A dishwasher must stand perfectly level to operate efficiently. Modern appliances rely on gravity to distribute water evenly across the lower tub and direct it towards the central sump filter. When a machine is tilted, even by a few millimetres, water pools unevenly, leaving the heating element partially exposed or overloading one side of the tub. This imbalance accelerates the degradation of the rubber door gaskets and causes unequal distribution of spray arm pressure.
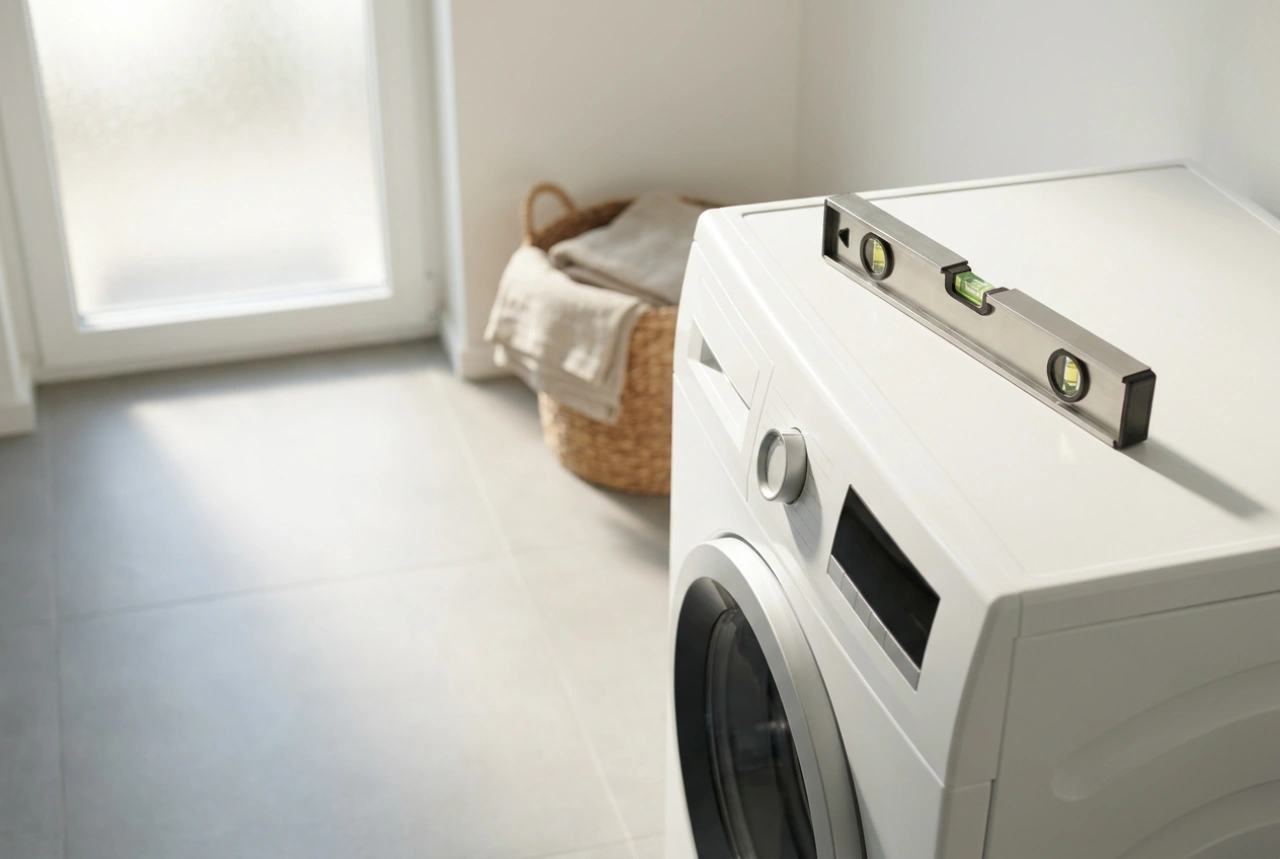
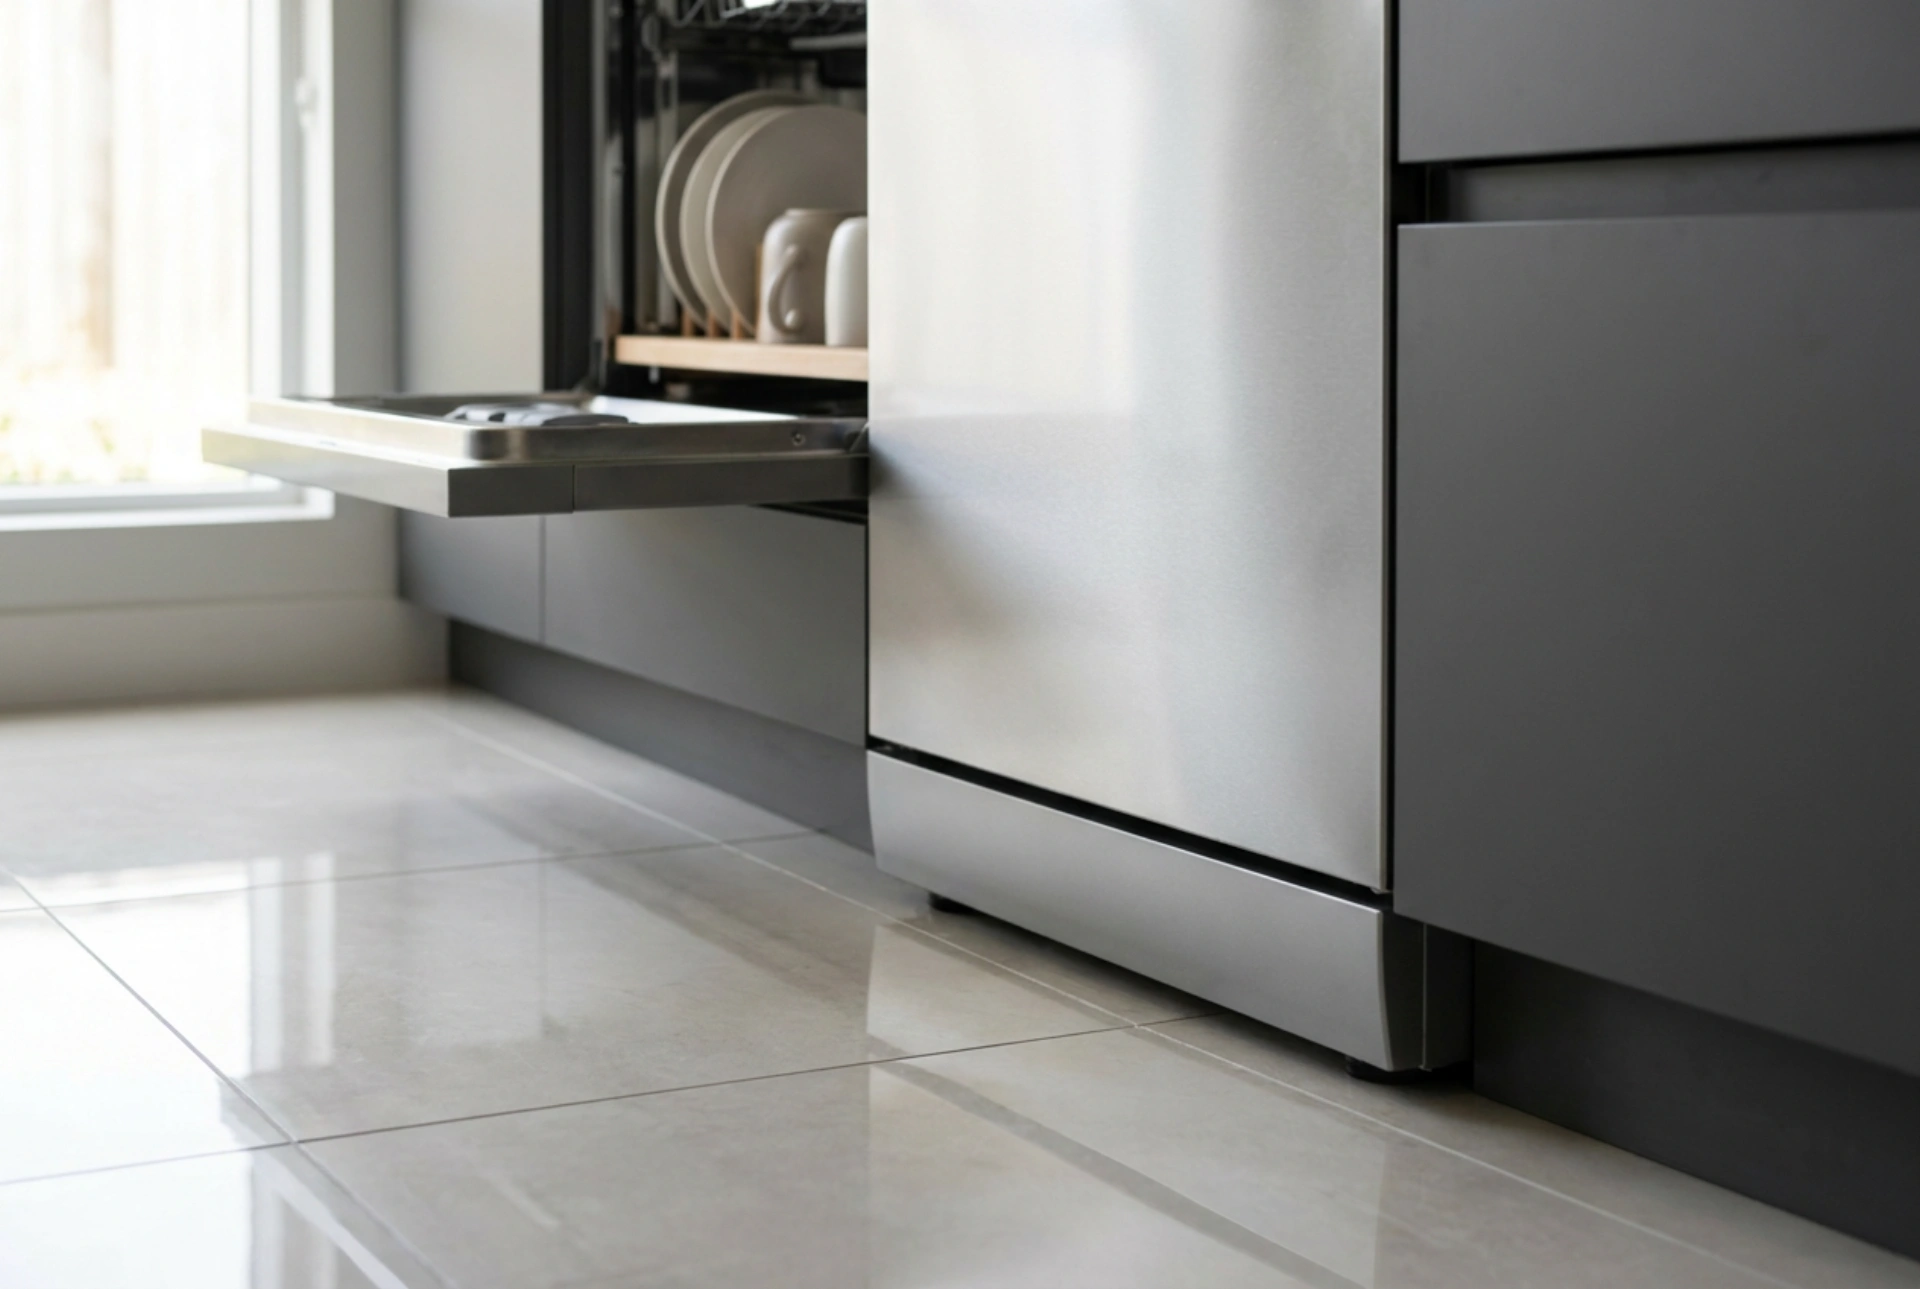
To level the appliance, you must adjust the adjustable feet. Most built-in models feature two manually adjustable front feet and a single rear foot controlled by a screw located at the bottom front centre of the chassis. Using a spirit level, check both the lateral axis (side-to-side) and the longitudinal axis (front-to-back) by placing the level along the inner tub rim and the outer door frame. Adjust the feet until the bubble settles precisely between the indicator lines. Proper levelling prevents lateral oscillation during high-speed wash cycles, protecting adjacent cabinetry from frictional wear.
Drain Hose Geometry: Eliminating Backflow and Sewer Odours
The drain connection is the most critical vector for potential water damage and hygiene issues. Dishwasher drain pumps are designed to push wastewater out, but they cannot prevent gravity-assisted backflow if the hose layout is incorrect. Without a proper physical barrier, dirty water from the kitchen sink siphon can flow directly back into the clean dishwasher tub, carrying organic waste and foul odours.
To prevent this, you must construct a "high loop" or utilize a dedicated anti-siphon valve. Route the flexible drain hose up to a point at least 60 centimetres above the floor—ideally fixing it directly to the underside of the worktop using a retaining clip—before dropping it down to connect to the sink siphon. This high loop creates an air gap and a gravity barrier that prevents siphoning. Secure the hose nozzle to the siphon spigot using a stainless steel worm-drive hose clamp. Hand-tightening is insufficient; the pressure pulses from the drain pump can dislodge an unsecured hose, leading to catastrophic leaks under the kitchen cabinets.
Water Inlet Safety and Vapour Protection
The water inlet connection is subjected to continuous mains pressure, which can fluctuate significantly. Before pushing the dishwasher into its cavity, apply the self-adhesive vapour barrier strip (usually made of aluminium or high-density plastic) to the underside of the wooden worktop. This barrier prevents steam from escaping when the door is opened, which would otherwise cause the wooden composite worktop to swell and delaminate over time.
Connect the inlet hose to the cold water valve. Most modern hoses feature an integrated mechanical water-stop valve designed to cut off the supply in case of an internal hose rupture. Thread this collar onto the valve carefully to avoid cross-threading the plastic threads. Tighten the connection hand-tight, then apply an additional quarter-turn with a spanner. Avoid using thread-sealing tape on compression joints that rely on an internal rubber washer, as this can interfere with the seal and cause micro-leaks.
Chassis Anchoring and Door Tension Calibration
Once levelled and connected, the dishwasher must be anchored to prevent shifting. Opening a loaded door shifts the centre of gravity forward, which can cause the entire machine to tip. Secure the appliance to the adjacent cabinets or the underside of the worktop using the supplied metal brackets. If you have a solid stone or quartz worktop, always anchor the unit laterally into the side cabinets to avoid cracking the stone.
Finally, adjust the door tension springs. A custom wooden furniture facade adds significant weight to the door. Locate the adjustment screws at the bottom sides of the chassis and turn them until the door remains stationary at any open angle. A properly calibrated door will not slam down nor spring shut violently, protecting both the door hinge mechanism and the delicate glassware inside.