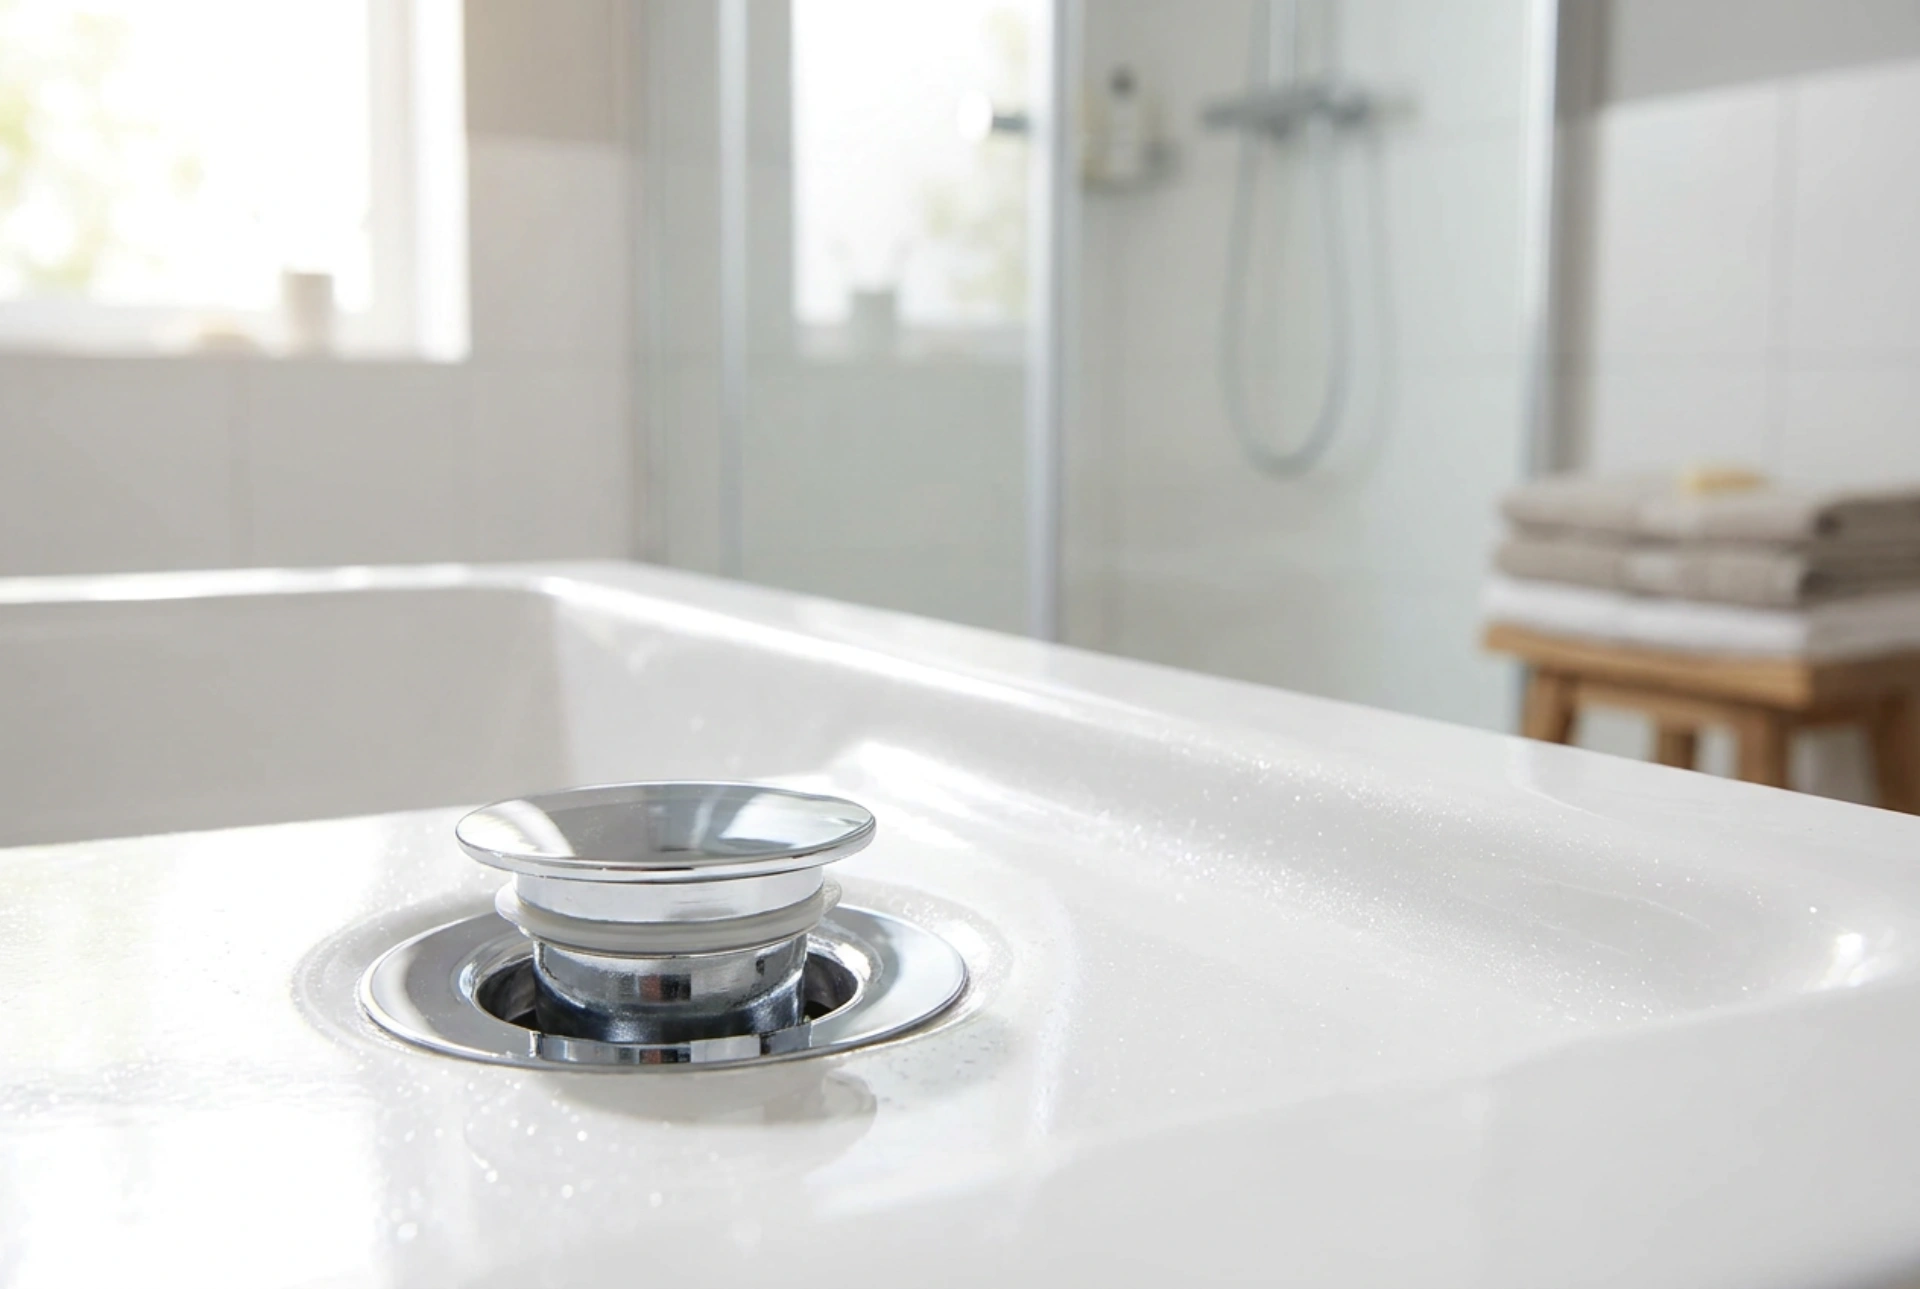


Click-clack bath plugs frequently become sluggish or completely jammed due to a build-up of hair and sticky soap scum. Restoring their smooth mechanical action and optimal drainage requires understanding how to safely disassemble the stopper and dissolve organic residues without damaging the metal finishes or internal seals.
The Science Behind the Clog: Why Hair and Soap Scum Bind
To clean a click-clack plug effectively, it helps to understand why the blockage forms. Human hair has an outer layer of microscopic, overlapping scales (cuticles). When hair washes down the drain, these scales catch on the internal threads, spring coils, and brass spindles of the click-clack mechanism. At the same time, traditional soaps contain fatty acids that react with calcium and magnesium ions present in hard water. This reaction creates an insoluble precipitate known as calcium soap or soap scum.
This soap scum acts as a highly sticky adhesive, binding the trapped hair into a dense, water-resistant mass. Over time, skin cells, oils, and dust cling to this matrix, hardening inside the narrow drainage channels. Because the click-clack cartridge relies on a precise spring tension to click open and closed, even a small accumulation of this sticky mixture can restrict the movement of the shaft, leaving the plug stuck in a half-open position.
Step 1: Safe Disassembly of the Click-Clack Stopper
Most modern click-clack bath plugs can be disassembled without tools, preventing scratches to the polished chrome surface. Follow this sequence to access the clogged areas:
- Unscrew the top cap: Grip the outer edge of the metal plug cover. Rotate it counterclockwise. If it spins without unscrewing, gently pull it upward while turning to engage the thread.
- Remove the spring cartridge: Once the cap is off, you will see the brass or plastic spring-loaded cylinder sitting in the centre of the waste. Use a flat-head screwdriver or a small spanner on the flats of the cylinder to unscrew it counterclockwise.
- Protect the parts: Set the components down on a soft cloth to avoid scratching the finish or losing the small rubber O-rings that seal the mechanism.
Step 2: Dissolving the Residue with Targeted Chemistry
Never use harsh commercial drain cleaners containing high concentrations of sulfuric acid or sodium hydroxide on the delicate components of a click-clack plug. These chemicals generate intense heat (an exothermic reaction) that can warp plastic threads, degrade silicone seals, and tarnish brass or chrome plating.
Instead, leverage the power of mild, targeted household chemistry:
- Saponify the grease: Soak the disassembled brass cartridge, cap, and screws in a warm solution of washing soda (sodium carbonate) and water. The alkaline nature of washing soda breaks down the fatty acids in the soap scum, turning them into water-soluble salts that easily wash away.
- Decalcify with citric acid: If there is hard water scale locking the spring in place, submerge the metal parts in a warm citric acid solution (two tablespoons of citric acid powder per 500 ml of hot water). The acid reacts with the calcium carbonate, dissolving the binding agent of the soap scum.
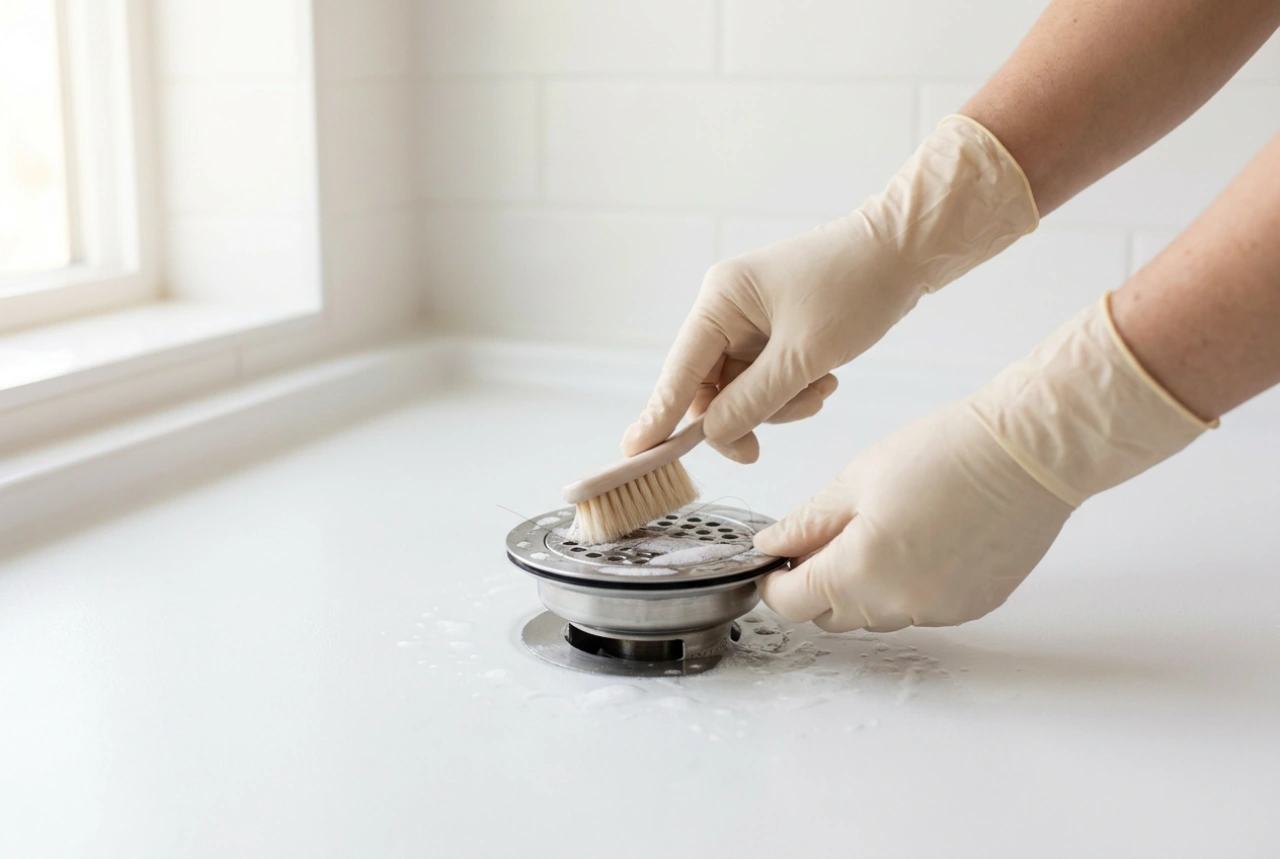
- Manual extraction: Use a pair of tweezers or a small, stiff nylon brush to pull the softened hair and soap mass out of the drain housing and the cartridge threads. Avoid wire brushes, which can destroy the protective zinc or chrome plating, leading to rapid corrosion.
Step 3: Lubrication and Reassembly
Once all parts are free of organic material and lime scale, rinse them thoroughly in clean water and dry them. Before putting the mechanism back together, it is vital to protect the moving parts from future friction and moisture intrusion. Apply a thin layer of silicone grease to the central spindle of the spring cartridge and the rubber O-rings. Avoid petroleum-based lubricants, as they swell and degrade natural rubber and silicone seals over time. Thread the cartridge back into the waste housing by hand, tightening gently with a screwdriver, then screw the chrome cap back onto the spindle.