

Selecting the correct cleaning agent for window frames requires understanding the interaction between chemical surfactants, environmental soil, and frame materials. A mismatch can lead to permanent discolouration, degradation of protective seals, and stubborn streaks caused by chemical residues.
The Science of Cleaning: pH and Material Compatibility
Different frame materials—unplasticised polyvinyl chloride (uPVC), powder-coated aluminium, and treated timber—interact differently with chemical substances. The pH scale plays a critical role in selecting the right cleaner. Highly acidic cleaners can strip protective lacquers from wooden frames and etch anodised aluminium, whilst highly alkaline solutions can cause uPVC to yellow over time by destabilising its UV-stabilising polymers.
For standard uPVC and aluminium frames, a neutral to mildly alkaline surfactant solution (pH 7 to 8.5) is ideal. This range effectively emulsifies atmospheric grease, pollen, and soot without compromising the integrity of the underlying material or drying out the rubber seals. Timber frames benefit from neutral formulations that do not break down the natural oils and breathable finishes of the wood.
Surfactants and Water: Eliminating Streaks and Residue
Streaks are not caused by the dirt itself, but by the residue of the cleaning agent or minerals left behind as water evaporates. Standard tap water contains dissolved calcium and magnesium ions. When the cleaning solution dries too quickly, these minerals precipitate out, forming micro-crystalline structures visible as white streaks.
To prevent this, high-quality cleaning formulations rely on two key mechanisms:
- Surfactants: These molecules have a hydrophilic (water-attracting) head and a hydrophobic (water-repelling) tail. They lower the surface tension of water, allowing it to wet the frame surface evenly rather than forming droplets. This ensures even dirt dispersion.
- Evaporation control: Cleaners containing small amounts of isopropyl alcohol or methylated spirits promote rapid, even evaporation, lifting the dissolved soil with the cloth before the liquid has a chance to pool and dry naturally.
The Step-by-Step Order of Operations
The mechanics of cleaning are just as important as the chemistry. Following a strict order of operations prevents the redeposition of particulates and ensures a streak-free finish.
1. Dry Mechanical Removal
Before introducing any liquid, use a dry, soft-bristled brush or vacuum attachment to remove loose dust, pollen, and grit. Applying liquid directly to dry dust creates an abrasive paste that can scratch glass and frame finishes.
2. Application and Dwell Time
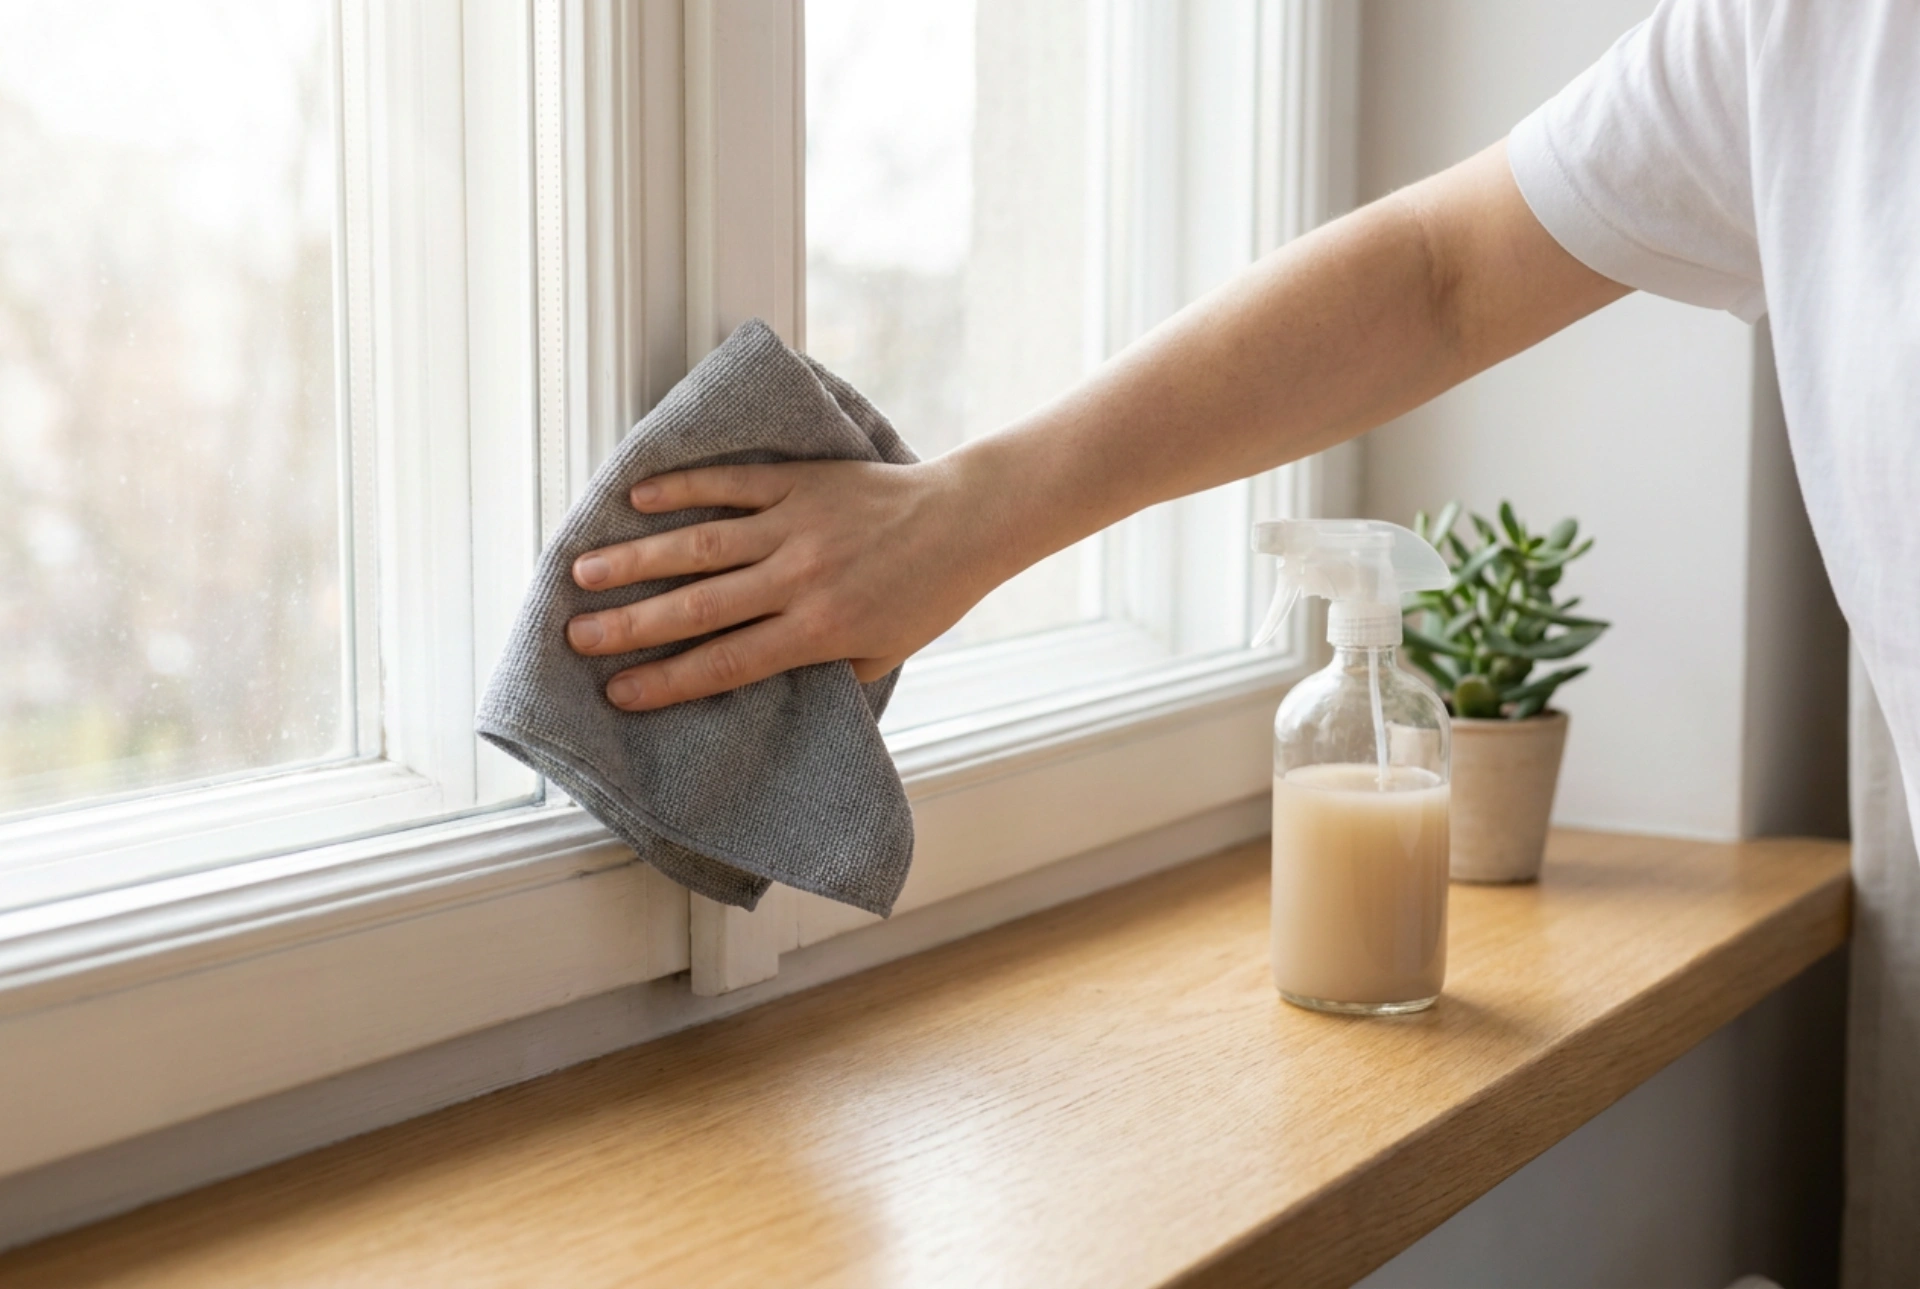
Spray the cleaning solution sparingly. Let it dwell on the surface for 30 to 60 seconds. This allows the surfactants to break the electrostatic bonds holding the grime to the frame.
3. Mechanical Action and Drying
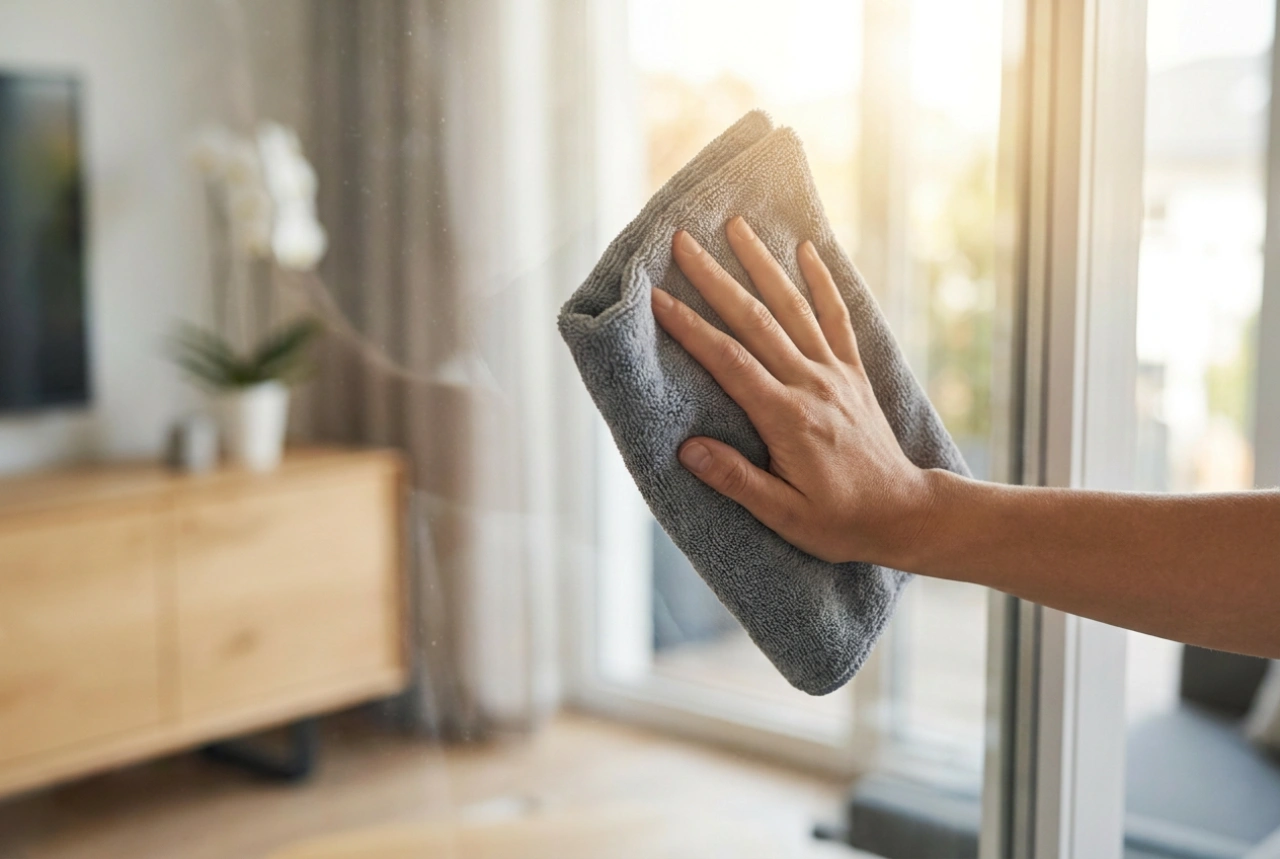
Wipe using a high-density microfibre cloth. Microfibre has a wedge-shaped cross-section that physically traps dirt particles, unlike cotton which merely pushes them around. Use a linear, top-to-bottom motion. Circular motions redistribute contaminants and create swirl marks. Dry the frame immediately with a secondary, clean dry microfibre cloth to absorb any remaining moisture before it evaporates and leaves mineral deposits.
Avoid Common Pitfalls and Environmental Factors
Ambient temperature and direct sunlight drastically affect your cleaning results. Clean window frames on overcast days or when the windows are in the shade. Direct sunlight heats the frames, causing the liquid carrier in the cleaner to flash-evaporate. This leaves behind concentrated surfactant residues that are exceptionally difficult to buff out and attract dust immediately.
Additionally, avoid using kitchen dishwashing liquids. While they are excellent degreasers, they contain high concentrations of sodium chloride (salt) used as a thickening agent, alongside optical brighteners. These ingredients leave a sticky film on window frames that degrades rubber gaskets over time and turns yellow under UV exposure.