

Oiling wooden furniture creates a breathable, protective barrier that enhances the natural grain while shielding the wood fibres from daily moisture and wear. Mastering this process requires understanding how different oils polymerise and interact with the cellular structure of wood to achieve a durable, water-resistant finish.
The Chemistry of Wood Oiling: Drying vs. Non-Drying Oils
Wood is a highly porous, hygroscopic material, meaning it constantly absorbs and releases moisture from the surrounding environment. To protect it from splitting, warping, or staining, we must fill these microscopic pores. However, the secret lies in the chemical process of polymerisation.
Oils used for furniture preservation must be drying oils, such as pure tung oil or polymerised linseed oil. These oils contain high levels of polyunsaturated fatty acids. When exposed to oxygen, a chemical reaction occurs: the liquid molecules undergo autoxidation, cross-linking to form a solid, flexible polymer matrix deep within the wood capillaries. Conversely, non-drying vegetable oils (like olive or canola oil) or mineral oils do not polymerise. Instead, they remain liquid inside the wood, attracting dust, turning rancid over time, and breaking down the wood fibres.
Surface Preparation: Opening the Capillaries
Before applying any protective oil, the wood surface must be prepared to maximise capillary draw. Any existing synthetic varnishes or waxes must be completely removed, as they block the oil from entering the cellular structure.
- Sanding sequence: Begin sanding with a medium-grit paper (such as 120-grit) to level the surface, then progress to a fine 180-grit or 220-grit paper. Progression is key; skipping steps leaves deep scratches that the oil will highlight.
- Avoid over-sanding: Do not sand beyond 240-grit for oil finishes. Sanding with ultra-fine grits burnishes the wood, effectively melting the lignin and sealing the pores. This prevents the oil from penetrating deeply, leading to a weak, easily damaged surface barrier.
- Dust extraction: Vacuum the surface thoroughly, then wipe it with a dry, lint-free microfibre cloth. Avoid using water to clean the wood at this stage, as moisture will swell the wood cells, blocking the oil.
The Application Technique: Wet-on-Wet Method
To achieve a professional, durable finish, the oil must be applied under optimal environmental conditions. The ideal ambient temperature is between 18°C and 22°C. Lower temperatures slow down the polymerisation reaction significantly, while excessive heat can dry the oil too quickly, preventing deep penetration.
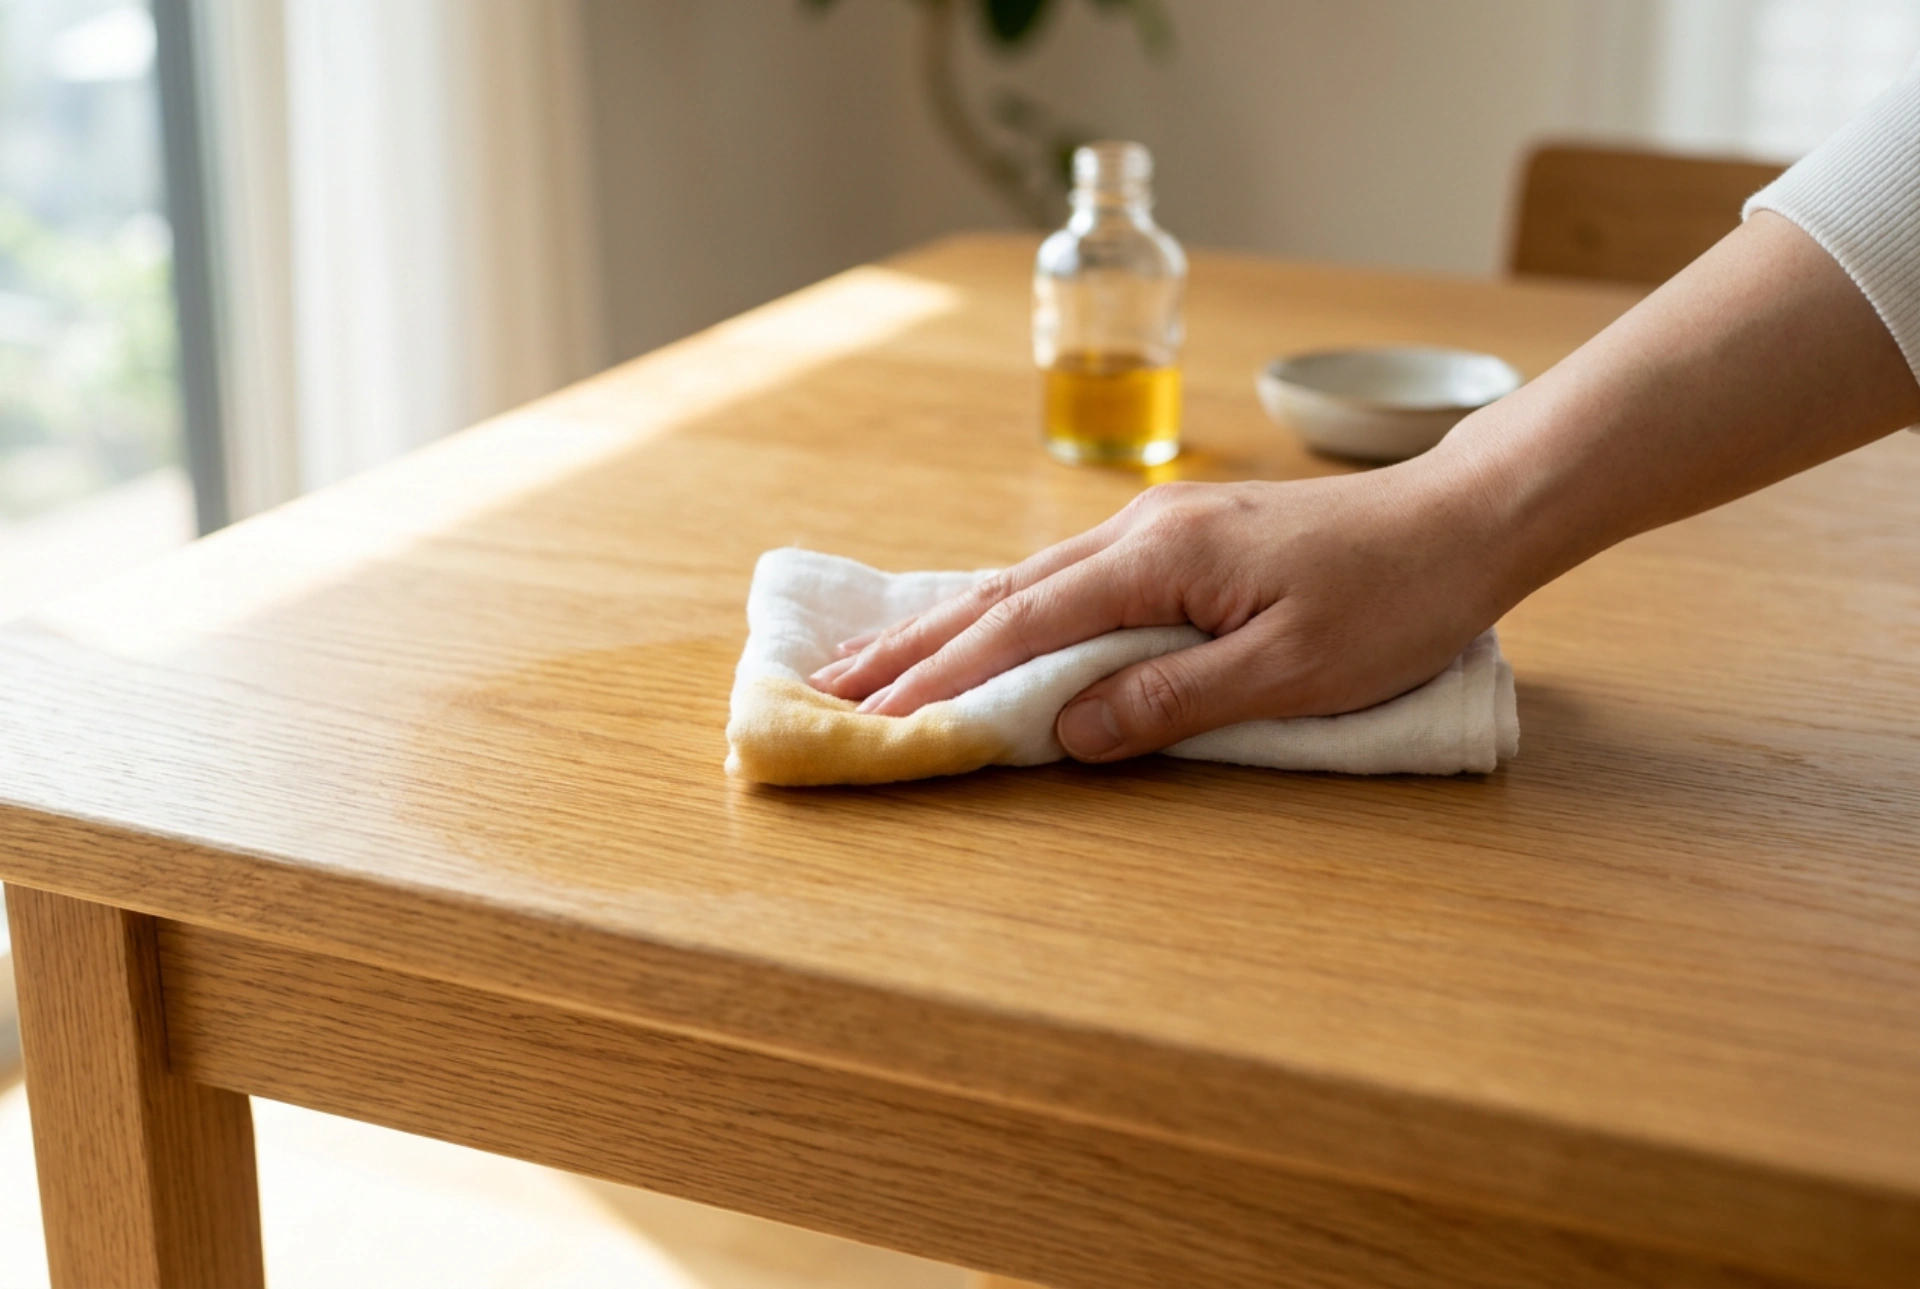
Pour a generous amount of oil directly onto the wood or onto a clean, lint-free cotton cloth. Work the oil into the wood following the direction of the grain. This mechanical movement pushes the liquid deeper into the vascular bundles of the timber.
Allow the wood to flood-absorb the oil for 20 to 30 minutes. Keep an eye on the surface; dry spots will appear where the wood is more porous. Apply more oil to these thirsty areas to maintain an even, wet sheen. This is known as the wet-on-wet technique.
The Crucial Wipe-Down and Curing Phase
The most common failure in wood oiling is skipping the thorough wipe-down. After the wood has absorbed all the oil it can hold, you must remove every trace of excess oil from the surface. Use a clean, dry cotton cloth to buff the surface until it feels dry to the touch.
If excess oil is left on top of the wood, it cannot polymerise correctly due to the thickness of the layer. Instead of a hard, smooth finish, it will cure into a sticky, gummy, and dull film that easily attracts dirt and is incredibly difficult to remove without re-sanding.
Allow the first coat to cure for 24 hours. The curing process is an exothermic chemical reaction requiring oxygen, so ensure the room is well-ventilated. Before applying a second coat, perform a light "de-nibbing" using ultra-fine steel wool or a 400-grit abrasive pad. This gently shears off any micro-fibres that swelled and stood up when they absorbed the liquid, ensuring a perfectly smooth touch.
Maintenance and the Water Droplet Test
Oiled wood requires periodic maintenance to keep its protective barrier intact. To determine if your furniture needs a fresh coat of oil, perform the simple water droplet test. Place a small drop of water on the surface. If the water beads up and remains as a sphere, the polymerised oil barrier is fully intact. If the water flattens and begins to sink into the wood, darkening the grain, the protective layer has worn thin, and it is time to reapply a thin maintenance coat.
For daily cleaning, avoid harsh chemical detergents or alkaline cleaners, which saponify and strip away the polymerised oil. Instead, use a damp, soft cloth with a highly diluted, pH-neutral soap specifically formulated for oiled wood surfaces.