

Achieving perfectly clear windows requires a basic understanding of surface tension, evaporation rates, and chemical residues. By adopting professional techniques and utilising correct dilution ratios, you can eliminate the stubborn streaks and smudges that often plague household glass cleaning.
The Chemistry Behind Glass Streaks
To prevent streaks, we must first understand what causes them. Glass surfaces are not perfectly smooth on a microscopic level; they contain tiny pores and imperfections that trap microscopic particles. When you wash windows with standard tap water, you introduce dissolved minerals such as calcium carbonate and magnesium. As the water evaporates, it leaves these inorganic minerals behind, creating white, cloudy spots.
Furthermore, standard household dust consists of organic matter, skin flakes, and outdoor soot, which often mix with greasy finger marks or kitchen grease. Applying a surfactant—such as a tiny amount of neutral liquid detergent—lowers the surface tension of water, allowing it to wet the glass evenly and encapsulate these fatty molecules. However, if the concentration of the surfactant is too high, it forms a microscopic sticky film that remains on the glass after drying, quickly attracting new airborne dust and causing rainbow-like smudges under direct light.
Formulating the Perfect Cleaning Solution
Professional glass cleaning does not rely on complex chemical formulas or heavily perfumed commercial sprays. Instead, a simple, scientifically sound mixture yields the best results:
- Demineralised or Distilled Water: Using water stripped of its mineral content prevents spot formation during evaporation. If you must use tap water, increase the acidity slightly to keep minerals dissolved.
- Acetic Acid (White Vinegar): A mild concentration of white vinegar (around 5% acetic acid) acts as an excellent descaler. It neutralises alkaline mineral deposits and cuts through stubborn organic build-ups without damaging window seals.
- Isopropyl Alcohol: Adding a small amount of isopropyl alcohol to your solution lowers the boiling point of the mixture. This accelerates the evaporation rate of any microscopic moisture droplets left on the pane, preventing water spots from developing.
A standard effective recipe involves mixing one part white vinegar with four parts distilled water, along with two drops of neutral, additive-free dishwashing liquid. This balance ensures efficient soil suspension without leaving a soapy residue.
The Physics of the Squeegee: Angles and Friction
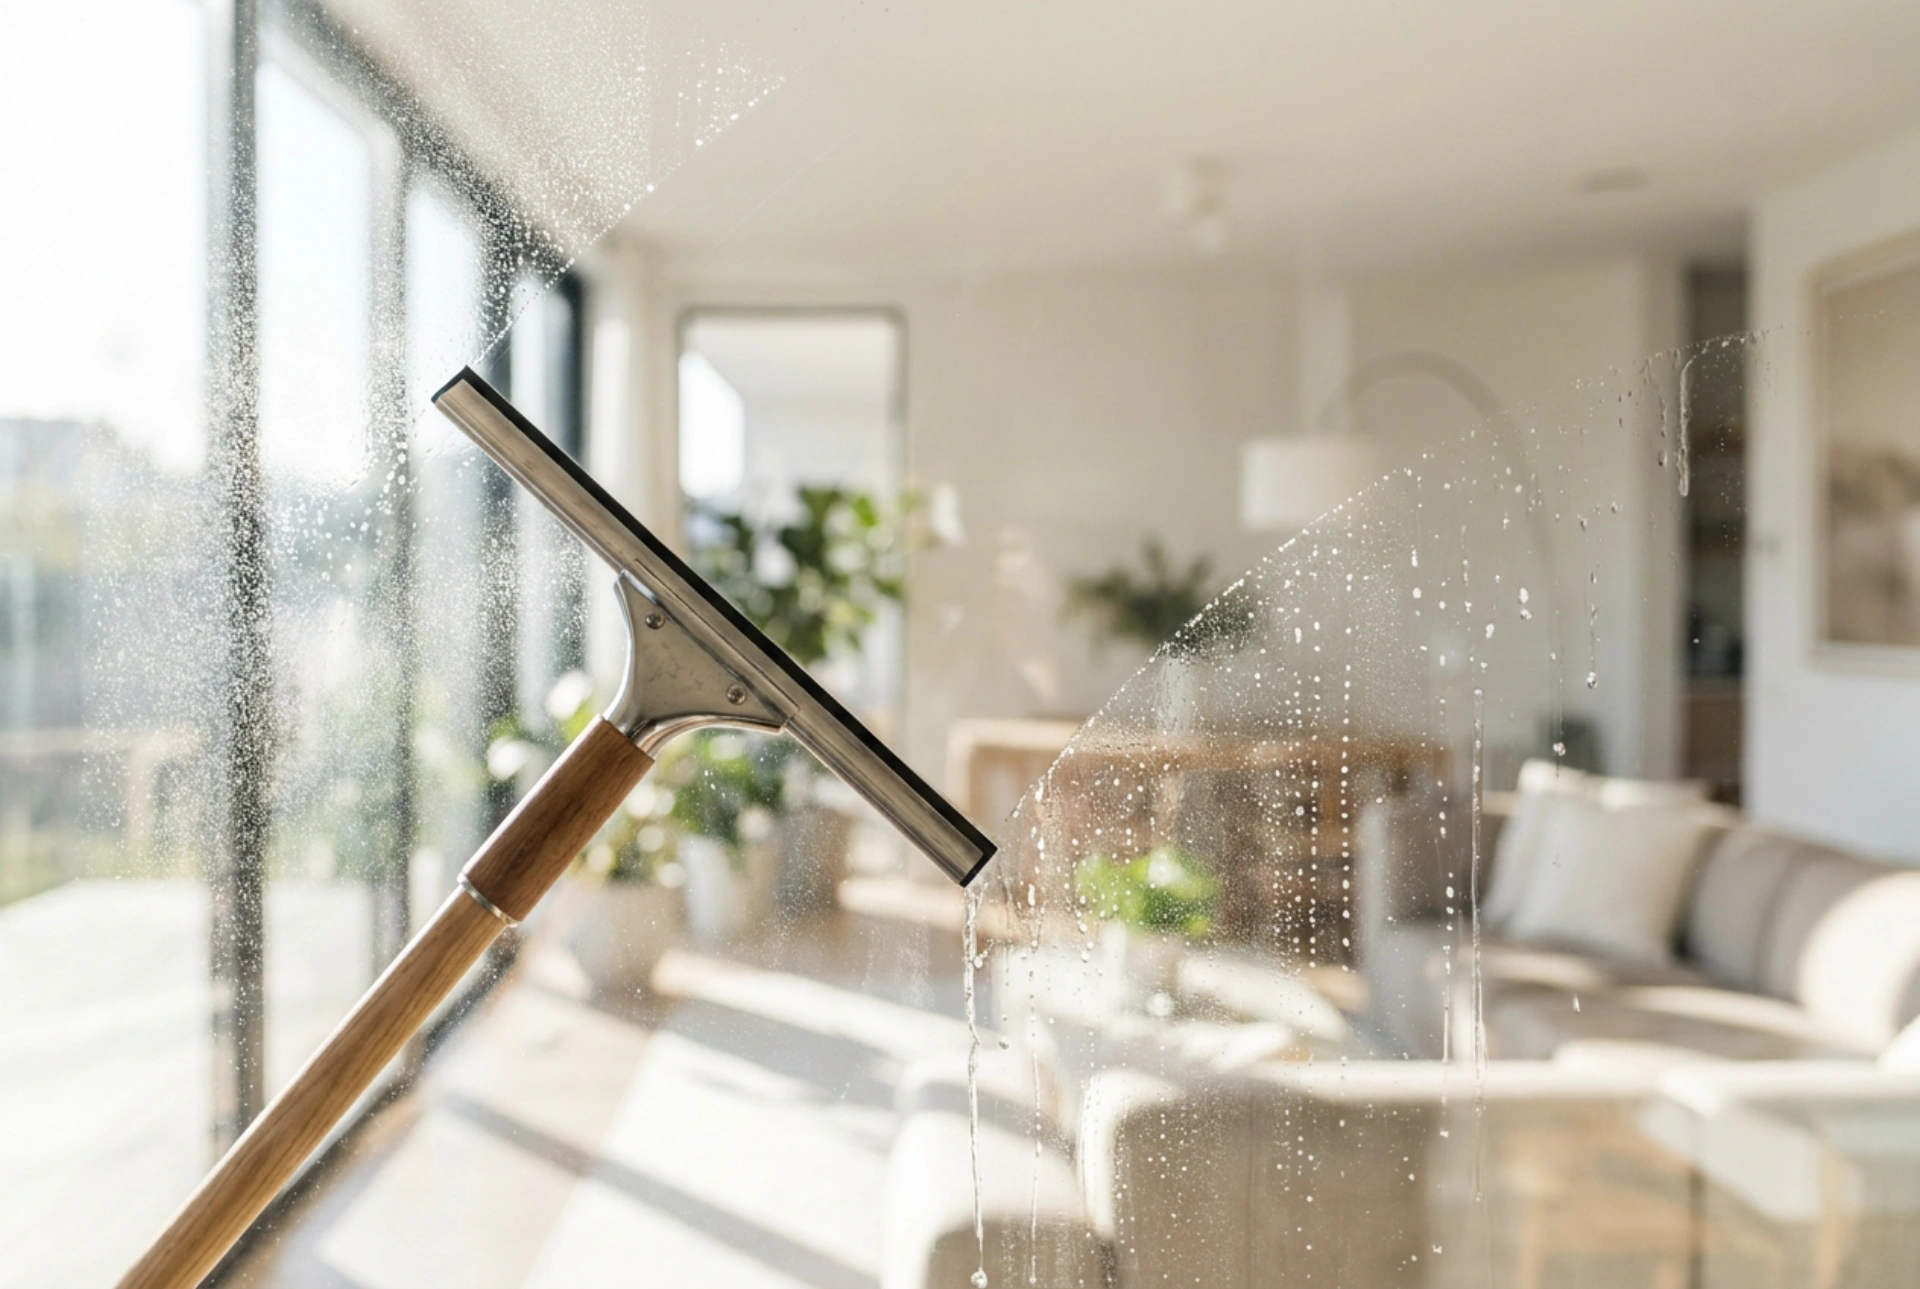
The squeegee is the most efficient tool for removing water from glass, but its effectiveness depends entirely on physical technique. The rubber blade must be supple, sharp, and completely free of nicks. When pulled across the glass, the blade creates a barrier that pushes the water layer ahead of it, leaving a dry surface behind.
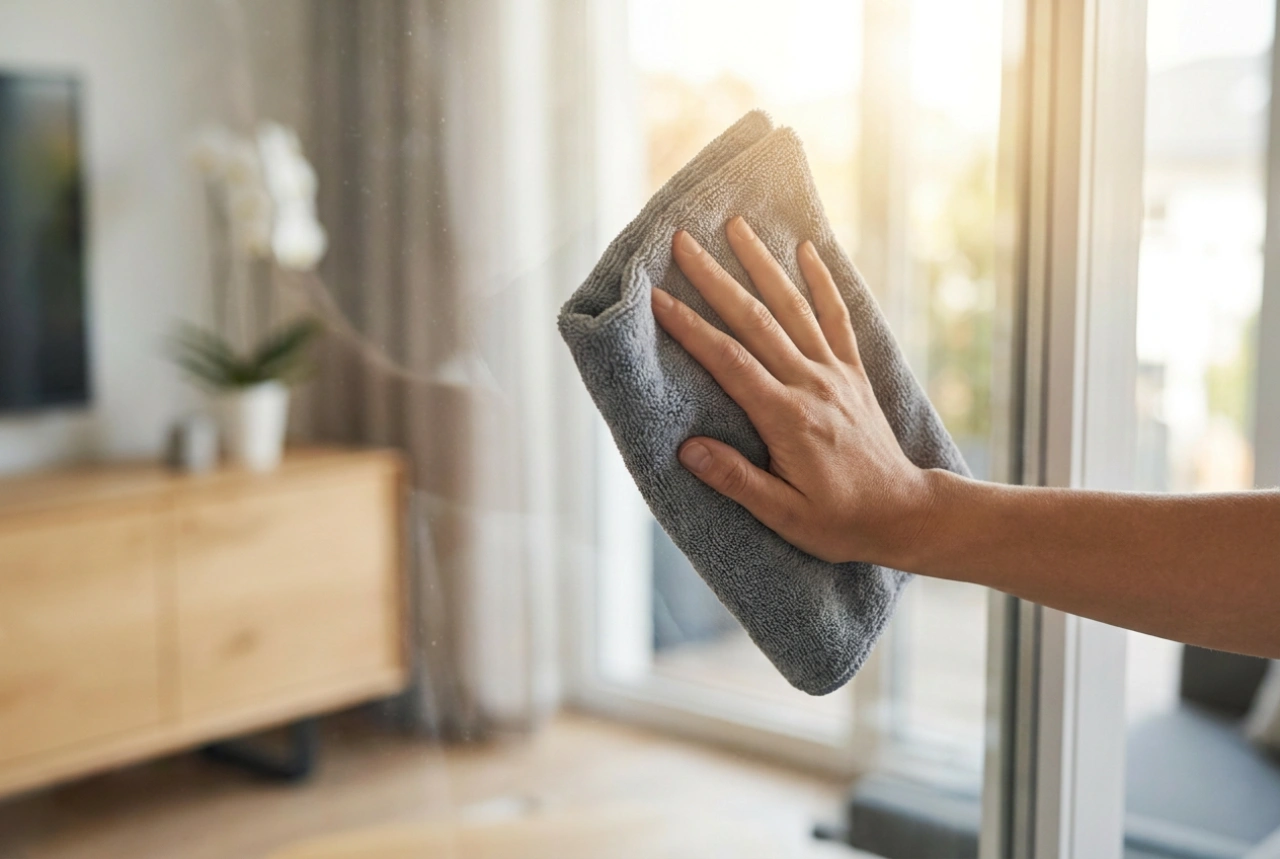
To use a squeegee correctly, maintain a consistent 45-degree angle between the handle and the glass surface. Applying too much pressure increases friction, causing the blade to jump or stutter, which leaves horizontal water lines. Conversely, too little pressure allows water to slip underneath the rubber. Always wipe the blade dry with a clean, lint-free microfiber cloth after every single pass; otherwise, you will transfer the dirty water from the previous stroke back onto the glass.
Step-by-Step Execution for Flawless Windows
Executing your window wash in the correct order prevents re-contamination of clean surfaces and ensures maximum efficiency.
Step 1: Dry Soil Removal
Never apply wet solution directly to a dusty window. Doing so creates a muddy slurry that settles into the corners and becomes difficult to remove. Use a dry, soft-bristled brush or a dry microfiber cloth to sweep away loose dust, cobwebs, and pollen from the glass, frame, and sills.
Step 2: Wetting and Agitation
Apply your cleaning solution using a dedicated window washer wand or a soft microfiber applicator. Gently agitate the surface in circular motions to break the bond between the glass and stubborn grime, focusing on the corners where dirt accumulates.
Step 3: Precise Squeegee Control
Begin by cutting a dry edge along the top of the window frame with a dry cloth. Place the squeegee blade in this dry zone and pull straight down in a continuous, smooth motion. For wide windows, use overlapping vertical strokes, ensuring each new stroke overlaps the previous one by about two inches.
Step 4: Edge Detailing
Water inevitably pools along the silicone seals and edges of the frame. Immediately after squeegeeing, wrap a dry, lint-free microfiber cloth over your finger and run it along the perimeter of the glass pane to absorb any remaining moisture before it can run down and dry into streaks.
Environmental Control: Avoid Direct Sunlight
The timing of your window cleaning is as crucial as your technique. You should never wash windows under direct sunlight or on exceptionally hot days. The radiant heat warms the glass surface, causing the water and alcohol in your cleaning solution to evaporate almost instantly. When evaporation occurs too rapidly, you are left with no time to squeegee the liquid away, leaving the dissolved dirt and soap minerals permanently baked onto the glass. Opt for cloudy, calm days, or clean the windows when they are in the shadow of the building.