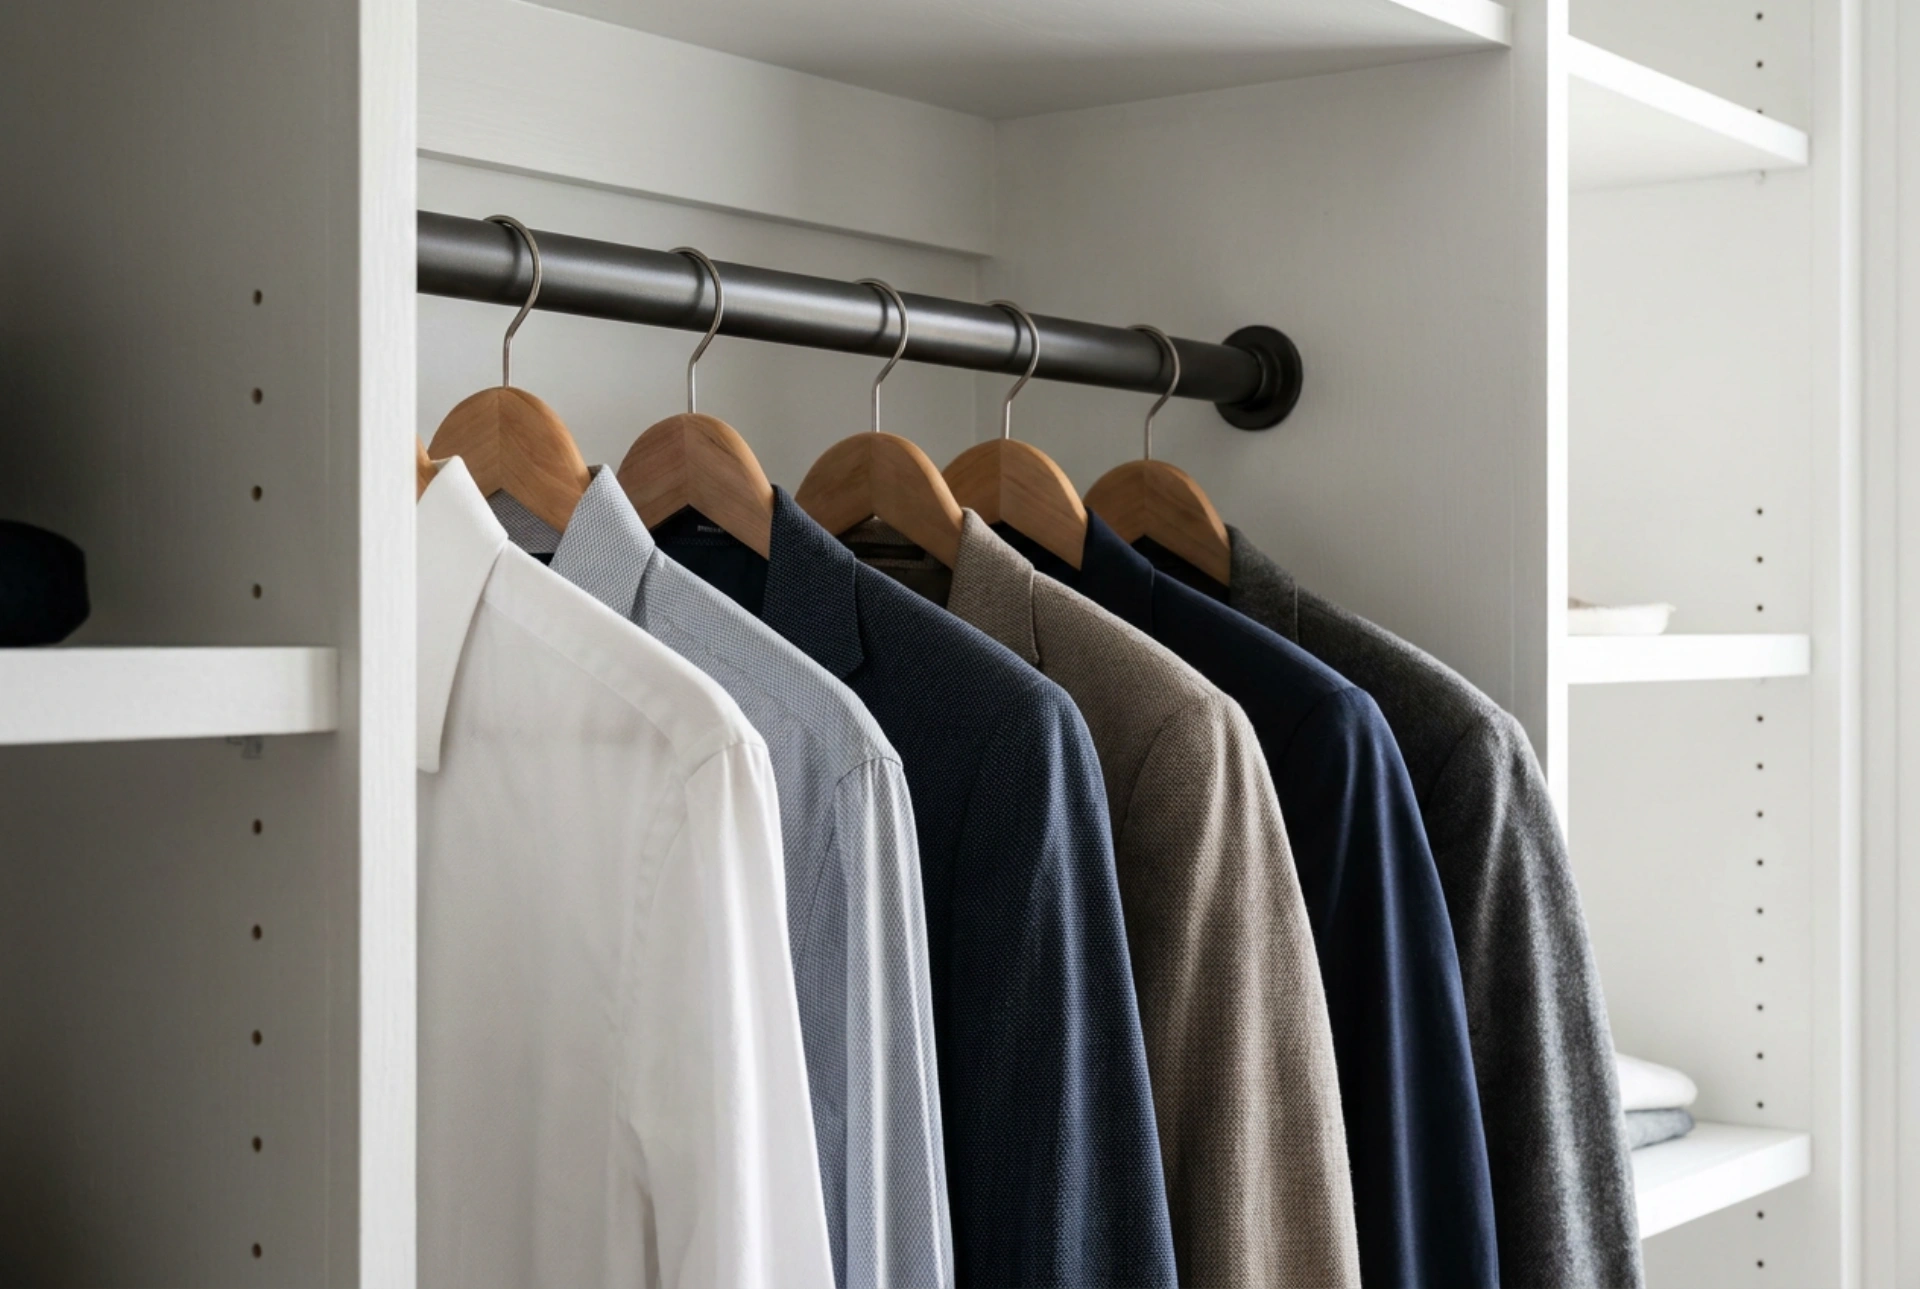


Maximising wardrobe capacity often requires structural changes, but a tension rod offers a non-invasive, highly efficient way to instantly double your hanging space. By understanding the mechanical principles of friction and axial force, you can install these temporary supports so securely that they perform as reliably as permanent, screwed-in fixtures.
The Physics of Friction and Axial Force
To trust a tension rod with your wardrobe, it helps to understand how it stays in place without screws. A tension rod operates on the principle of axial compression, which generates outward force against two opposing parallel walls. Inside the rod is either a heavy-duty internal spring or a threaded screw mechanism. When you extend the rod beyond the width of the opening and compress it into place, the internal spring exerts a continuous outward force.
According to Amontons' law of friction, the maximum static frictional force between two surfaces is directly proportional to the normal force pressing them together. In this case, the normal force is the outward axial pressure exerted by the rod. The second critical component is the coefficient of friction of the end caps. High-quality end caps are typically made of soft, pliable elastomers or silicone. These materials deform slightly under pressure, filling microscopic imperfections in the wardrobe walls to dramatically increase the grip and prevent downward slippage under load.
Evaluating Your Wardrobe Walls
Before installing a tension rod, you must assess the structural integrity of your closet walls. The outward pressure exerted by a highly tensioned rod can easily damage weak materials.
- Solid Wood and MDF: These are ideal substrates. They have high compressive strength and will not bow or crack under the pressure required to hold a heavy load of clothing.
- Plasterboard and Drywall: Caution is required. Plasterboard has low compressive strength and can easily crush or crack. If installing a tension rod against plasterboard, you must place a wider wooden distribution plate between the rod's end cap and the wall to spread the force over a larger surface area.
- Laminated Particle Board: While strong enough, the smooth plastic laminate surface has a low coefficient of friction. Thoroughly degreasing this surface is essential prior to installation.
Step-by-Step Installation for Maximum Load Capacity
Achieving a reliable hold requires precision during installation. Follow this systematic process to ensure your tension rod does not slip when fully loaded.
1. Surface Preparation
Clean both mounting points thoroughly. Dust, oils, and polish residues act as lubricants, drastically reducing the coefficient of friction. Wipe the surfaces with isopropyl alcohol or a mild degreasing agent and let them dry completely.
2. Precise Alignment
A tension rod must be perfectly perpendicular to the opposing walls. If the rod is installed at even a slight angle, the directional force shifts, reducing the normal force and causing the rod to slide downwards. Use a spirit level to mark the exact contact points on both sides of the closet.
3. Pre-Tensioning and Final Lock
Adjust the rod to be slightly longer (typically 5 to 10 millimetres, depending on the internal spring strength) than the measured distance between the walls. Compress the spring and guide the rod into position, aligning it with your level marks. For threaded rods, position the rod in place and rotate the adjustment sleeve until you feel significant resistance. Continue rotating until the rod is firmly wedged, but stop before the wardrobe walls begin to flex outward.
Optimising Weight Distribution and Hanger Selection
How you hang your clothes directly affects the stability of the tension rod. Concentrating heavy items like winter coats in the centre of the rod creates a high bending moment, which can cause the rod to bow. A bowed rod naturally shortens its effective length, reducing the axial tension at the ends and causing a sudden collapse.
To prevent this, distribute the weight evenly across the entire length of the rod, placing heavier garments closer to the support walls where the bending moment is lowest. Additionally, use lightweight hangers made of wood or textured plastic to prevent individual garments from sliding toward the center, maintaining a balanced load distribution.





