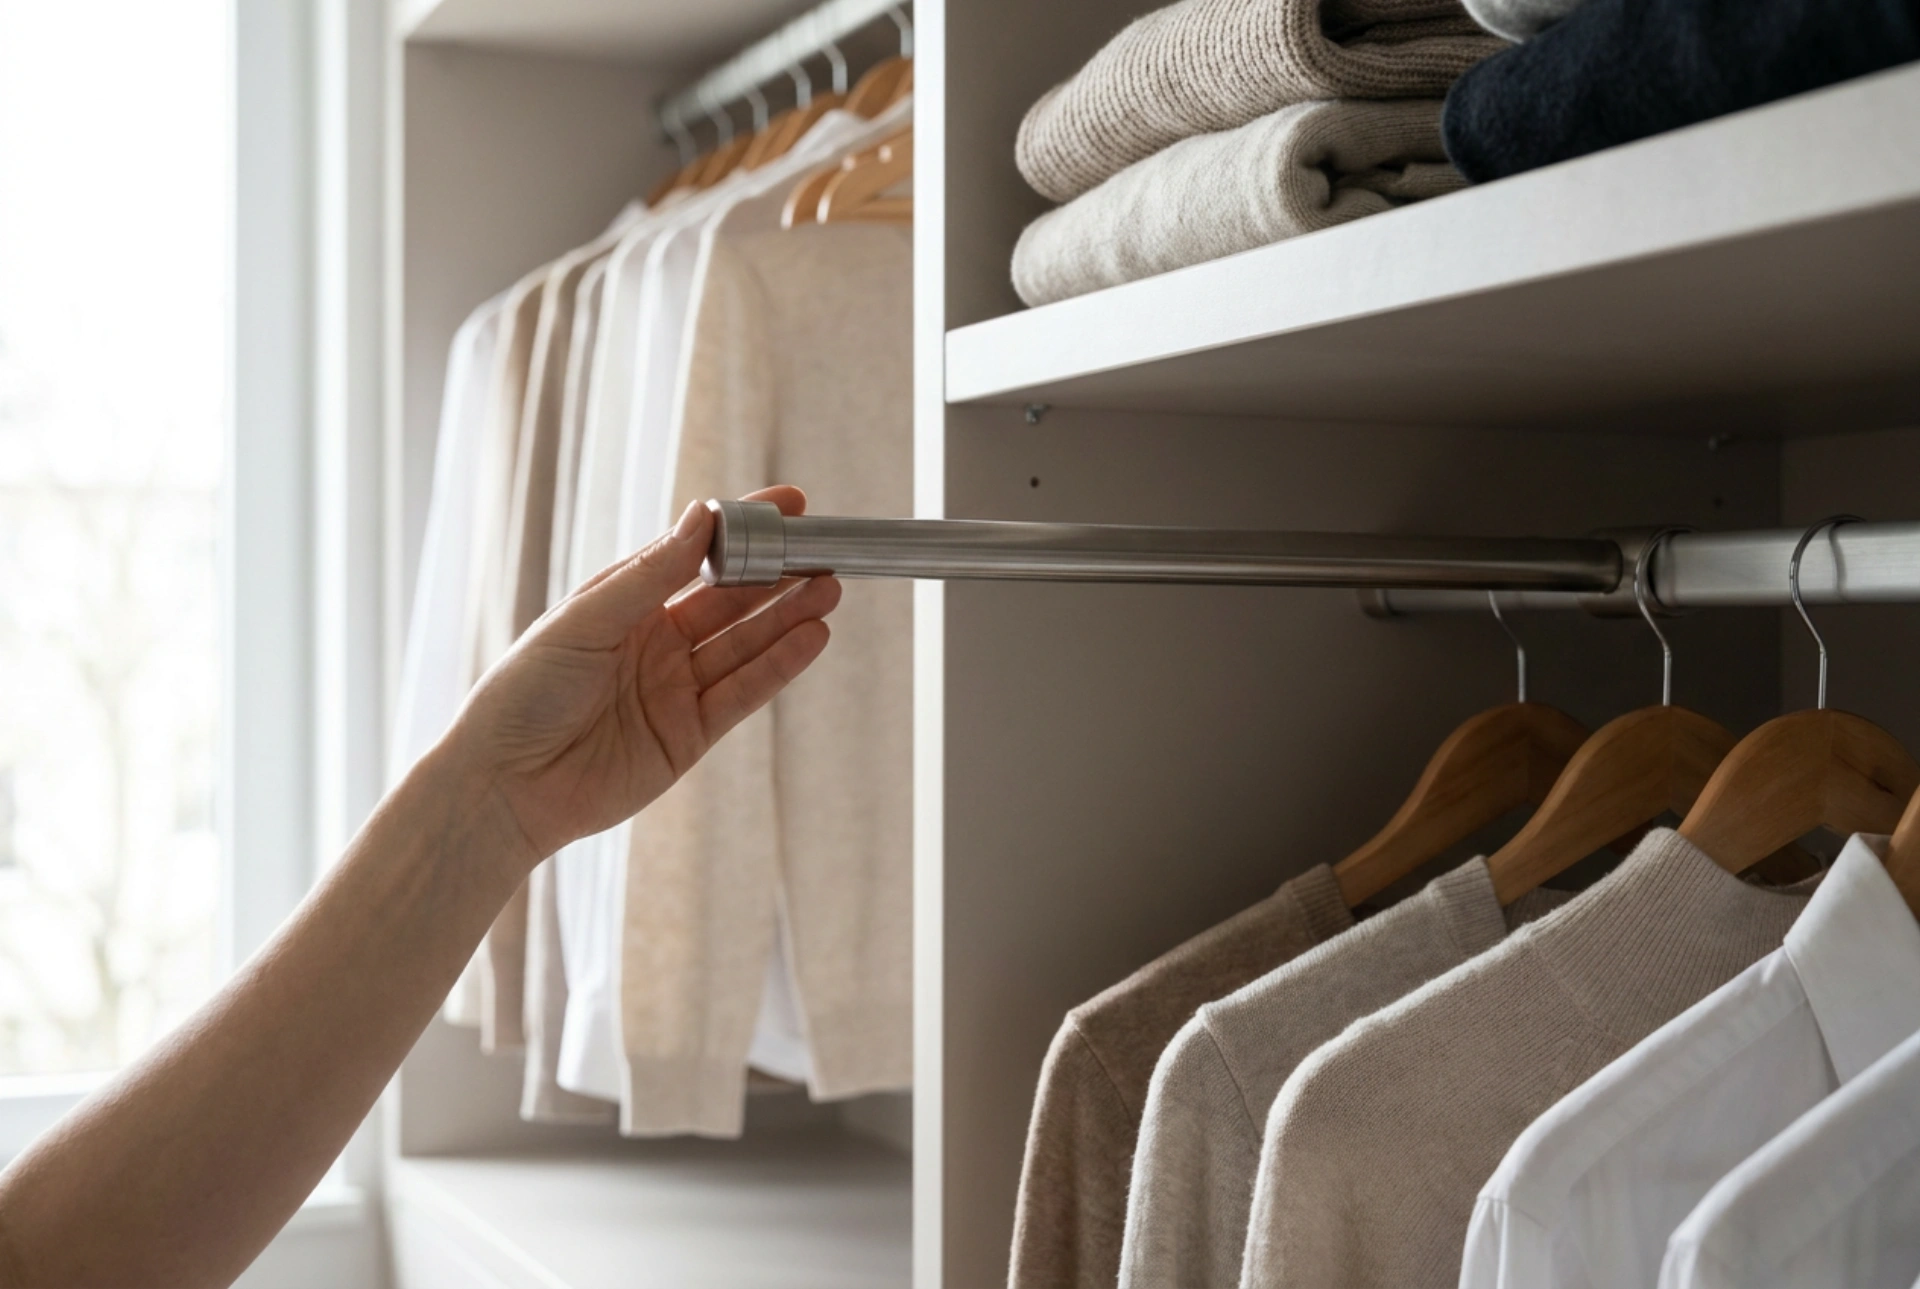


Reconfiguring a wardrobe layout traditionally required drilling, permanent bracket installation, and irreversibly altering furniture panels. Telescopic wardrobe rods solve this problem by utilising mechanical tension and friction, allowing for immediate adjustments to hanging spaces without structural damage.
The Physics of Tension and Friction in Wardrobe Expansion
Telescopic rods operate on basic mechanical principles, primarily relying on axial force to generate friction against the vertical walls of a closet. Inside a standard telescopic rod, there is either an internal compression spring or a threaded screw-expansion mechanism. When you rotate the rod, the thread expands the outer sleeve, pushing the end-caps tightly against the opposing wardrobe walls.
The stability of the rod is a direct function of the normal force exerted against the walls and the friction coefficient of the end-caps. High-friction materials, such as thermoplastic elastomer (TPE) or textured silicone, prevent the ends from slipping down the smooth melamine or wood-veneer surfaces. Mathematically, the holding force is equal to the normal force multiplied by the static friction coefficient. Ensuring a clean, grease-free surface prior to installation maximizes this friction, preventing unexpected collapses under the weight of heavy garments.
Material Science: Selecting Between Steel and Aluminium
When selecting a telescopic rod, understanding the material properties is crucial for long-term structural integrity. Structural deflection, commonly known as sagging, occurs when the gravity load of the clothes exceeds the material's yield strength and elastic modulus over a specific span.
- Stainless Steel: Offers a high modulus of elasticity, meaning it resists bending under heavy loads, such as winter coats or suits. It is ideal for wider spans where deflection is most likely to occur.
- Aluminium: Lightweight and corrosion-resistant, aluminium is excellent for shorter spans or lighter garments. However, it has a lower elastic modulus than steel, meaning it will flex more easily under equivalent loads.
To minimise deflection, the ratio of the rod's wall thickness to its total diameter must be optimised. A thicker tube wall resists bending far better than a thin-walled tube of the same outer diameter, especially when the telescopic joint is extended to its maximum limit, where the overlap between the two tubes is minimal.
Optimising Wardrobe Ergonomics and Layouts
Dynamic wardrobe reconfiguration allows you to adapt your storage to seasonal clothing changes. By analyzing garment lengths, you can create a dual-tier hanging system that doubles your usable space.
A standard single hanging rail typically leaves significant dead space at the bottom. By installing a telescopic rod midway down, you can separate the wardrobe into two distinct zones: an upper zone for shirts and jackets (requiring approximately 90-100 cm of vertical clearance) and a lower zone for trousers folded over hangers (requiring about 70-80 cm). During seasonal transitions, these rods can be raised, lowered, or removed entirely within minutes to accommodate long evening wear or trench coats without the need for tools.
Installation Technique and Structural Safety
While telescopic rods are simple to install, improper tensioning can damage wardrobe carcases, particularly those constructed from medium-density fibreboard (MDF) or particleboard. Over-tightening can bow the side panels outward, misaligning cabinet doors and weakening the structural joints of the furniture.
To install a rod safely and securely, follow these steps:
- Clean the mounting points thoroughly with isopropyl alcohol to remove any residual dust or manufacturing oils that could lower the friction coefficient.
- Measure the level precisely using a spirit level; an unlevel rod introduces shear forces that cause gradual downward slippage.
- Expand the rod until it makes contact with both walls, then apply an additional half-turn to establish sufficient static tension without bowing the wardrobe panels.
- For thin MDF panels, insert a wider rigid backing plate (such as a small block of wood or thick rubber pad) between the rod end-caps and the wardrobe wall to distribute the localized pressure over a larger surface area.





