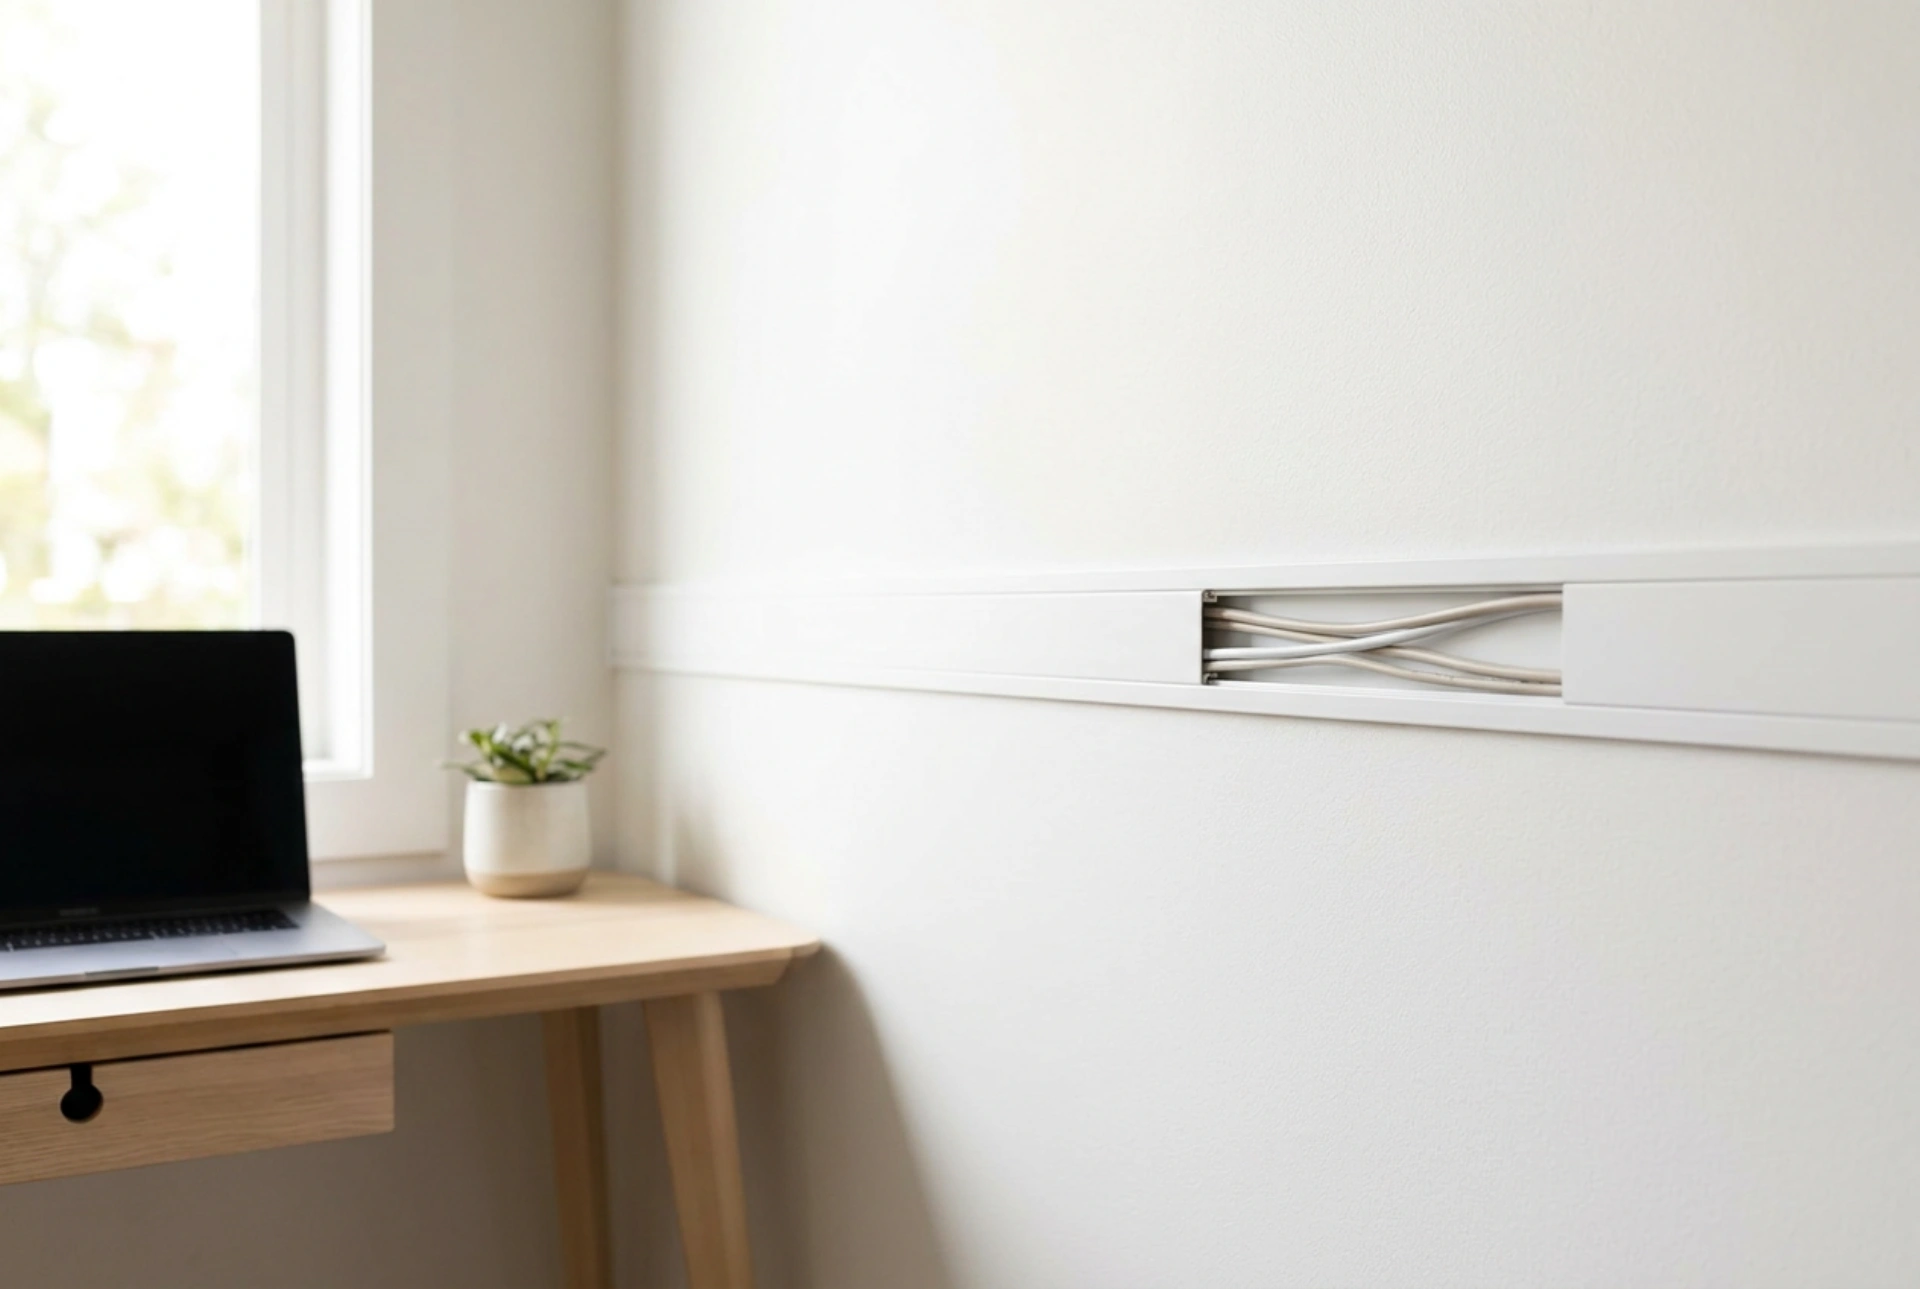


Exposed electrical cords and media cables clutter visual space and collect dust, yet routing them inside drywall is often impractical. Installing surface-mounted cable trunking is a highly effective, non-destructive solution that restores visual order and protects your wiring from mechanical wear.
Selecting the Right Trunking Material and Adhesion Method
Most residential cable covers are manufactured from Polyvinyl Chloride (PVC) or Acrylonitrile Butadiene Styrene (ABS). These polymers are chosen for their lightweight properties, impact resistance, and inherent flame-retardant characteristics. When mounting trunking without mechanical fasteners like screws, you rely entirely on chemical adhesion. The standard self-adhesive backing on most trunking uses a pressure-sensitive acrylic adhesive. Unlike rubber-based adhesives, acrylic offers superior resistance to UV light, temperature fluctuations, and plasticiser migration from the PVC itself, ensuring a long-term bond that will not degrade and sag over time.
Surface Chemistry: Preparing the Wall for the Adhesive Bond
An adhesive bond is only as strong as the weakest layer of the interface. On domestic walls, this weak layer is usually a microscopic film of dust, airborne grease, or loose paint chalk. Simply pressing the adhesive strip onto an unprepared wall invites premature failure. To ensure maximum surface energy contact, clean the mounting path thoroughly. Use a solution of isopropyl alcohol (minimum 70% concentration) on a microfiber cloth. Isopropyl alcohol dissolves oily residues and evaporates rapidly without leaving any moisture behind, which would otherwise interfere with the polymerisation of the adhesive. Avoid using household glass cleaners or soapy water, as these often leave behind surfactants or silicone films that repel adhesives.
Precision Cutting and Mechanical Alignment
A neat installation relies on precise cuts and careful routing. Because plastic trunking is prone to micro-cracking when cut under stress, use a fine-toothed saw, such as a hacksaw, paired with a mitre box. When routing cables around corners, cutting the trunking at a 45-degree angle ensures a seamless transition and keeps the internal bend radius of the cables within safe limits. Never bend copper-core cables at sharp 90-degree angles, as this damages the internal crystalline structure of the metal, leading to resistance spikes or signal degradation in ethernet lines. Always leave a 2-millimetre expansion gap at joints; plastics expand and contract slightly with seasonal indoor humidity and temperature fluctuations.
Optimising Internal Layout and Thermal Dissipation
The interior of your cable trunking must not be overcrowded. When electrical currents pass through copper conductors, they generate heat due to resistance. If cables are packed too tightly without air gaps, this heat cannot dissipate, potentially degrading the PVC insulation over time. As a rule of thumb, use the 40% fill rule: cables should occupy no more than 40% of the internal cross-sectional area of the trunking. Additionally, run high-voltage power cables and low-voltage data lines (such as HDMI or Ethernet) in separate compartments or with a physical gap to prevent electromagnetic interference (EMI) from disrupting data transmission.
Blending the Trunking into Your Wall
To make the trunking virtually invisible, it must match the wall's colour and texture. Standard PVC is highly non-porous and hydrophobic, meaning standard water-based emulsion paint will not adhere to it directly; it will bead up or peel off when dry. To overcome this, lightly scuff the exterior of the trunking with fine 240-grit sandpaper to create a mechanical key. Wipe away the dust, then apply a thin layer of a dedicated plastic primer or a water-based acrylic-latex primer. Once the primer has cured, you can apply your wall paint with a small foam roller. This matches the texture of the surrounding drywall and ensures the trunking blends seamlessly into the background.