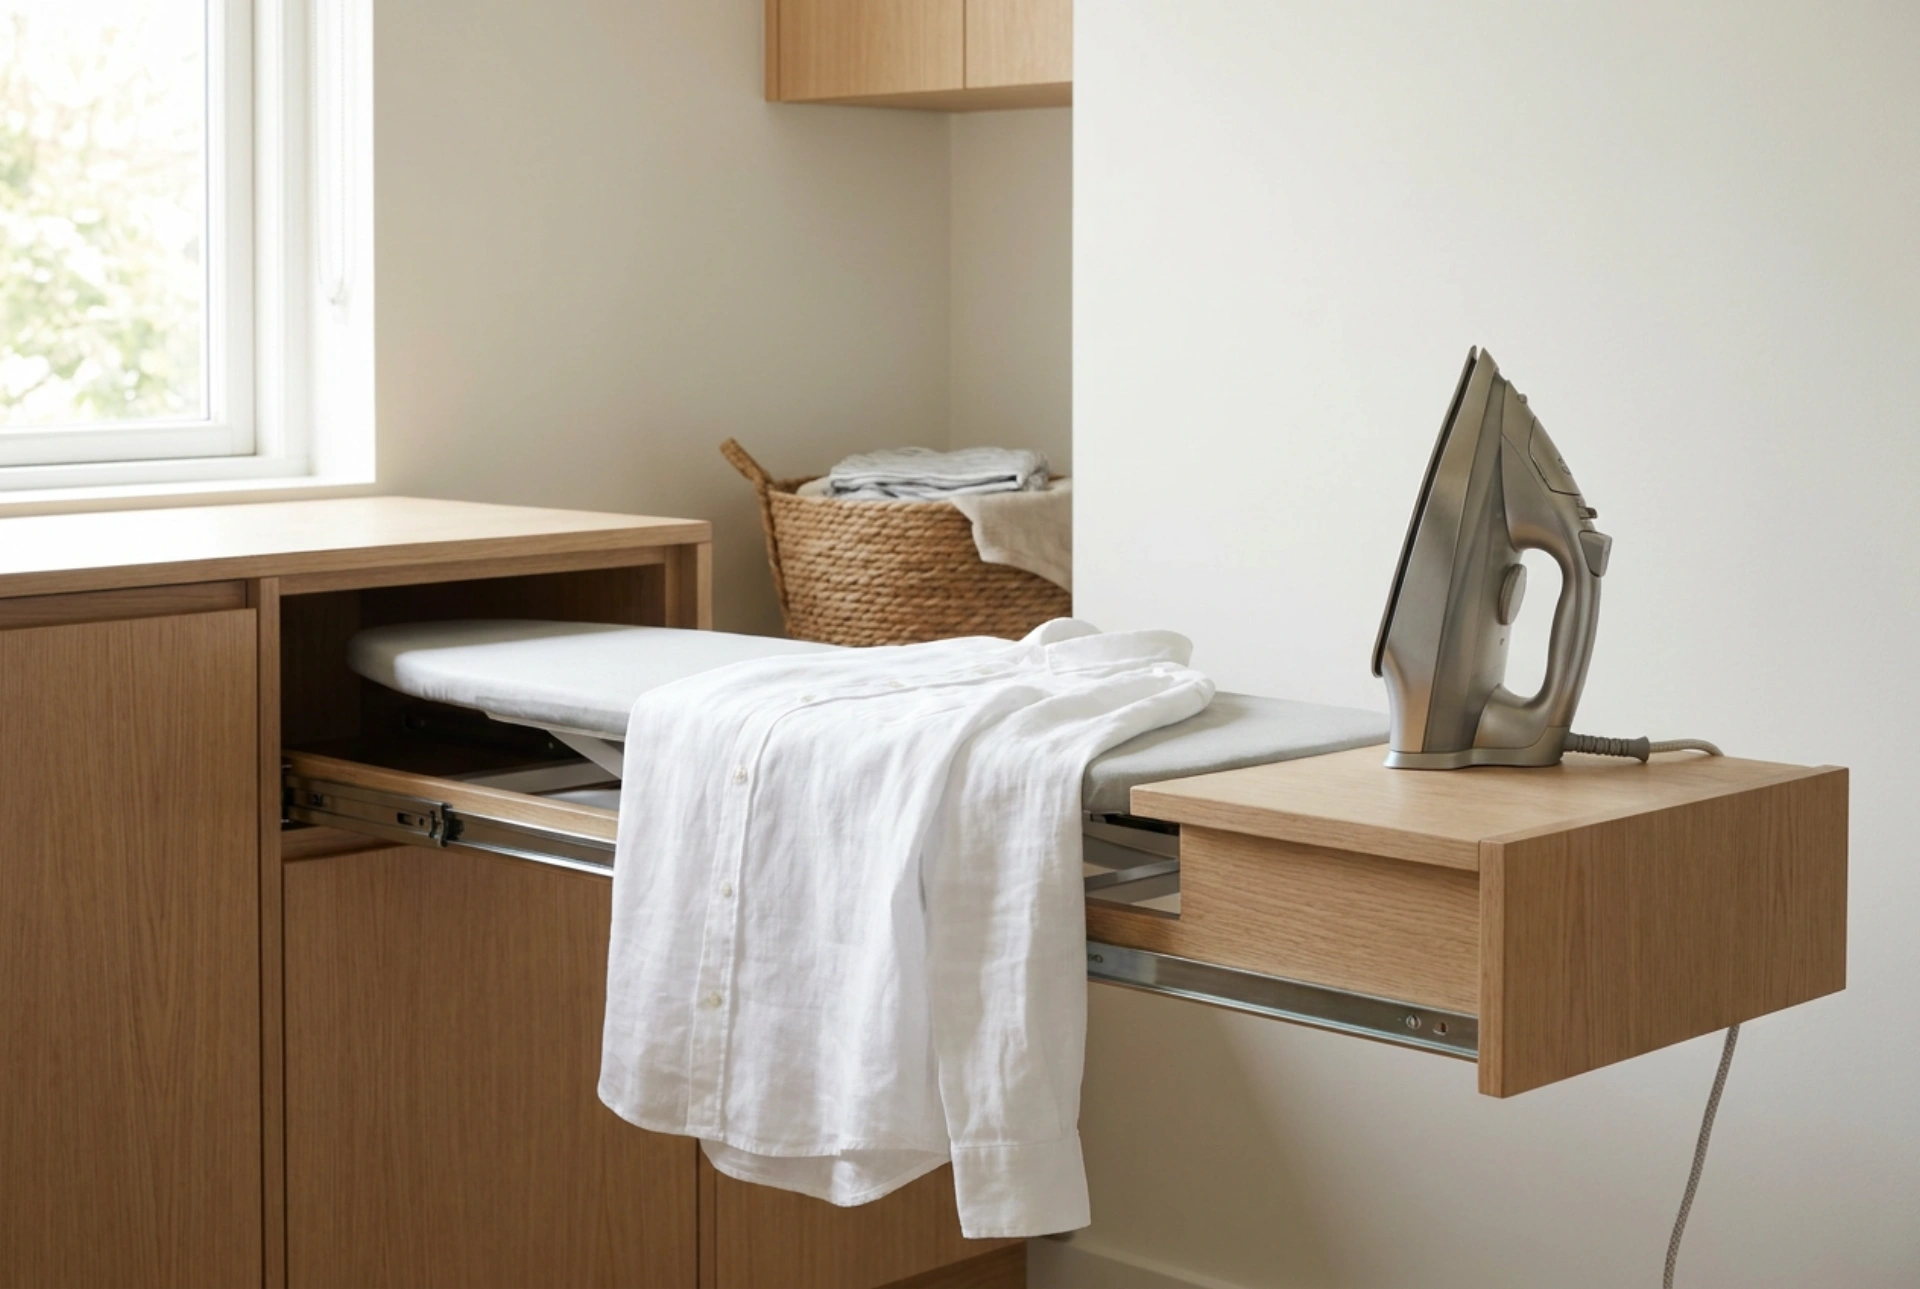


Integrating an ironing board directly into your cabinetry eliminates the physical friction of setting up heavy, freestanding equipment, transforming a cumbersome chore into a streamlined process. Understanding the structural mechanics and material properties of built-in systems allows you to optimize both your laundry workflow and your home's spatial efficiency.
The Mechanical Advantage of Integrated Ironing Systems
Standard freestanding ironing boards often suffer from instability due to their high center of gravity and lightweight scissor-leg configurations. Built-in boards, anchored directly to wall studs or reinforced cabinet framing, utilize cantilevered supports or heavy-duty telescoping runners. This structural anchoring distributes the downward force applied during ironing evenly across the cabinet chassis, providing a rigid, unyielding surface.
The physics of pressing relies on a combination of heat, moisture, and downward pressure to temporarily break the hydrogen bonds holding the polymer chains in fabric fibers. A rock-solid surface ensures that 100% of the muscular force you apply translates directly to the fabric, rather than being absorbed by flexing metal legs. This mechanical stability significantly reduces physical fatigue, allowing you to achieve crisp creases with minimal effort.
Thermal Dynamics and Cover Material Science
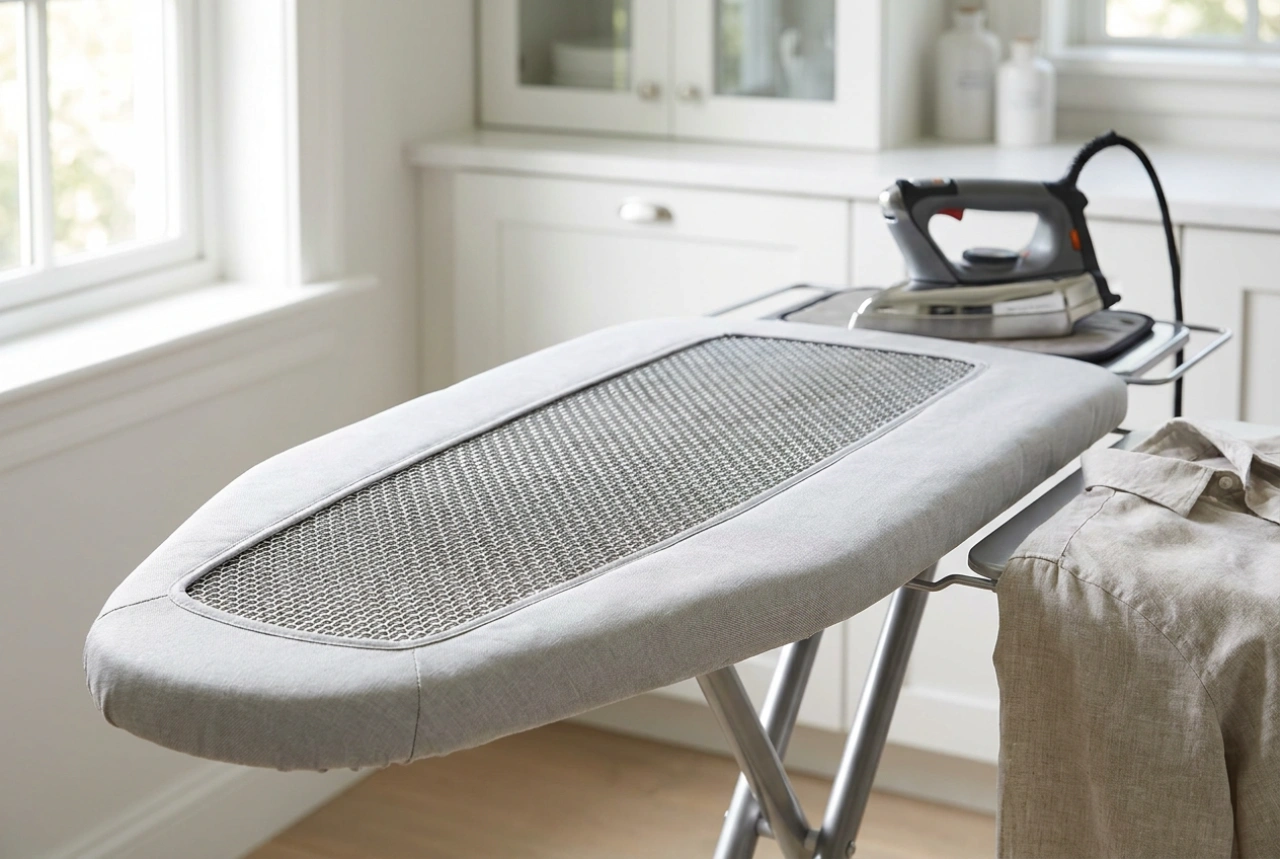
The efficiency of an ironing board is heavily dependent on the thermodynamics of its cover assembly. A high-quality built-in board utilizes a multi-layered cover system designed to manage moisture and reflect heat. This is not just a matter of aesthetics; it is a critical factor in heat transfer efficiency.
- Top Layer: A heavy-gauge, 100% cotton canvas fabric provides the necessary friction to hold garments securely in place, preventing them from slipping during complex pressing movements.
- Padding Layer: Beneath the cotton sits a high-density felt padding, usually made of needle-punched polyester or wool blends. High-density felt resists compression over time and does not degrade under high heat, unlike cheap polyurethane foam which crumbles and releases gaseous by-products.
- Reflective Sub-layer: Many advanced integrated boards feature a metallised or aluminum-coated sub-layer. This layer acts as a thermal mirror, reflecting radiant heat back up through the underside of the garment. This effectively presses both sides of the fabric simultaneously, drastically reducing ironing time.
Moisture Control and Vapor Diffusion
Modern steam irons inject highly pressurized water vapor into textiles to mobilize fiber structures. However, this moisture must be managed to prevent condensation. High-quality built-in boards feature a perforated steel or mesh base beneath the padding. This perforation allows steam to pass completely through the board instead of pooling in the textile pad.
Without adequate vapor diffusion, moisture accumulates within the cabinet cavity when the board is folded away. Over time, trapped moisture leads to musty odors, mildew growth, and corrosion of the metal components. Choosing a board with a perforated frame and allowing it to cool and dry completely before retracting it into the cabinet is essential for long-term hygiene and mechanical durability.
Selecting the Mechanism: Swivel vs. Pull-Out
Integrating an ironing board requires analyzing your room's physical layout and your ergonomic needs. The two primary mechanisms are pull-out drawers and wall-mounted swivel systems.
Pull-out systems are integrated directly into standard laundry drawers. They utilize heavy-duty ball-bearing runners that slide out smoothly. While highly discreet, they require clear linear space directly in front of the cabinet. Swivel systems, typically housed in shallow wall cabinets, fold down and rotate up to 180 degrees. This rotational freedom allows you to adjust the board's angle to capture the best natural light and accommodate left- or right-handed use, ensuring you do not cast a shadow over your work surface.
The Thermodynamics of Ironing Sequences
To maximize the efficiency of your built-in system, plan your ironing sequence based on thermal graduation. Always organize your garments from lowest to highest required temperature. Start with synthetic fibers which require low heat (around 110°C). Gradually progress to silk and wool (150°C), and finish with cotton and linen, which require temperatures up to 200°C combined with high steam output.
This sequence prevents damage to delicate fibers caused by residual heat stored in the iron's soleplate. When pressing, always move the iron in straight, linear paths along the warp and weft of the fabric weave. Circular rubbing motions stretch and distort the fibers, permanently ruining the garment's drape and structure.