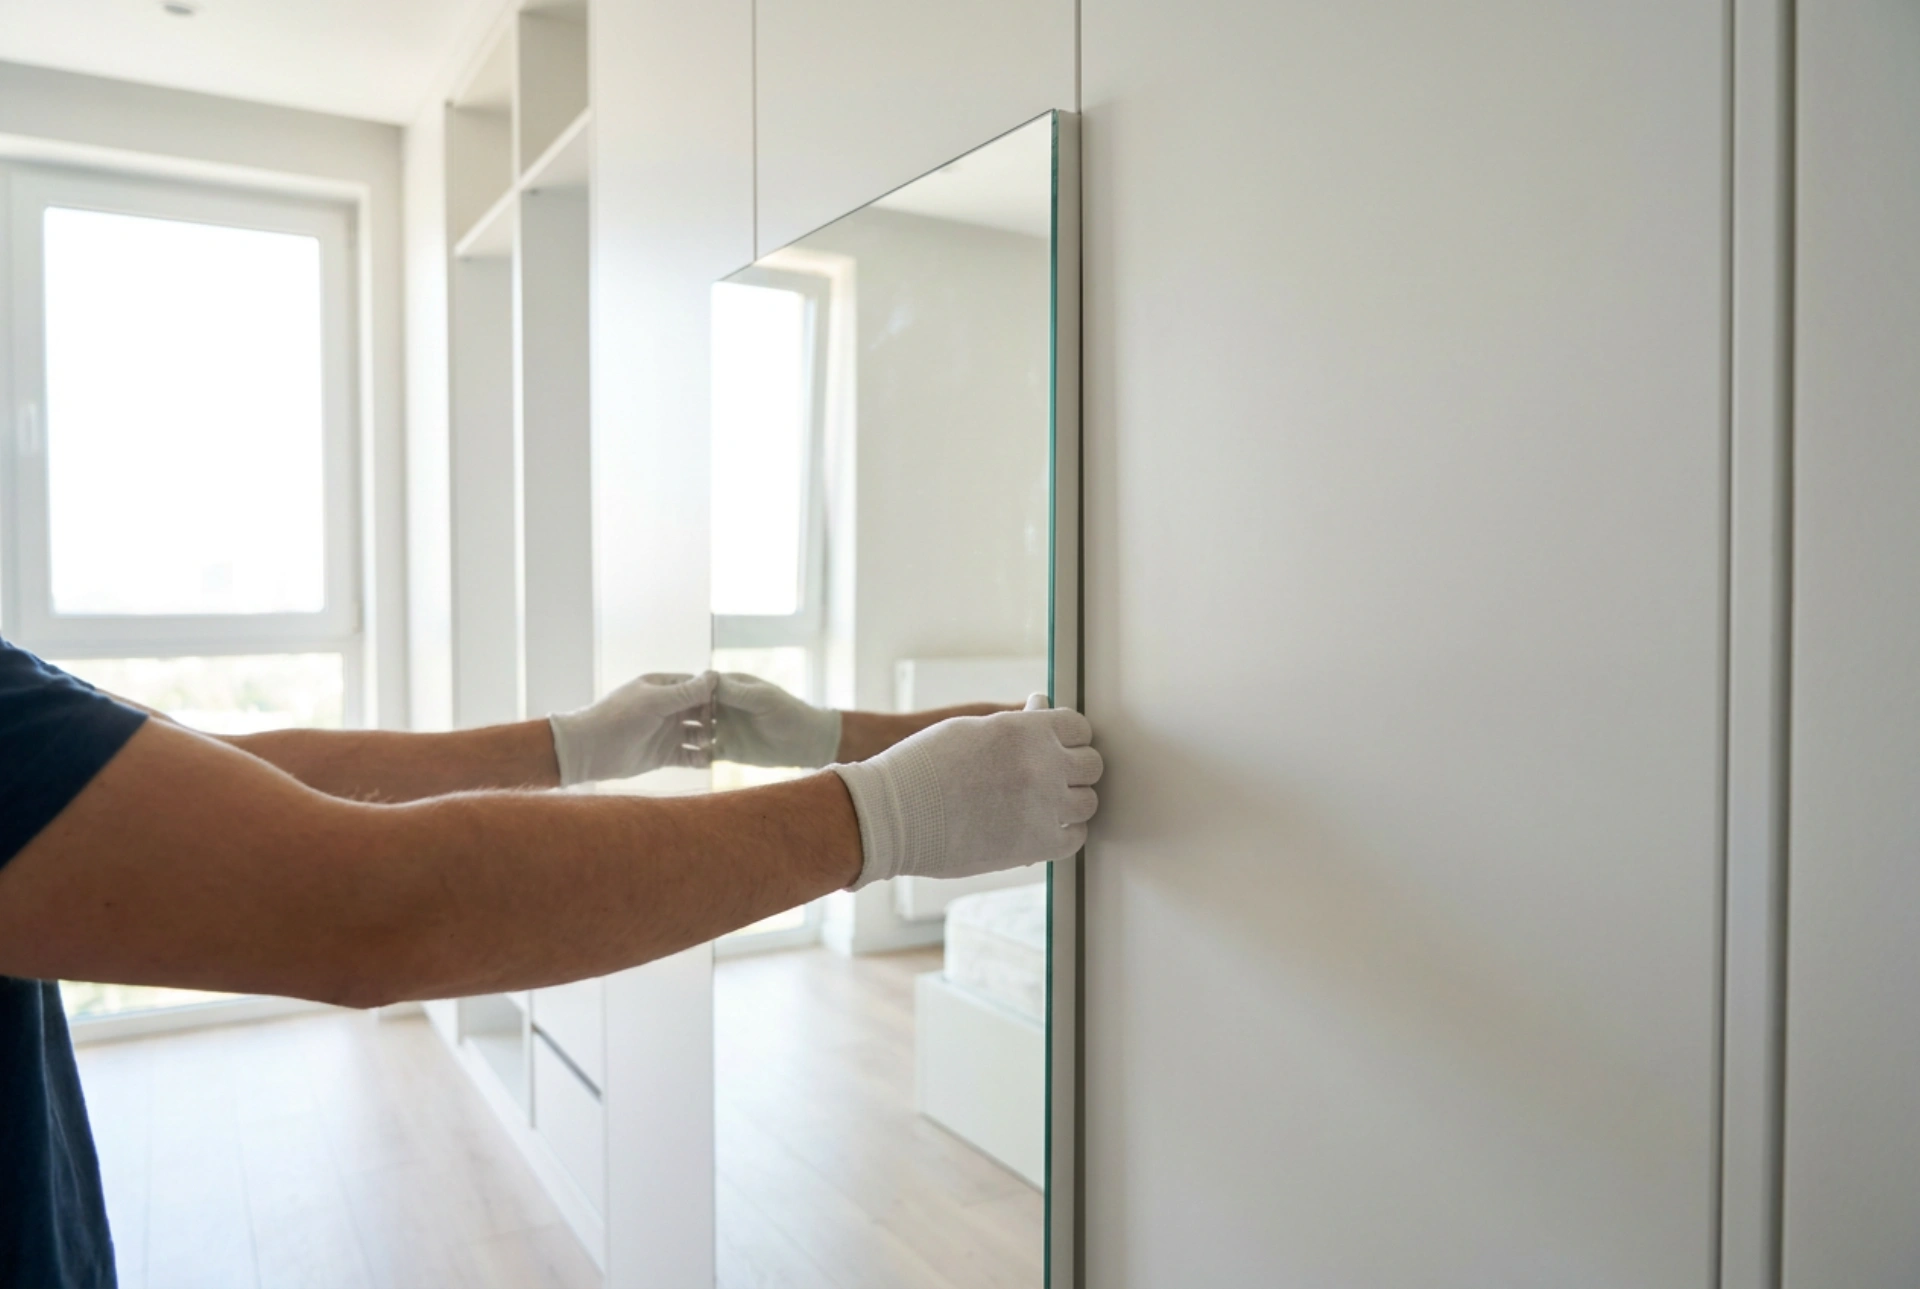


Mounting a mirror on a wardrobe door is an excellent way to maximize room utility and create a spacious feel without sacrificing valuable wall or floor space.
Understanding the Physics of Mirror Mounting
Before applying any adhesive or hardware, it is critical to understand the mechanical forces at play. Unlike static wall installations, a wardrobe door is a dynamic surface subject to frequent movement, vibrations, and centrifugal forces during opening and closing. This constant motion puts unique stress on the bonding agent and the door hinges. Glass is heavy and inelastic, meaning the adhesive system must absorb the kinetic energy of the moving door while maintaining a permanent bond. Furthermore, you must assess the weight capacity of your wardrobe hinges; adding a heavy glass panel may require upgrading to heavy-duty cabinet hinges to prevent the door from sagging over time.
Choosing the Right Adhesive System
To ensure a permanent hold that resists moisture, temperature fluctuations, and movement, the choice of adhesive is paramount. Standard construction adhesives often contain solvents that can degrade the silver backing of the mirror, leading to unsightly black spots and peeling. You must use a specialized mirror mastic or a neutral-cure silicone adhesive. Neutral-cure silicones do not release acidic byproducts during the curing process, preserving the reflective coating. For the initial tack and to hold the mirror in place while the liquid adhesive cures, high-density double-sided polyethylene foam tape is essential. This tape acts as a spacer, providing the necessary thickness for the silicone to cure properly by allowing air and moisture to reach the adhesive bead.
Step-by-Step Installation Technique
Achieving a professional, long-lasting bond requires meticulous surface preparation and a precise application sequence. Follow these steps to ensure structural integrity:
- Preparation: Remove the wardrobe door and lay it completely flat on a stable, protected work surface. Cleaning is crucial. Use isopropyl alcohol to degrease both the back of the mirror and the mounting area on the door. Any dust, oil, or manufacturing residues will severely compromise the adhesive bond.
- Dry Fit and Marking: Place the mirror on the door to verify the exact positioning. Use a pencil to lightly trace the corners and edges. This eliminates guesswork once the adhesive is applied.
- Applying Tape and Adhesive: Apply vertical strips of high-strength double-sided foam tape inside your marked perimeter, leaving 5 to 10 centimeters of space between them. In the gaps between the tape strips, apply thick beads of neutral-cure silicone adhesive in vertical lines. Never apply adhesive in closed rings or horizontal lines, as this traps air pockets and moisture, slowing down the curing process and weakening the bond.
- Positioning and Bonding: Carefully align the mirror with your pencil guides. Lower it gently onto the surface. Once the mirror contacts the double-sided tape, you will not be able to reposition it. Press firmly along the areas with the tape and adhesive to ensure complete wet-out and contact.
- Curing: Leave the door flat for at least 24 to 48 hours to allow the silicone adhesive to cure fully before reattaching the door to the wardrobe.
Securing the Wardrobe Structure
Once the mirror is securely bonded to the door, the physical dynamics of the wardrobe change. The added weight shifts the center of gravity forward when the door is open. To prevent the entire wardrobe cabinet from tipping over, it is vital to anchor the furniture carcass to the wall using appropriate L-brackets and wall anchors. Additionally, check the alignment of the door. Adjust the depth and height screws on the cabinet hinges to compensate for the new load, ensuring the door closes smoothly and seals flush against the frame.





