

Porcelain tiles are highly durable and dense, but their low porosity means cleaning agents often sit on the surface, drying into unsightly streaks and attracting dust.
The Chemistry of Porcelain Tile Streaks
Porcelain stoneware (gres) is manufactured under extreme pressure and fired at exceptionally high temperatures. This process vitrifies the material, resulting in an incredibly low water absorption rate of less than 0.5 percent. Because liquids cannot penetrate the tile, any residue from soap, fatty acids, or surfactant-heavy commercial detergents remains trapped on the surface. When the water evaporates, these non-volatile organic compounds dry into a thin, sticky film that reflects light unevenly, creating visible streaks and footprints.
Dissolving Hard Water and Mineral Deposits
In bathrooms and kitchens, porcelain tiles frequently suffer from limescale buildup. Limescale consists primarily of calcium carbonate and magnesium carbonate, which precipitate out of hard tap water. Standard alkaline floor cleaners cannot dissolve these minerals. To break the ionic bonds of limescale without damaging the tile surface or the grout, you must employ a mild acid. Diluted citric acid or acetic acid (white vinegar) works by converting insoluble calcium carbonate into highly soluble calcium citrate or calcium acetate, which can then be easily wiped away.
The Correct Acid-to-Water Ratio
- For routine maintenance: Mix one part white vinegar with ten parts warm, distilled water. Distilled water is crucial because it contains no dissolved minerals that could leave new spots.
- For heavy limescale: Dissolve two tablespoons of citric acid powder in one liter of warm water. Apply this solution directly to the affected tiles and let it sit for three minutes to allow the chemical reaction to occur.
Selecting and Using the Right Surfactants
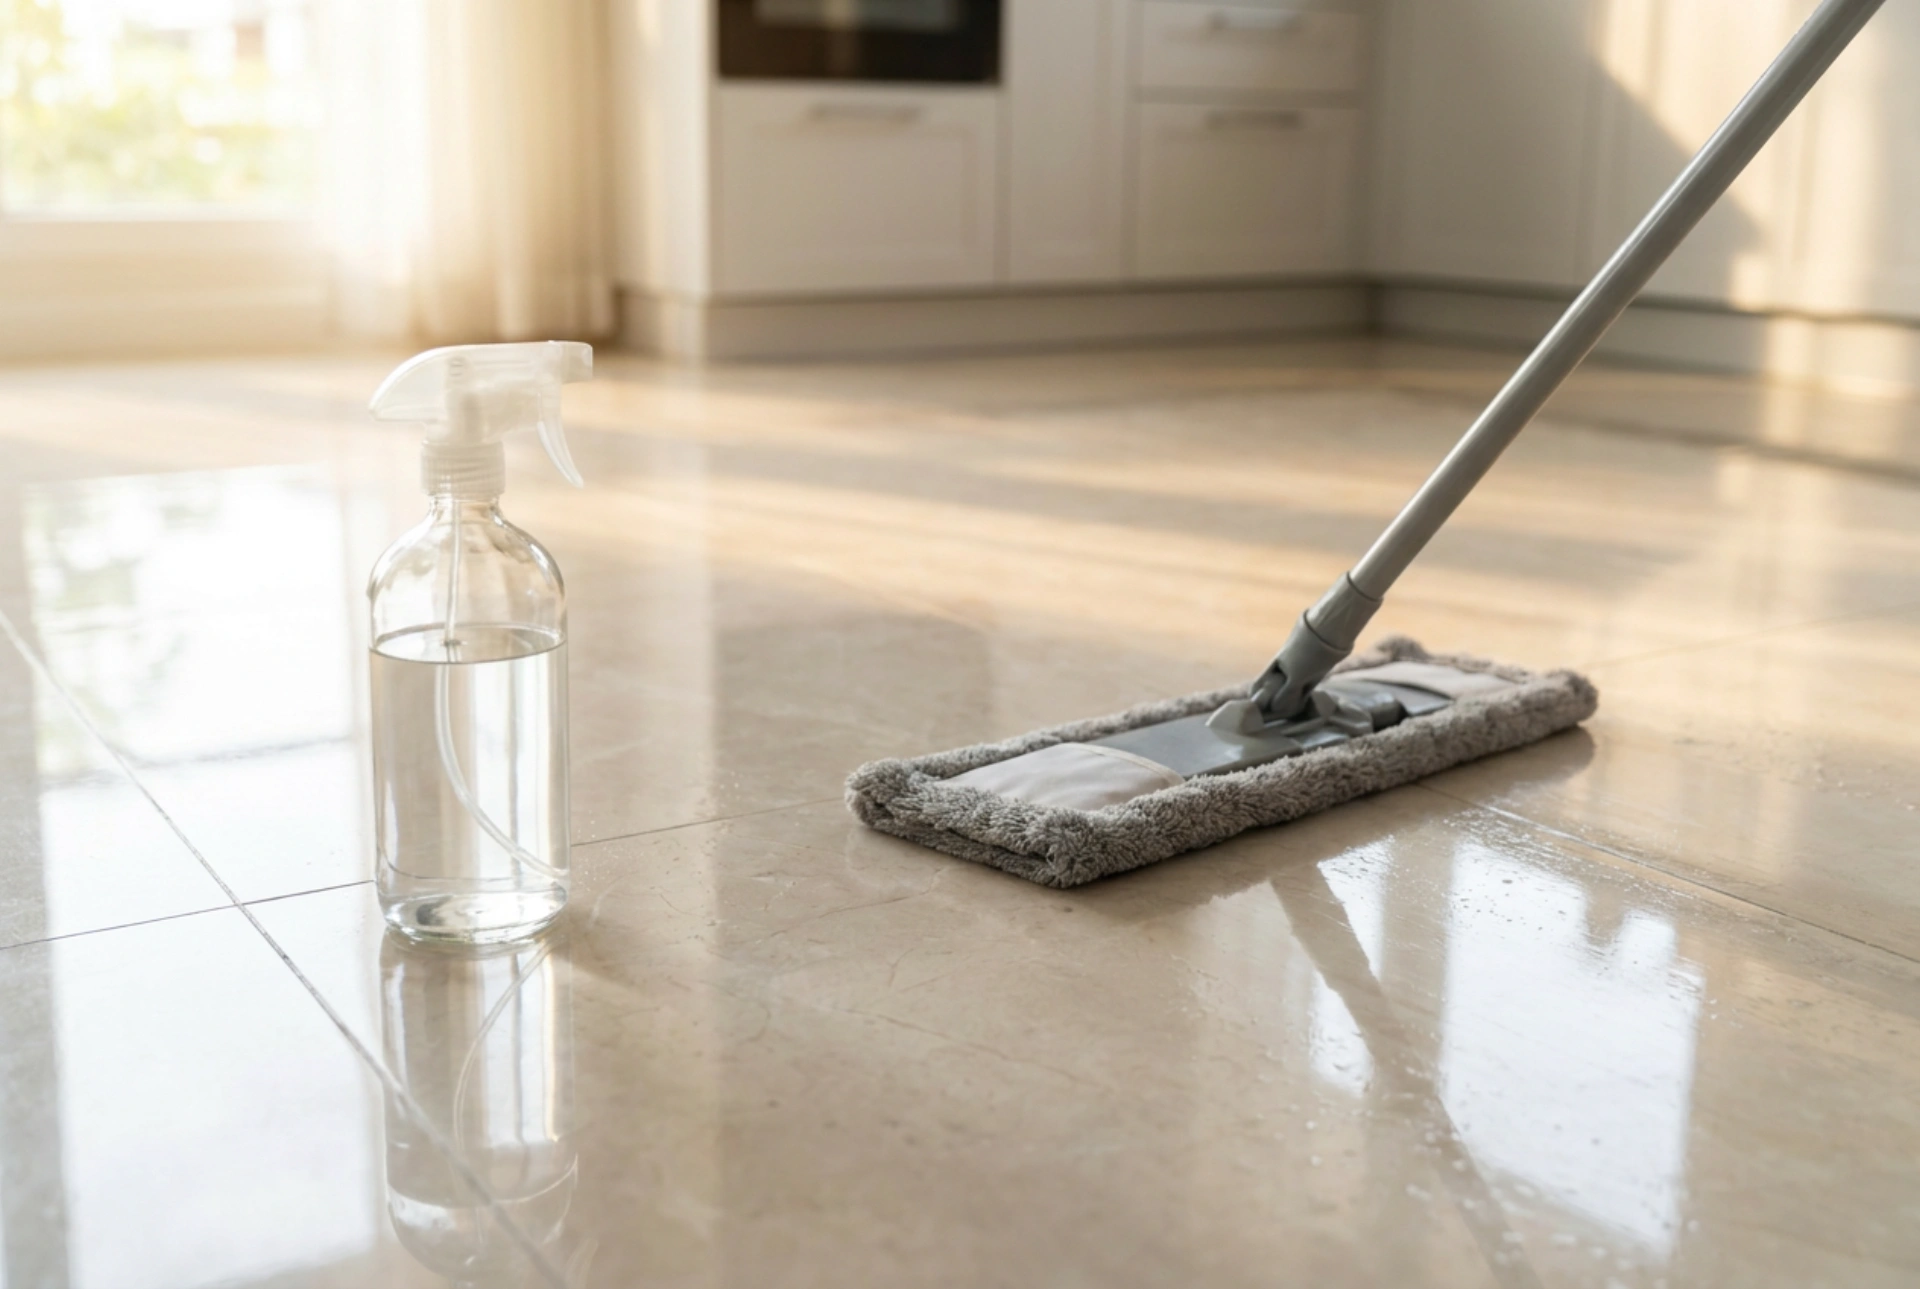
When choosing or mixing a cleaning agent, avoid formulations containing soaps, synthetic waxes, or silicones. These ingredients are designed to leave a protective layer on porous materials like natural stone, but on non-porous porcelain, they simply create a dull haze. Instead, opt for highly volatile solvents such as isopropyl alcohol mixed with a minimal amount of synthetic, non-ionic surfactants. Isopropyl alcohol lowers the surface tension of the water, allowing it to sheet evenly across the tile, while accelerating the evaporation process so that the water dries before droplets can form and leave mineral rings.
The Importance of Mechanical Technique
Even the best chemical solution will fail if the dissolved dirt is simply smeared across the floor. To achieve a perfectly streak-free finish, follow a strict three-step cleaning protocol:
1. Complete Dry Soil Removal
Before applying any liquid, vacuum or sweep the floor thoroughly. Any loose dust, hair, or grit left on the surface will mix with the cleaning solution, creating a dirty slurry that fills the micro-textures of the porcelain and causes graying over time.
2. The Two-Bucket Mopping System
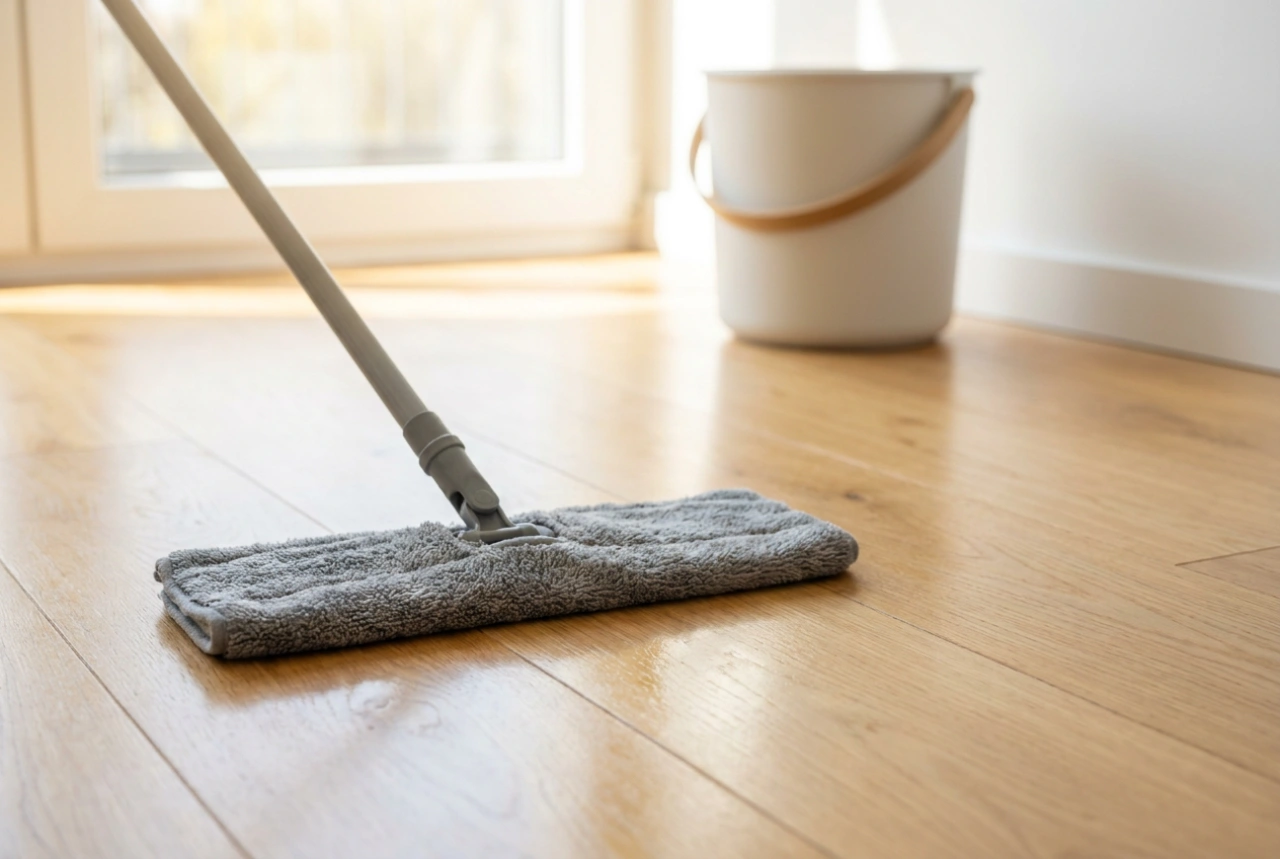
Never dip a dirty mop back into your clean washing solution. Use one bucket for your active cleaning mixture and a second bucket filled with clean, warm water for rinsing the mop head. Ensure your microfiber mop is damp, not soaking wet. Excess water pools in the grout lines and takes too long to evaporate, increasing the likelihood of mineral deposition.
3. The Dry Buffing Step
To guarantee a flawless, high-gloss finish, immediately follow your damp mop with a dry, clean microfiber cloth or a flat mop fitted with a dry polishing pad. This physical action lifts any remaining moisture and suspended particles from the tile surface before they can dry naturally.