

Preserving the supple texture and matte finish of automotive leather requires understanding the material's delicate surface chemistry and employing the correct physical techniques.
Understanding Automotive Leather Chemistry
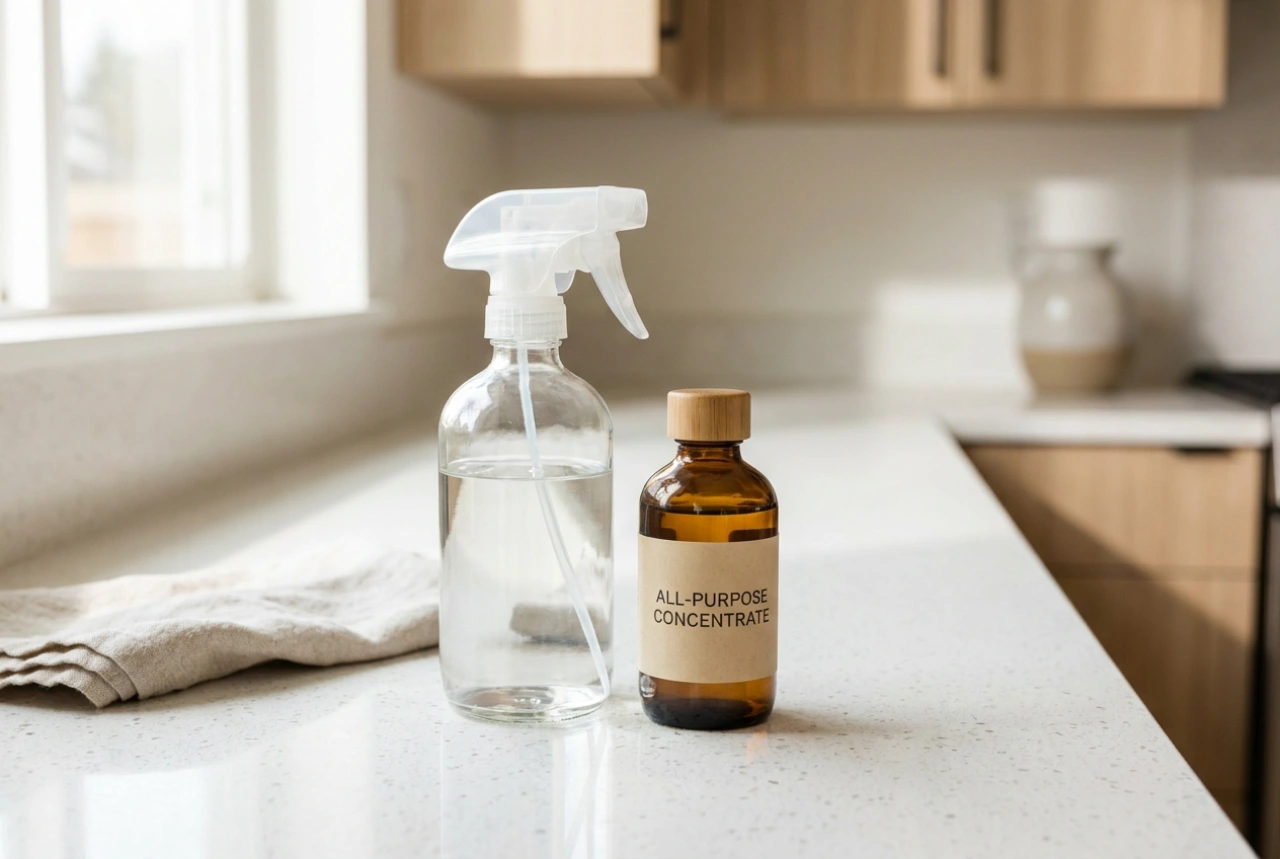
Modern car seats are made from finished leather, which features a thin polyurethane protective layer applied over the dyed hide. This coating guards against moisture, friction, and UV radiation, but it is highly sensitive to pH levels. Using harsh alkaline household soaps or acidic detergents breaks down this protective barrier, leading to premature cracking, peeling, and colour fading. To clean these surfaces safely, you must use a pH-neutral cleaner specifically formulated to lift oils and dust without stripping the finish.
The Dual-Zone Deep Cleaning Method
Effective leather care is divided into two distinct phases: emulsifying surface grime and nourishing the dry fibers beneath. Working in small, manageable sections prevents the cleaning agent from drying on the leather, which would redeposit dissolved dirt back into the pores.
Phase 1: Agitation and Emulsification
Begin by thoroughly vacuuming the seats using a soft brush attachment to remove abrasive dust and debris from the seams. Apply a pH-neutral leather cleaner to a soft-bristled horsehair brush rather than spraying it directly onto the seat. This prevents the liquid from pooling in the perforations, which can damp the underlying foam and lead to mold. Gently work the brush in small circular motions. The physical friction combined with the surfactant properties of the cleaner creates a light foam that encapsulates body oils, sweat, and embedded dirt.
Phase 2: Immediate Residue Extraction
Never let the cleaner dry on the surface. Immediately wipe away the emulsified foam using a clean, damp microfiber cloth. Microfiber features a high surface area that lifts and traps the dissolved grime. Use a second, dry microfiber cloth to dry the area completely, preparing the surface for conditioning.
The Conditioning and Rehydration Phase
While the polyurethane topcoat is largely impermeable, microscopic pores and wear areas allow moisture to escape, causing the leather underneath to dry out and stiffen. Conditioning restores the essential oils that keep the fibers flexible.
Application of the Conditioning Agent
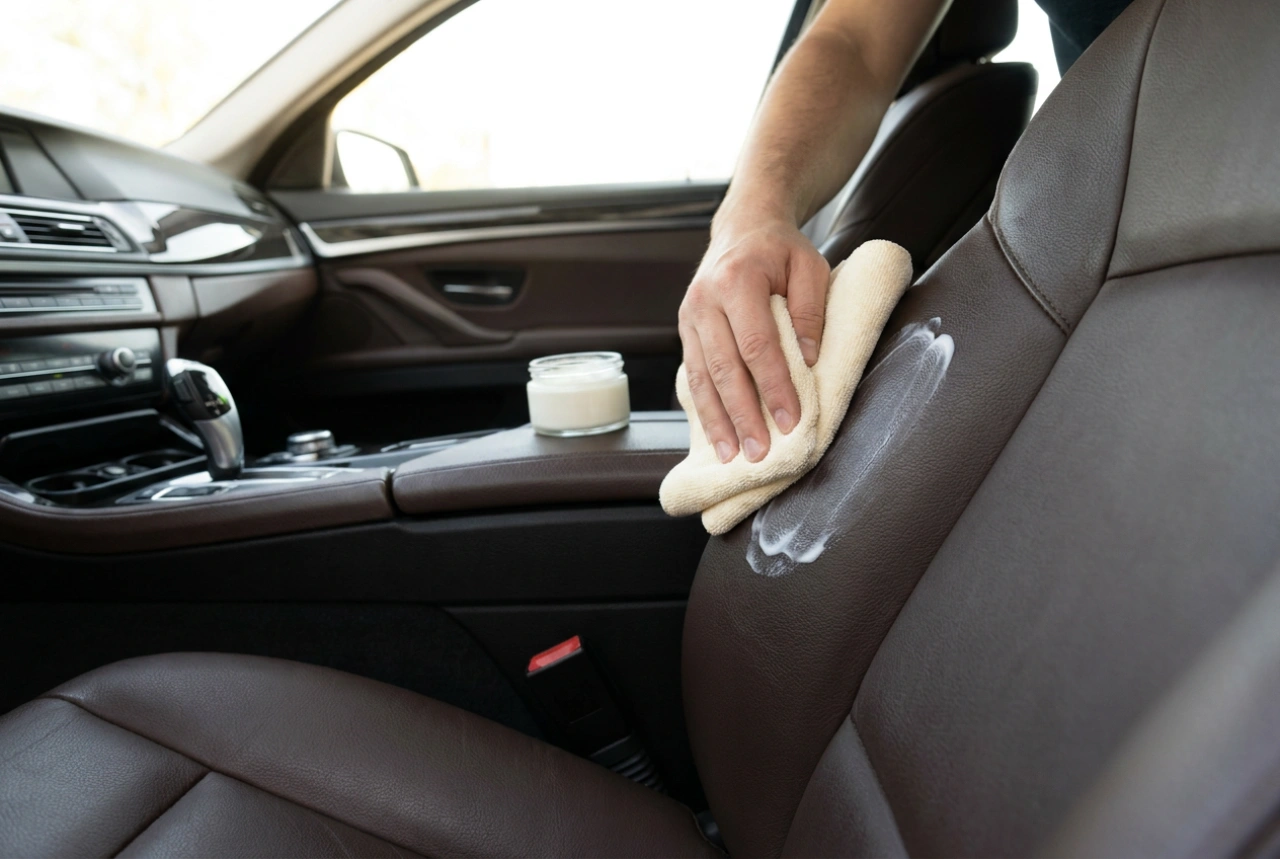
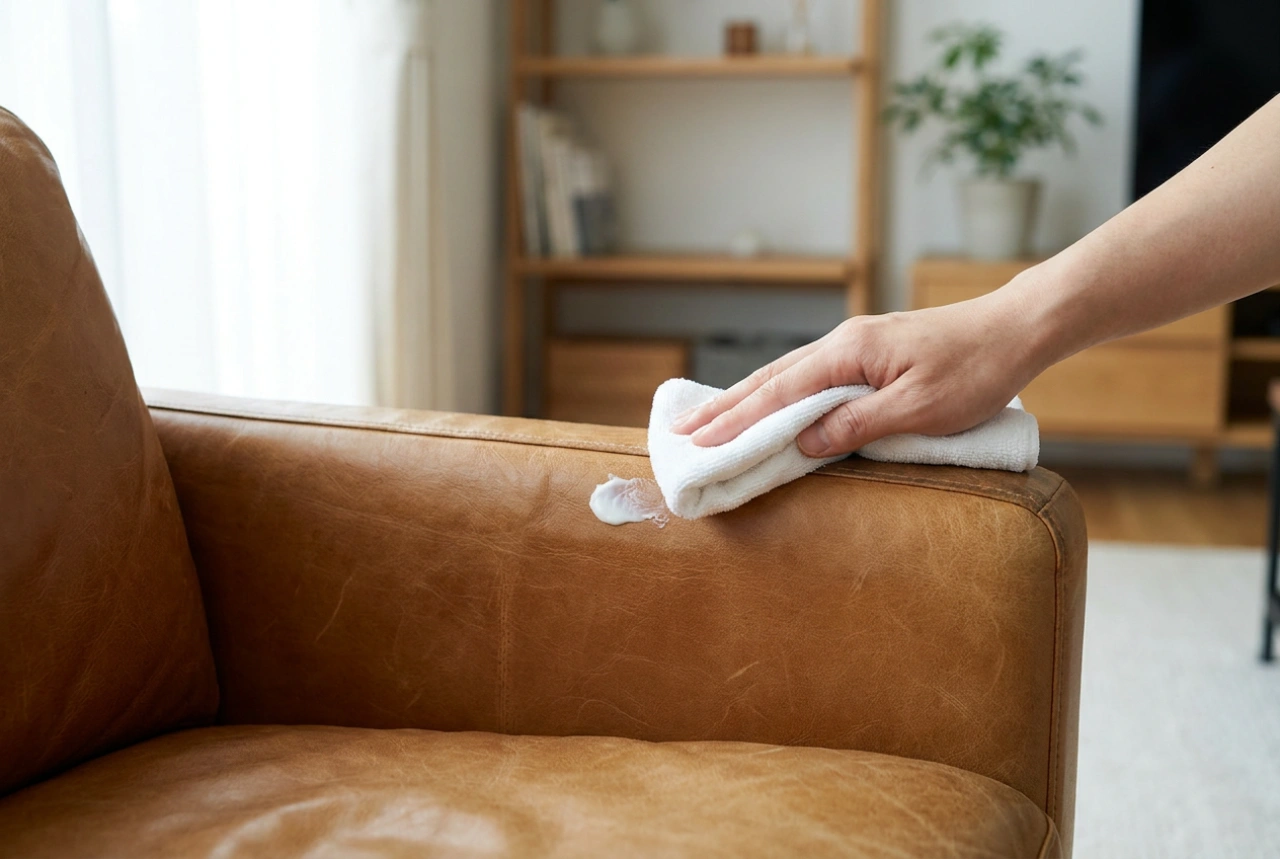
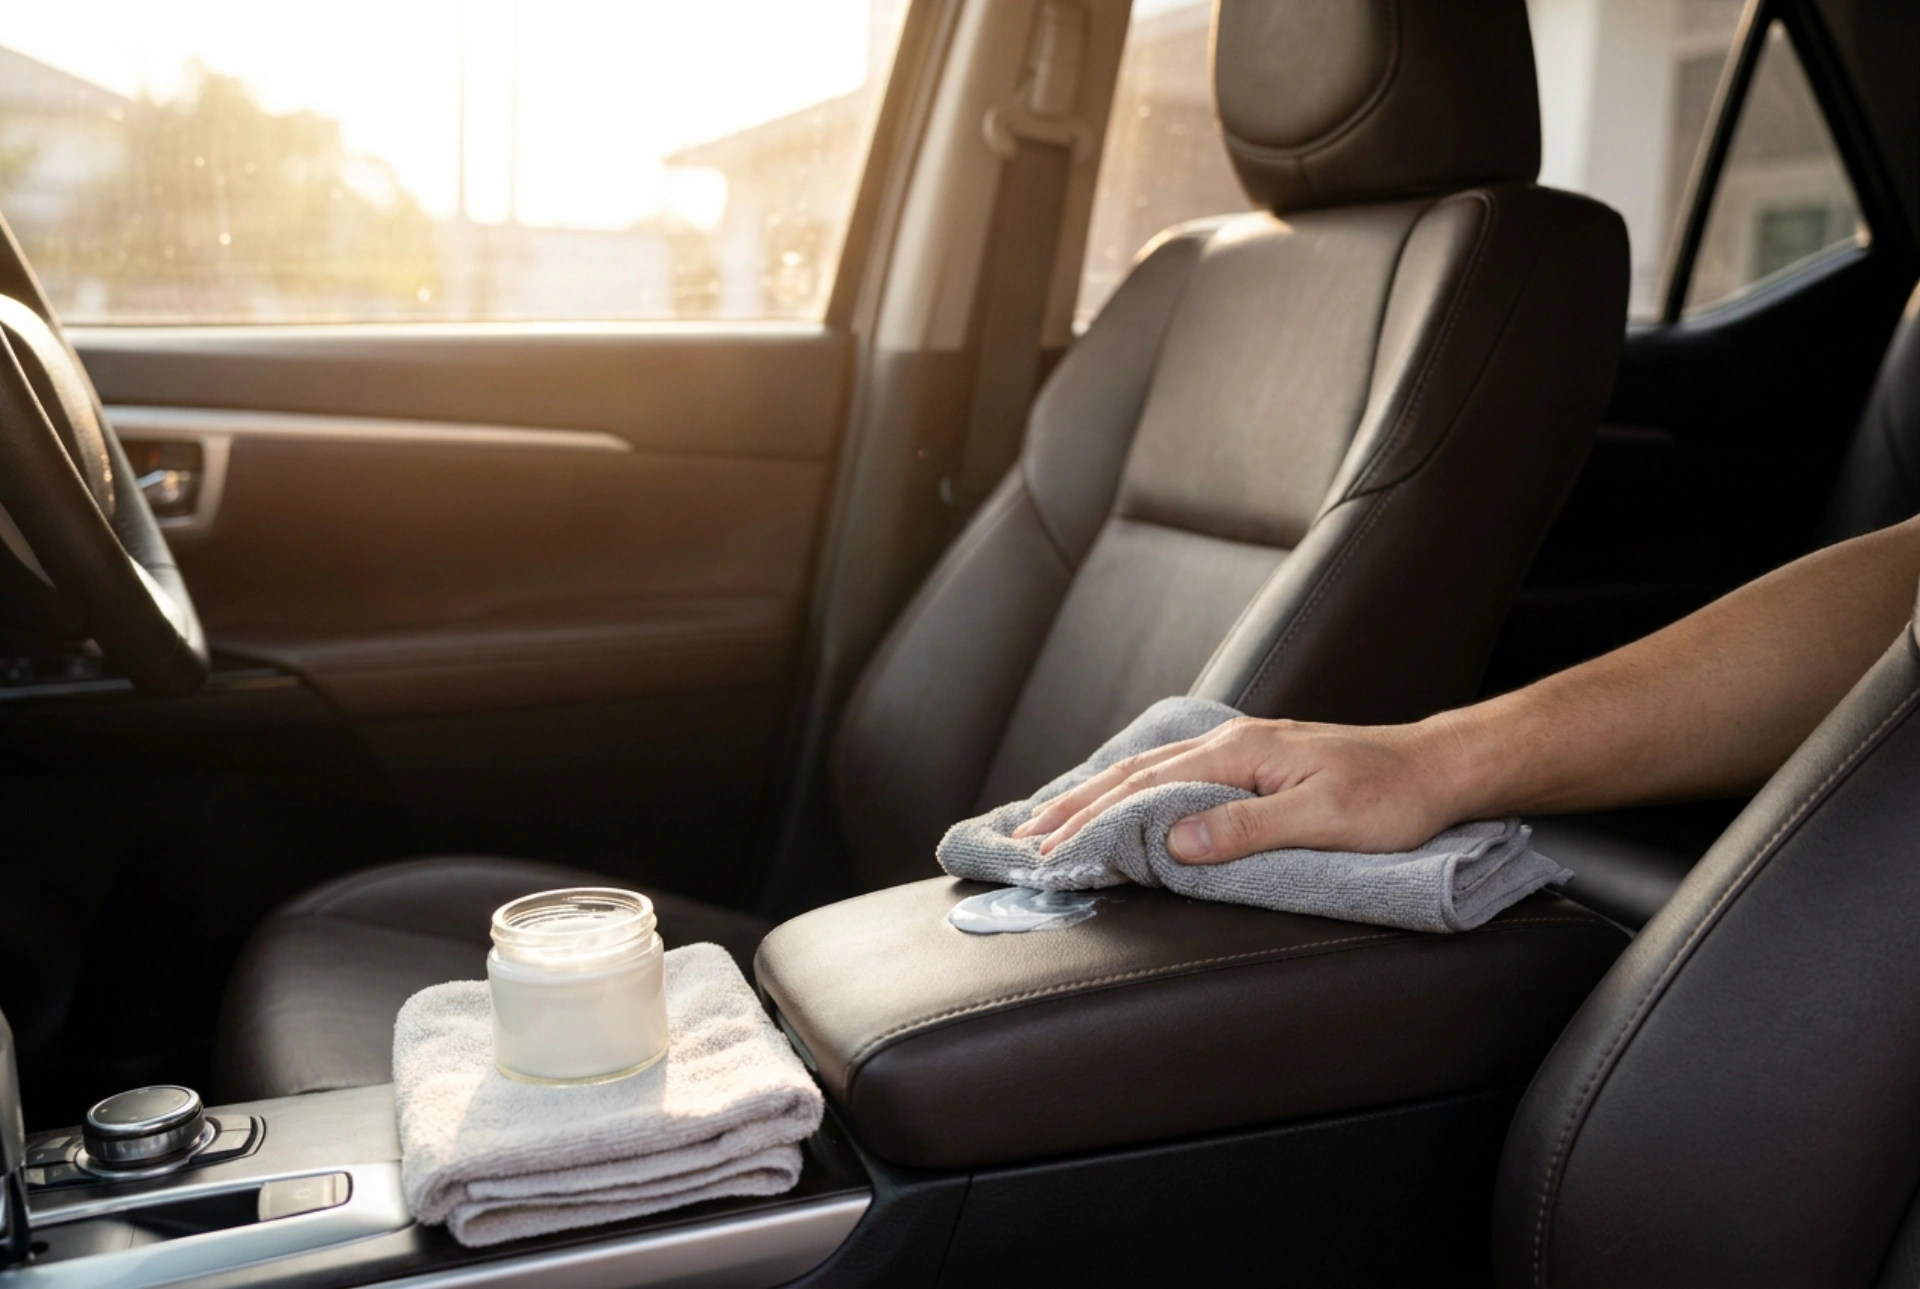
Apply a small, dime-sized amount of a high-quality leather conditioning cream to a microfiber applicator pad. Avoid using products containing silicone or heavy waxes, as these sit on the surface, block the pores, and attract dust, leaving a greasy, artificial shine. Work the conditioner into the leather using light, even circular motions, ensuring uniform coverage across the panels.
Absorption and Curing
Allow the conditioner to penetrate the material for at least twenty minutes. During this time, the natural lipids migrate into the fibers, restoring elasticity. After curing, take a clean, dry microfiber cloth and buff the entire surface using light pressure. This removes any unabsorbed excess product, leaving a clean, satin-matte finish that mimics the vehicle's original factory state.
A Preventive Maintenance Routine
To prevent the accumulation of abrasive oils and UV damage, perform this cleaning and conditioning process every three to six months. Spot-clean high-contact areas like the driver's bolsters and steering wheel more frequently using a damp cloth to prevent friction wear from body oils.