

Installing a portable air conditioner often compromises your home's thermal envelope because standard fabric window seals leak heat and allow hot outdoor air to slip back indoors through gaps.
The Physics of Heat Ingress and the Acrylic Solution
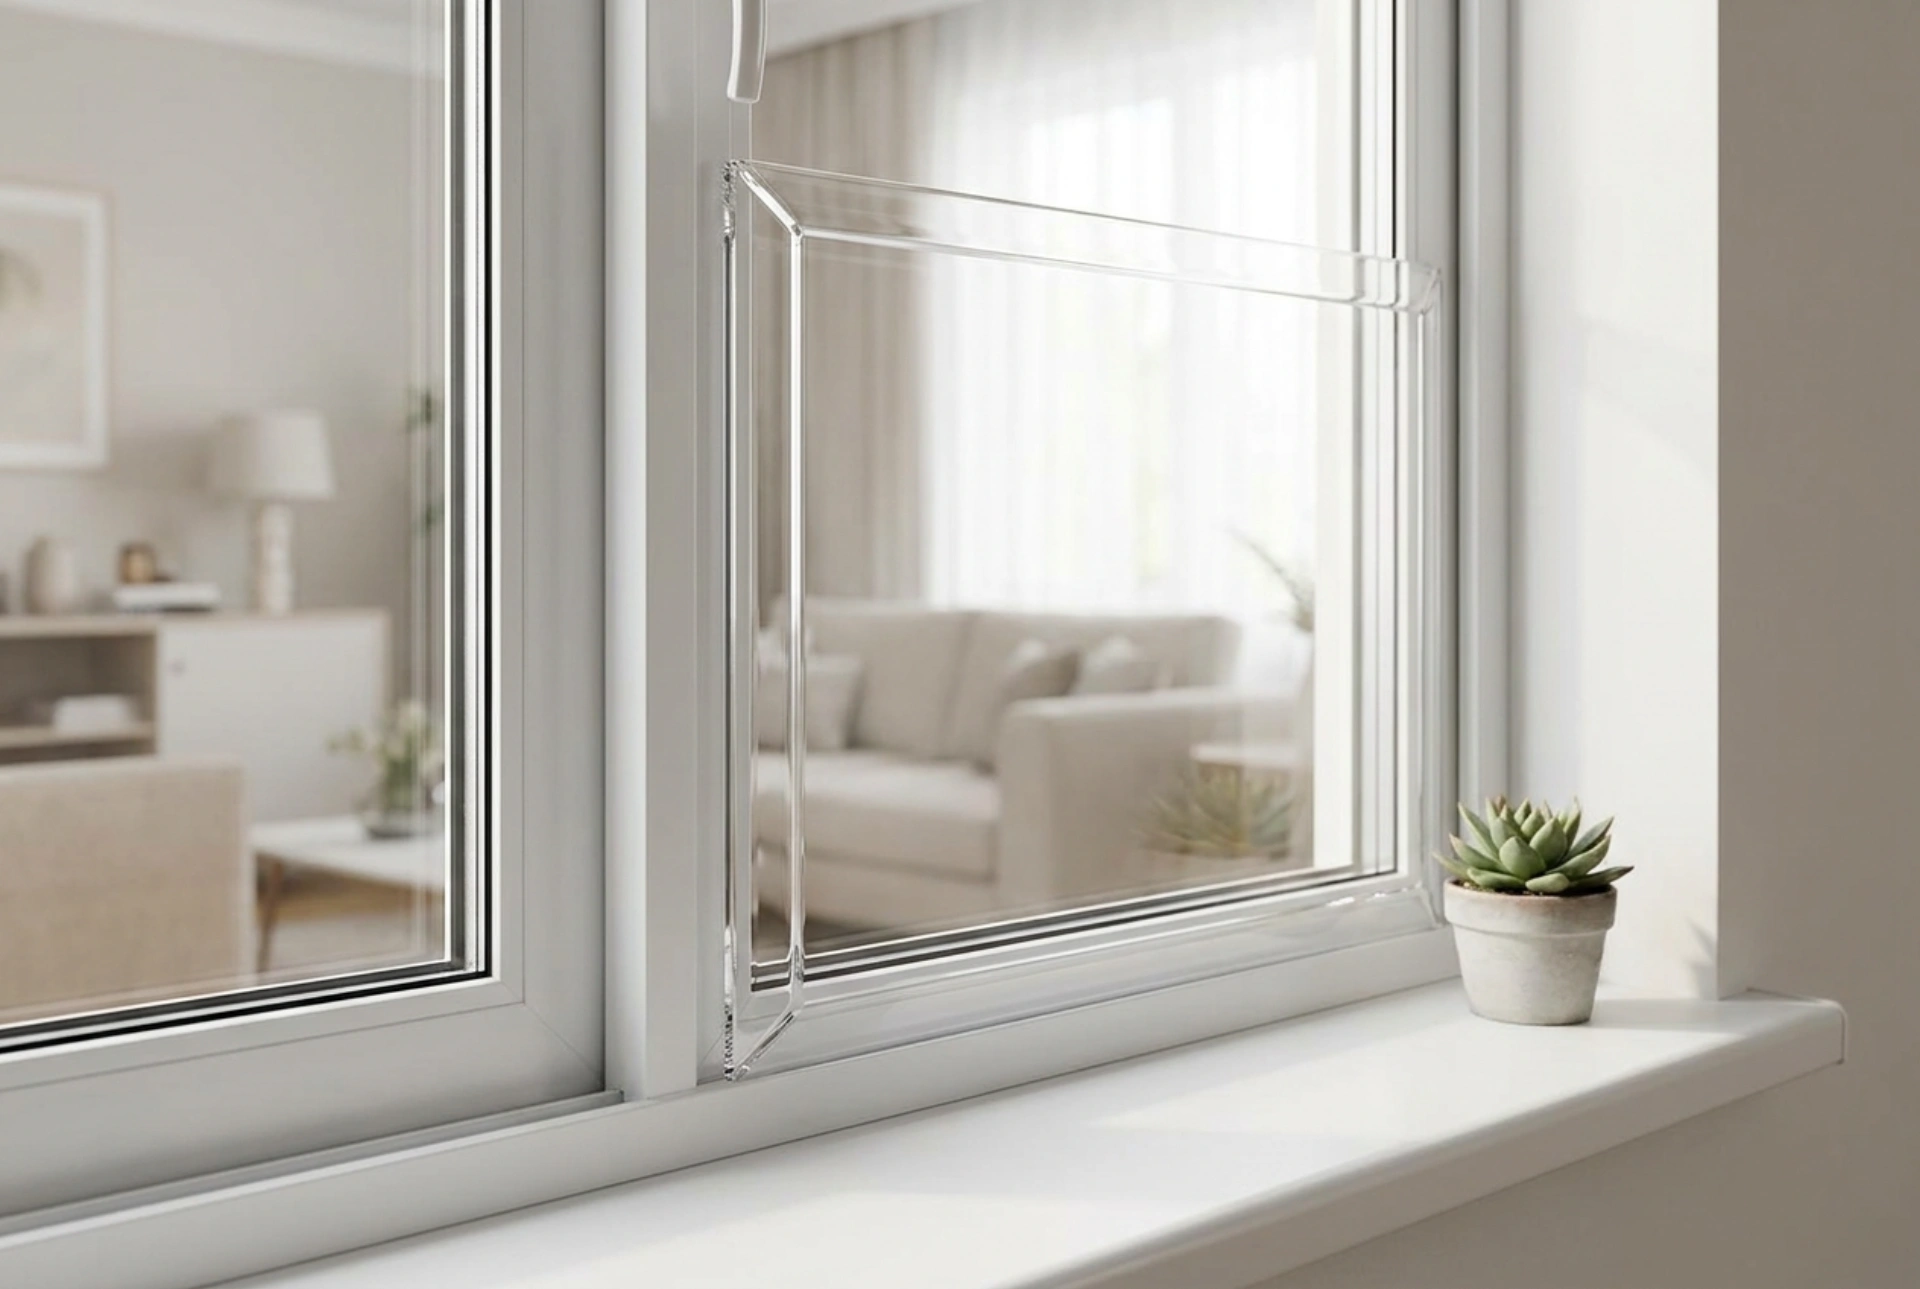
Portable air conditioners work on a single-duct or dual-duct system that extracts heat from the room and expels it outside. When a window is left partially open for the exhaust hose, outdoor heat re-enters via convection. Standard fabric seals offer poor thermal resistance and degrade under solar radiation. Replacing them with a solid acrylic (plexiglass) panel provides a rigid, airtight barrier with significantly lower thermal conductivity. Acrylic acts as a physical shield that keeps high-temperature ambient air outside while allowing natural light to pass through unimpeded.
Precise Measurement and Material Selection
An airtight seal relies entirely on accurate measurements of your window frame. To ensure a perfect fit, you must measure the inner track of the window frame where the panel will sit.
- Measure the Width and Height: Measure the internal window opening at three different points (top, middle, bottom) to account for any slight warping in the frame. Use the smallest measurement, subtracting two millimeters to allow for natural thermal expansion of the acrylic during hot afternoons.
- Determine Thickness: A thickness of 3 mm to 4 mm is ideal. It provides enough rigidity to withstand wind pressure without being too heavy or difficult to cut with standard household tools.
- Position the Hose Cutout: Measure the exact outer diameter of your air conditioner's exhaust nozzle. Position the cutout location near the bottom or side of the panel to minimize the length of the hot exhaust hose inside the room, as the hose itself radiates heat back into your living space.
Step-by-Step Cutting and Fitting Techniques
Working with acrylic requires patience to prevent cracking or melting. Always leave the protective plastic film on both sides of the sheet until the final installation is complete to prevent surface scratching.
1. Cutting the Outer Dimensions
If you are cutting the panel yourself, use a fine-toothed saw or a specialized scoring tool. Clamp a straight edge along your cutting line. Draw the scoring tool firmly across the plastic multiple times until you have cut halfway through the thickness. Place the sheet over a sharp table edge and apply quick, downward pressure to snap it cleanly along the scored line.
2. Creating the Exhaust Hole
To cut the circular opening for the hose, use a drill with a hole saw attachment matching the diameter of your nozzle. Run the drill at a slow speed to prevent the plastic from melting and binding to the blade. Apply light, consistent downward pressure, or use a jigsaw with a fine-toothed plastic-cutting blade after drilling a starter hole inside the circle's perimeter.
3. Edge Finishing
Smooth the cut edges using medium-grit sandpaper (120-grit) wrapped around a wooden block, finishing with a fine-grit sandpaper (240-grit). This removes micro-fractures along the edges, reducing the risk of the panel cracking under thermal stress.
Installation and Airtight Sealing
Once the panel is cut, you must secure it within the window frame to eliminate draft air. Place the acrylic panel directly into the window track. To secure it temporarily without damaging the window frame, use high-density foam weather stripping along the edges. This compressible foam fills any microscopic gaps and holds the panel firmly in place. Insert the exhaust hose adapter into the pre-cut hole. Seal the joint between the hose adapter and the acrylic using a removable silicone sealant or a rubber gasket to prevent backdrafts of hot exhaust air into the room.