

Integrating a kitchen sink and a dishwasher under a single cabinet requires careful planning of the drainage and supply systems to ensure optimal water flow and prevent backflow.
Understanding the Dual Drainage System
The primary challenge when combining a kitchen sink and a dishwasher drain in one cabinet is managing waste water flow. Both appliances must discharge into the same main waste pipe without interfering with each other. This is achieved using a specialized dual-connection siphon or a branch tailpiece. When the dishwasher pumps out dirty water, it does so under high pressure. If the connection is incorrect, this pressurized wastewater can back up into the kitchen sink basin, causing unpleasant odors and hygiene issues.
To prevent this, the connection must utilize a physical barrier known as an air gap or a high loop. The drainage hose from the dishwasher must rise higher than the flood level of the sink before dropping down to connect to the siphon. This simple application of gravity prevents dirty sink water from siphoning back into the clean dishwasher chamber.
Optimizing the Water Supply Connection
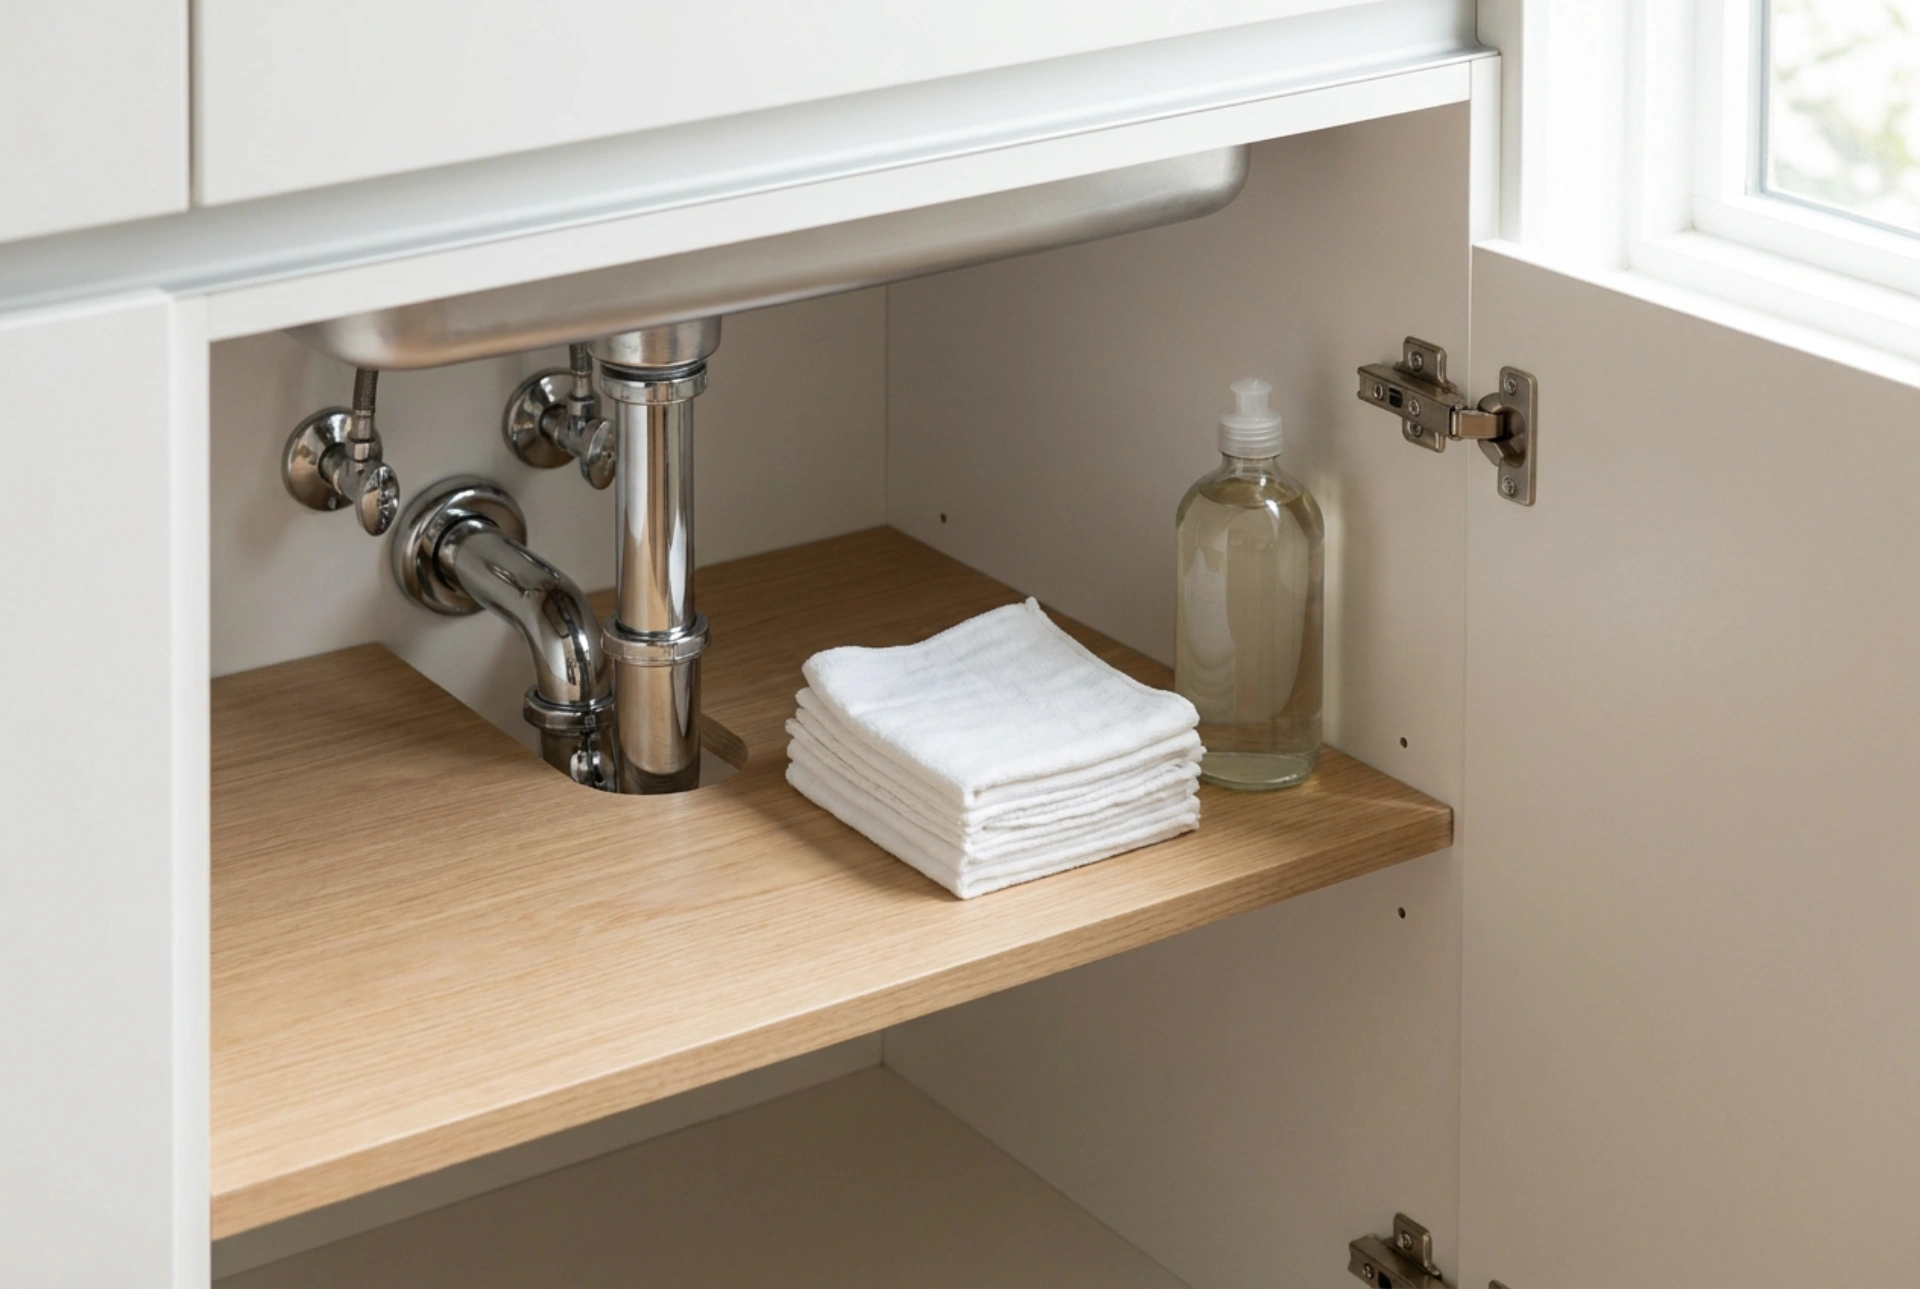
A single cabinet must also house the water supply lines for both the faucet and the dishwasher. Typically, the hot and cold water mains emerge from the wall. To split the cold water line securely without reducing pressure significantly, you need a dual-outlet angle valve. This valve features one inlet and two independent shut-off outlets: one for the kitchen sink faucet hose and another for the dishwasher inlet hose.
Using independent shut-off valves is a crucial safety measure. It allows you to isolate and service the dishwasher (for example, to replace an inlet hose or clean a filter) without having to shut off the main water supply to the kitchen faucet. When installing these connections, ensure that elastomeric washers are seated flat and that you do not over-tighten the compression fittings, which can crack the seals and lead to slow, hidden leaks inside the cabinet wood.
The Order of Assembly and Pipe Routing
Proper physical arrangement inside the cabinet maximizes usable storage space and prevents mechanical stress on the plumbing joints. Always arrange the components from back to front, keeping the bulkier drainage pipes closest to the wall.
- Step 1: Shut off the water. Always turn off the main water valves before disconnecting any existing fittings.
- Step 2: Mount the dual valve. Install the dual-outlet angle valve on the cold water supply pipe using thread-sealing tape on the male threads to ensure a watertight seal.
- Step 3: Assemble the siphon. Attach the sink strainer to the siphon kit, ensuring the integrated dishwasher hose branch point (the spigot) points upwards or at least at a 45-degree angle.
- Step 4: Secure the high loop. Route the dishwasher drain hose up to the very top of the cabinet interior, securing it with a mounting bracket, before dropping it down to the siphon spigot.
- Step 5: Connect and test. Tighten all connections by hand, then secure them with a quarter-turn using a wrench. Run both appliances simultaneously to check for leaks under pressure.
Maintaining Pressure and Preventing Blockages
Over time, food particles and grease from both the sink and the dishwasher can build up in the shared trap. Regular maintenance involves flushing the system with hot water and baking soda followed by vinegar to break down organic deposits naturally. Avoid harsh chemical cleaners that can degrade plastic siphon joints or corrode the rubber seals of the dishwasher hose. Ensuring that the sink siphon remains clean prevents sluggish drainage from the dishwasher, protecting its internal pump from premature wear.