

Drying laundry outdoors without a balcony requires a solid understanding of physics, structural anchoring, and material limits to ensure garments dry efficiently and safely.
The Physics of Outdoor Drying
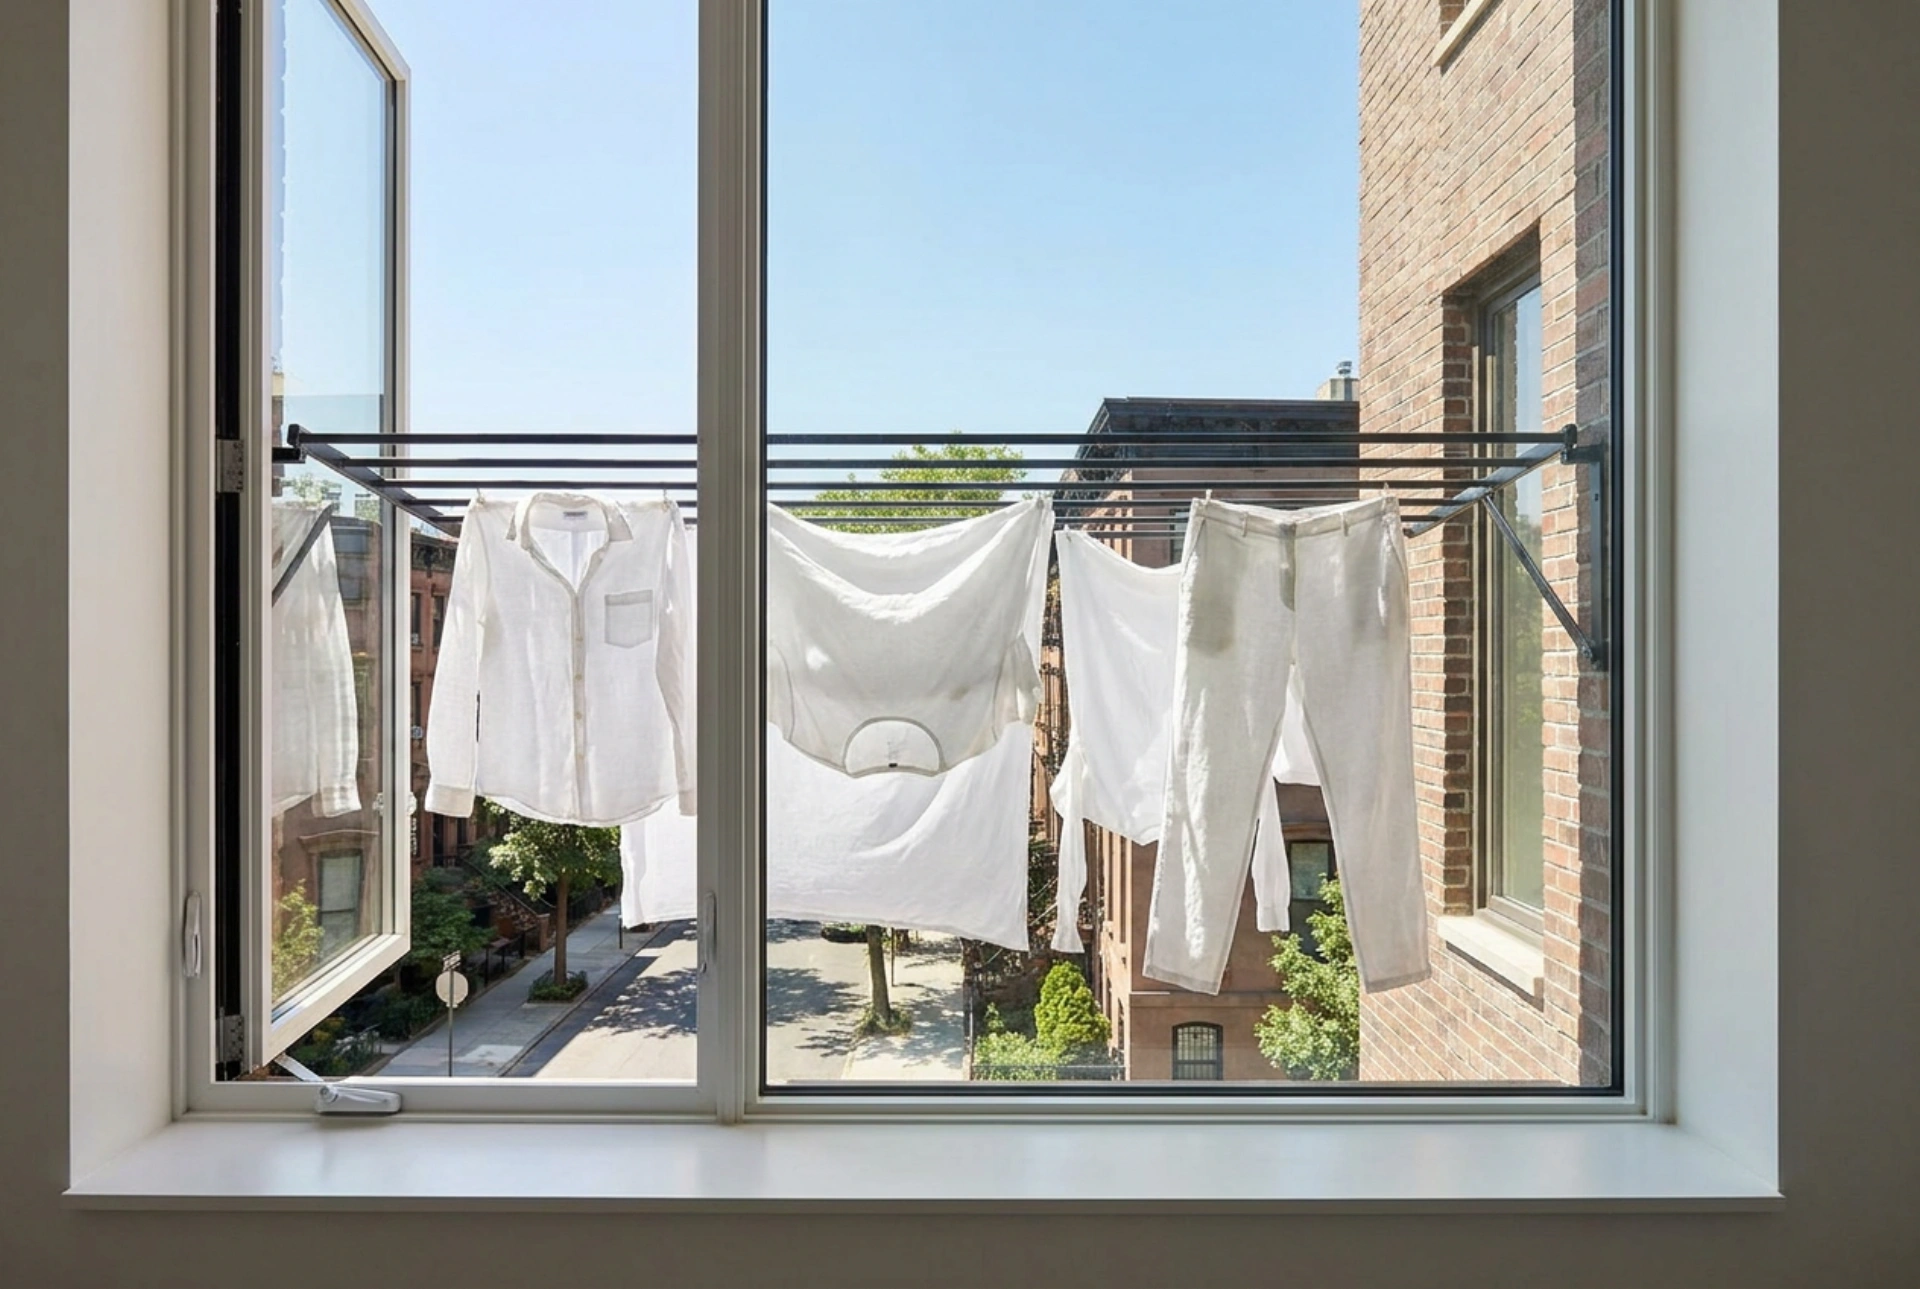
Drying clothes outside relies on two primary physical processes: evaporation and convection. When laundry is hung outside a window, it is exposed to direct airflow and solar radiation. Wind carries away the boundary layer of saturated air that forms immediately around wet fabric, accelerating the evaporation process. However, without a balcony to shield the setup, the structural integrity of your drying apparatus must withstand both the dead load of wet textiles and the dynamic load of wind shear.
Wet cotton can weigh up to three times its dry weight. This significantly shifts the center of gravity of any over-the-sill or window-mounted rack. Understanding how to distribute this weight and secure the mounting points prevents damage to your window frame and eliminates the risk of falling objects.
Selecting the Right Mounting Mechanism
When you do not have a balcony, you must rely on non-destructive tension systems or permanent masonry-anchored brackets, depending on your building regulations and window construction.
Tension-Based Window Sill Racks
These systems use the window frame or the sill itself as a fulcrum. They typically feature adjustable arms that hook over the interior frame and press against the exterior wall. Look for models with wide rubberized contact pads. The friction between the rubber and the masonry prevents sliding, while distributing the load over a larger surface area to protect the facade.Permanent Masonry Brackets
For a more robust setup, metal brackets can be anchored directly into the external masonry surrounding the window. This requires heavy-duty wall plugs (expansion anchors) made of nylon or metal. Always ensure the drilling is done into the brick or concrete, never into the mortar joints, as mortar lacks the shear strength required to hold a dynamic load under high winds.
Step-by-Step Installation and Safety Check
Safety is the absolute priority when installing any external structure. Follow these precise steps to ensure your window rack is securely mounted:
- Measure the Sill Depth: Before purchasing or installing, measure the thickness of the outer sill and the distance to the window sash. The rack must sit level; an outward-sloping rack allows laundry to slide off and increases downward shear force on the anchors.
- Clean the Contact Points: Dust, moss, or loose paint on the exterior wall reduces friction. Scrub the area clean and dry it completely before mounting friction-based pads.
- Install Safety Tethers: Always attach a secondary safety cable (made of steel wire or high-tensile nylon) from the rack to a secure interior anchor point, such as a radiator bracket or a heavy-duty eyelet screwed into the internal wooden window frame. If the primary rack slips, this tether prevents it from falling to the street below.
Optimizing Airflow and Hanging Techniques
To maximize drying efficiency and prevent wind from stripping your clothes from the rack, use physical principles to your advantage. Hang heavier items, like jeans or thick cotton towels, closest to the window sill where the structural support is strongest and leverage is minimal. Lightweight synthetic fabrics, which dry quickly and catch more wind, should be placed on the outer bars.
Always secure every item with heavy-duty pegging systems. Standard plastic pegs can degrade under ultraviolet (UV) radiation and snap. Opt for stainless steel pegs with a high-tension spring mechanism. Position the pegs over the seams of the garments where the fabric is double-layered, distributing the clamping pressure and preventing fabric tearing under high wind gusts.