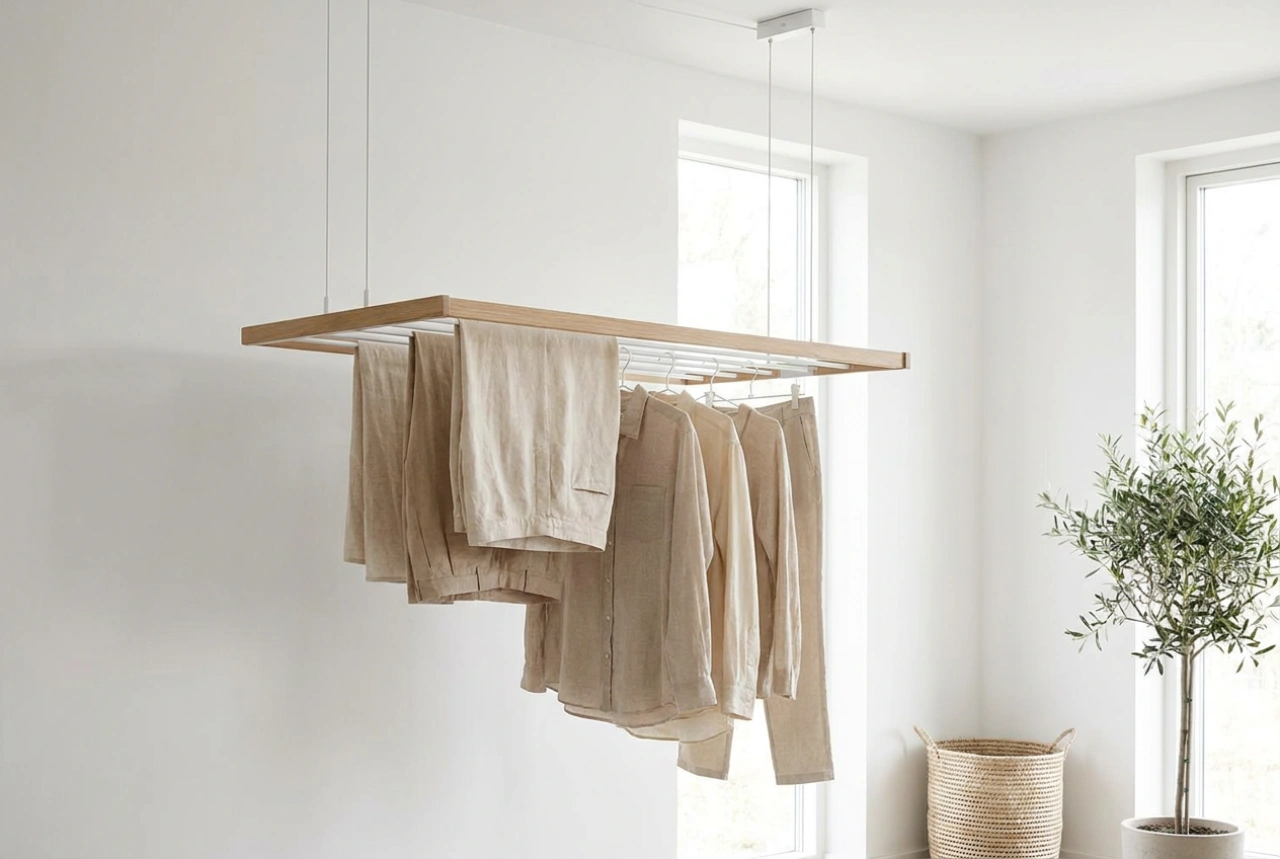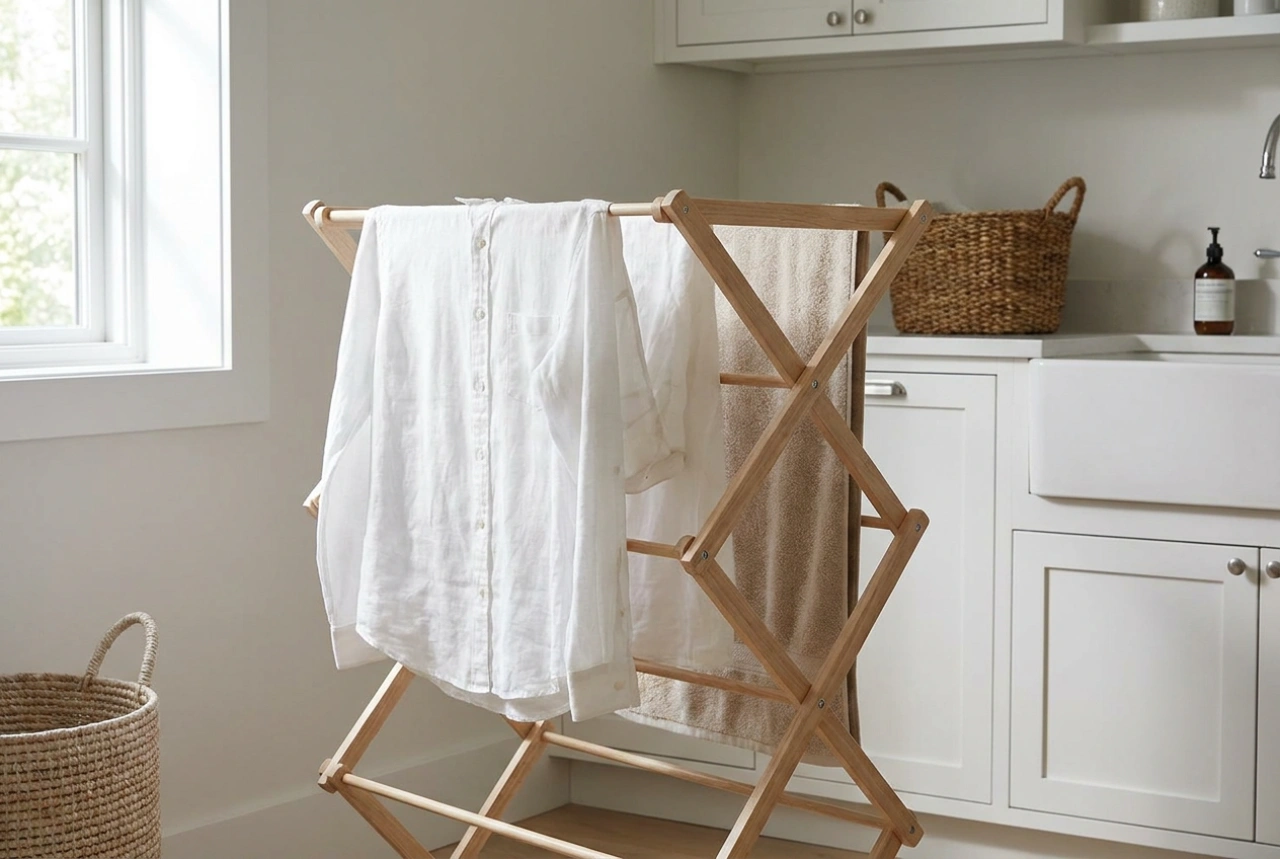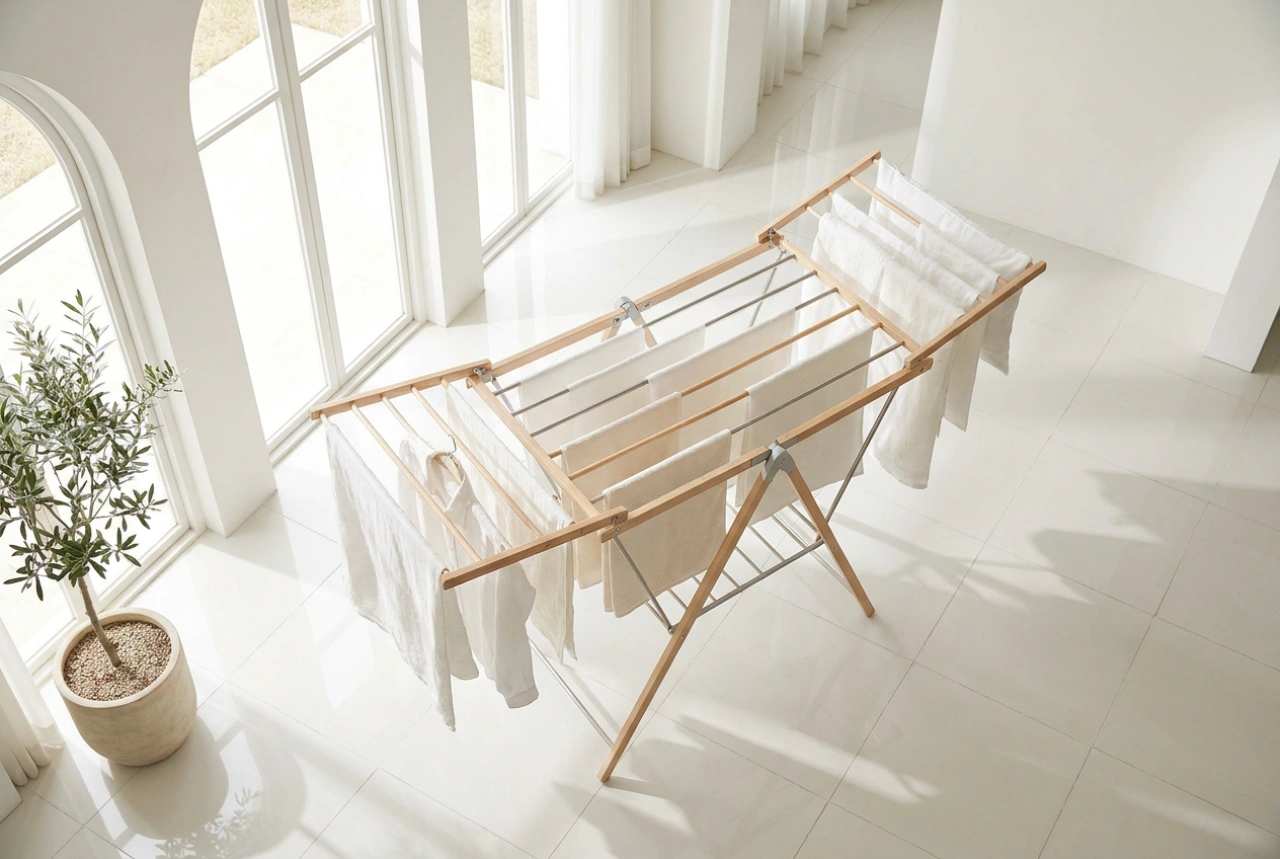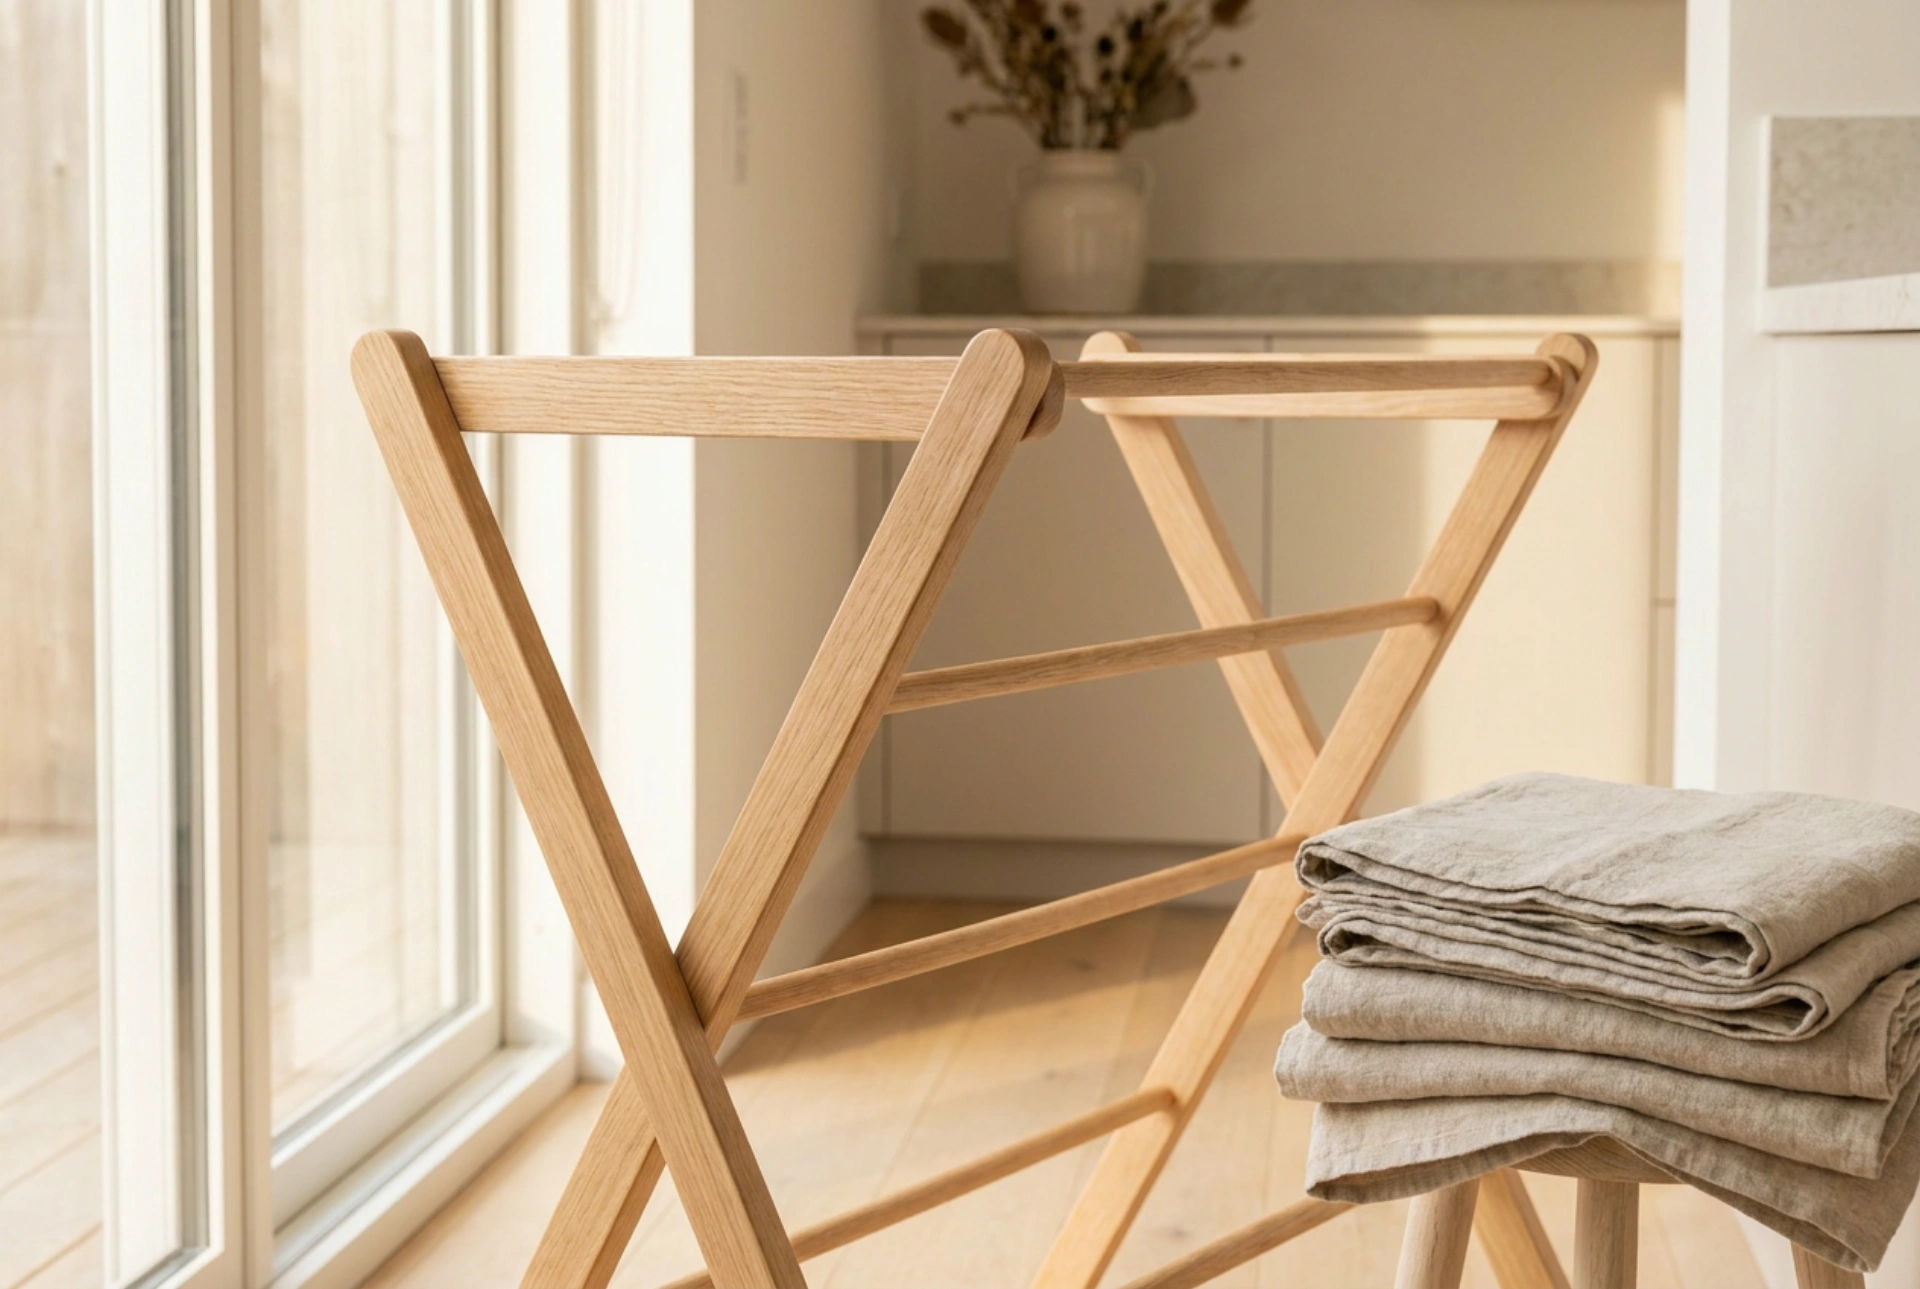


Wooden drying racks offer a sustainable, aesthetic alternative to plastic, but their porous cellular structure makes them highly susceptible to moisture absorption, warping, and fungal growth if left unprotected. Preventing moisture damage requires a basic understanding of wood capillary action and the application of hydrophobic barriers to seal the grain effectively.
The Science of Wood and Water Absorption
Wood is naturally hygroscopic, meaning it continuously exchanges moisture with its surrounding environment. At a microscopic level, wood consists of hollow cellulose fibers that act like tiny straws. When wet laundry is draped over untreated wood, capillary action draws liquid water into these pores. Over time, this absorbed water causes the wood fibers to swell. As the wood dries unevenly, internal stresses develop, leading to warping, twisting, and structural splitting. Furthermore, sustained moisture levels above twenty percent create the ideal microclimate for mold spores to germinate, feeding on the natural starches within the wood.
Establishing a Hydrophobic Barrier with Natural Oils
To prevent water penetration without trapping internal moisture, the wood must be treated with a penetrating, curing oil rather than a thick, synthetic film-forming varnish. Film-forming finishes can crack under mechanical stress, allowing water to seep underneath where it becomes trapped and rots the wood. Instead, use natural drying oils such as pure tung oil or polymerized linseed oil. These oils penetrate deep into the pores and undergo a chemical process called polymerization, reacting with oxygen to transform from a liquid into a hard, water-resistant solid within the wood fibers.
How to Apply the Oil Treatment
- Preparation: Ensure the rack is completely dry. Lightly sand the surface with 220-grit sandpaper along the direction of the grain to open the wood pores and remove any existing rough spots.
- Application: Apply a generous amount of oil to a clean, lint-free cotton cloth. Rub the oil into the wood, following the grain. Ensure even coverage on all dowels and joints, where water tends to pool.
- Wiping the Excess: Allow the oil to penetrate for twenty to thirty minutes, then thoroughly wipe away all excess, unabsorbed oil with a clean cloth. Leaving excess oil on the surface will result in a sticky, dust-attracting residue.
- Curing: Allow the rack to cure in a well-ventilated, dry room for at least twenty-four to forty-eight hours before exposing it to wet clothes. Repeat this process once or twice a year to maintain the barrier.
Optimizing Airflow and Thermodynamic Drying
Proper usage techniques are just as critical as chemical protection. When wet clothes hang on a rack, they cool the surrounding air and release moisture, creating a heavy, cold boundary layer of humid air around the wooden dowels. If this humid air remains stagnant, it saturates the wood. To prevent this, position the drying rack in an area with active convective airflow—such as near a partially open window or a gentle mechanical fan. Never overload the rack; leave space between garments to allow warm air to rise through the clothes, carrying moisture away before it can settle into the wooden frame.
Post-Use Routine and Mildew Remediation
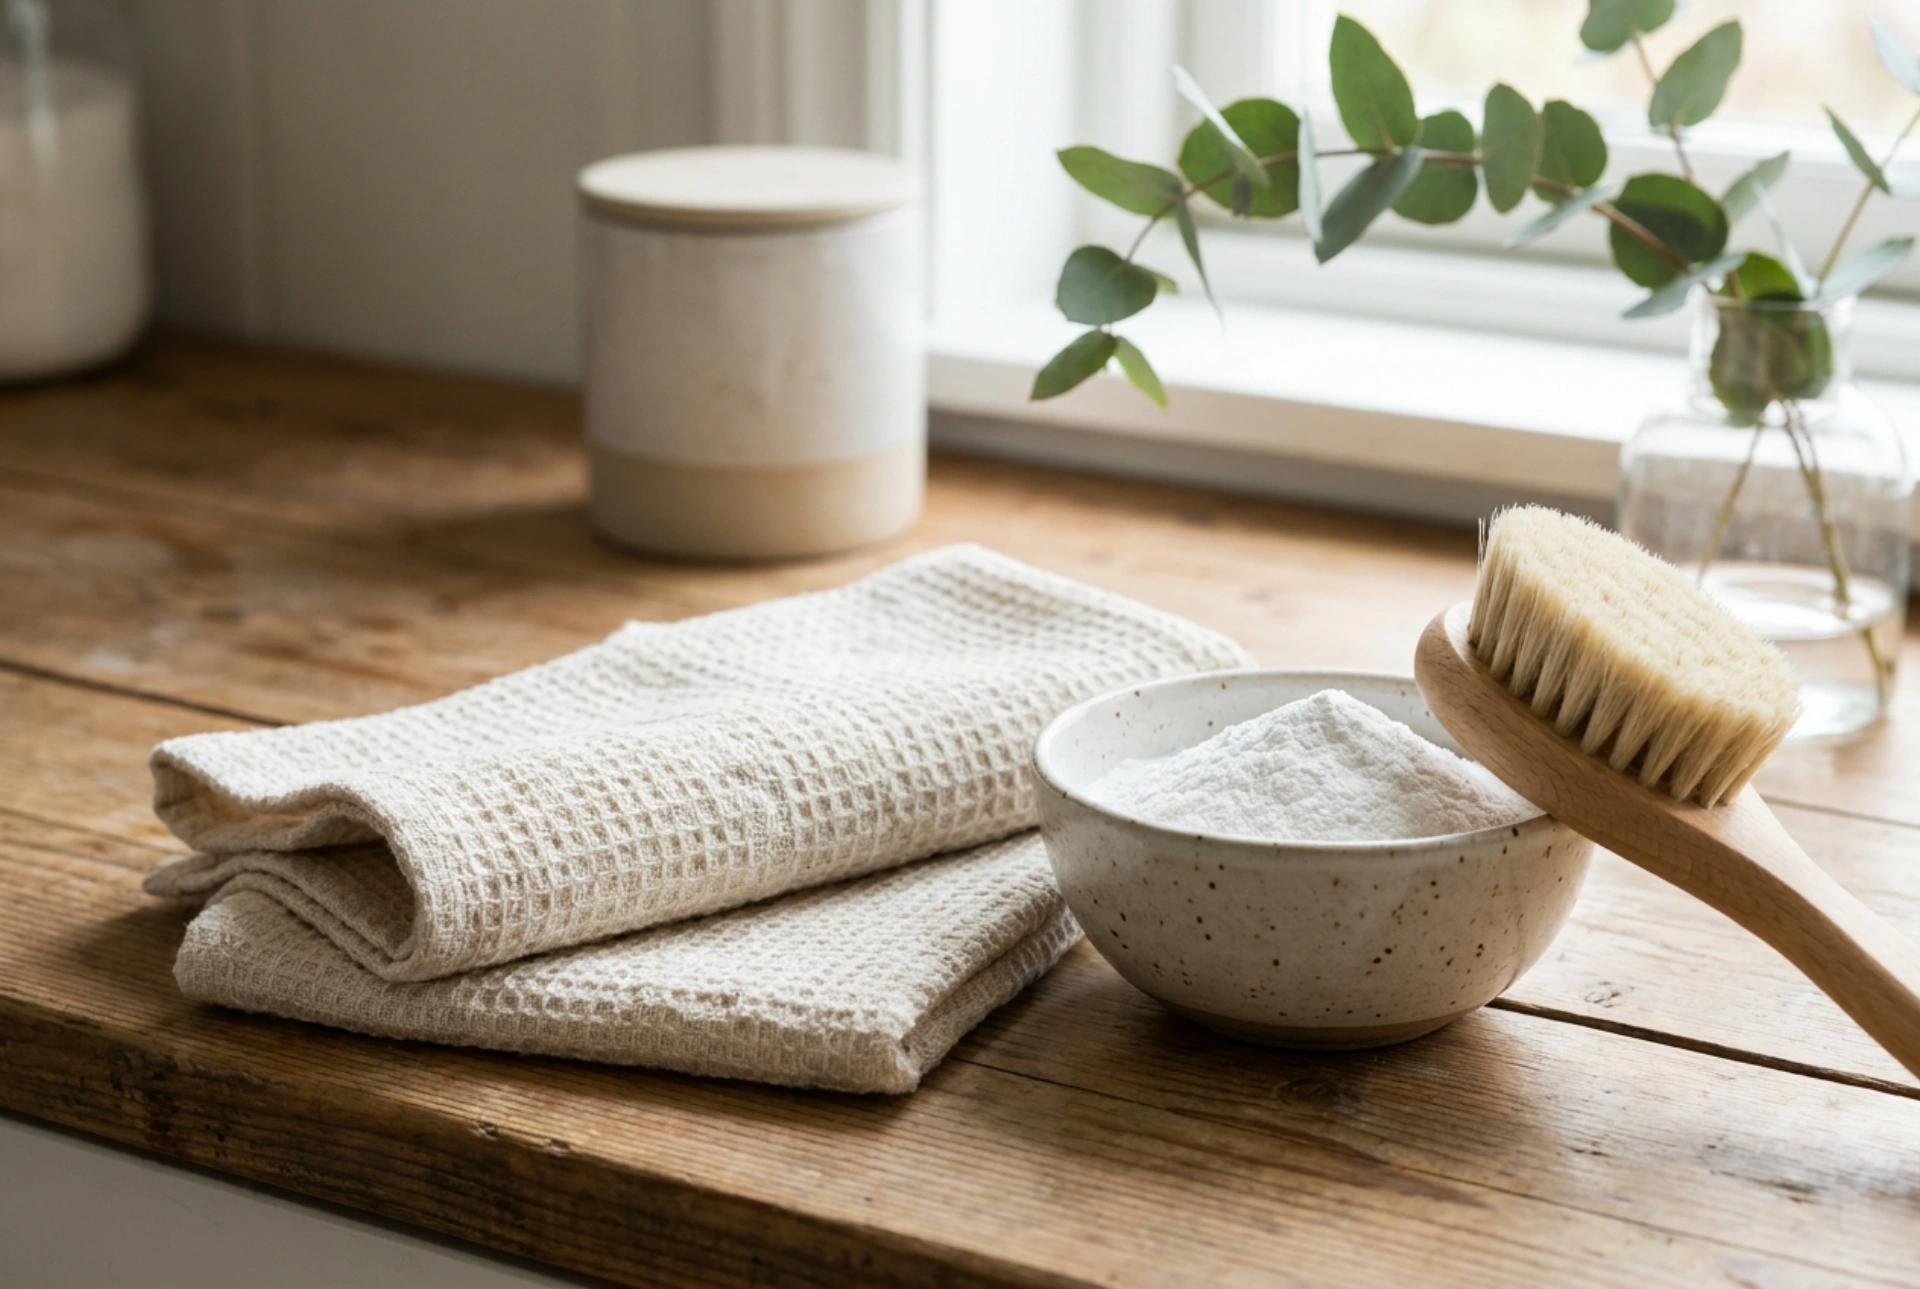
Never collapse and store a wooden drying rack while it is still damp or in a humid basement. After removing dry laundry, wipe down the dowels with a dry microfiber cloth to remove any lingering condensation. Store the rack upright in a dry, ventilated closet. If you notice dark spots of mildew forming, do not use chlorine bleach, as it breaks down the wood's lignin structure and weakens the fibers. Instead, apply a mild solution of hydrogen peroxide or oxygen bleach diluted in water. Scrub gently with a soft-bristled brush, wipe clean with a damp cloth, and allow the rack to dry completely in direct sunlight, which acts as a natural UV disinfectant, before re-applying a protective oil coat.