

Removing standing water or drying damp floors with a wet-dry vacuum is highly efficient, provided you understand the mechanical and electrical principles that keep the process safe.
Understanding the Wet-Dry Separation Mechanism
Standard household vacuum cleaners rely on paper or cloth bags and fine-particle filters to capture dust. If water enters these systems, it destroys the filter media, clogs the motor, and poses a severe risk of electric shock. A wet-dry vacuum, however, utilizes a bypass motor design and a liquid-diversion chamber. In this setup, the dirty airflow bypassed the motor cooling system completely. The moisture-laden air enters the canister, where a sudden drop in air velocity and a change in direction cause the heavier water droplets to fall out of suspension and collect at the bottom of the tank, while dry air is exhausted through the top.
The Critical Pre-Operation Checks
Before you flip the power switch to extract any liquid, you must prepare the appliance to handle moisture. Failure to do so can ruin the machine and release mould spores into your living space.
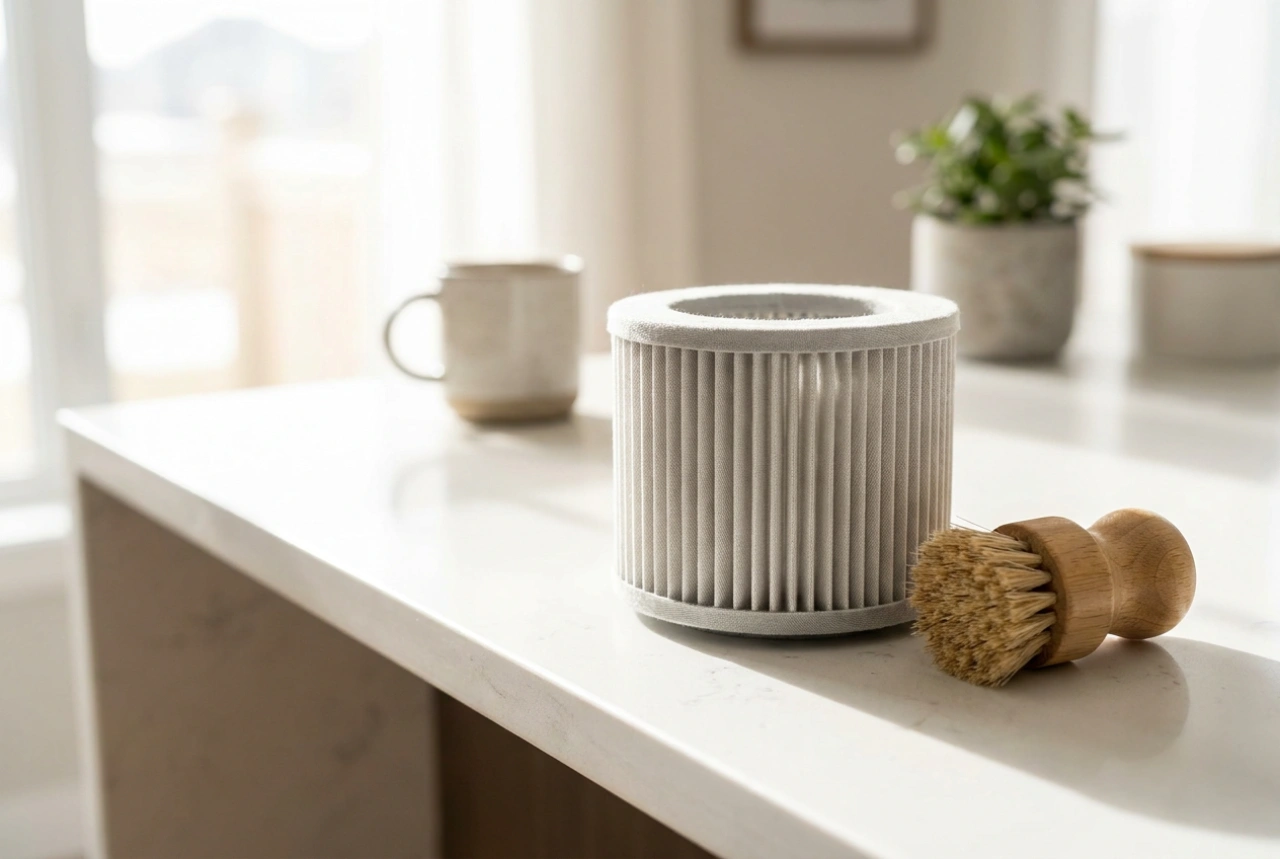
- Remove the Dry Filter: Always take out the standard pleated paper cartridge filter or paper dust bag. If these elements get wet, they lose their structural integrity and restrict airflow, which can overheat the motor.
- Install the Foam Sleeve: Replace the dry filter with a specialized foam sleeve or wet-use filter. This foam does not stop water, but it prevents large debris, pet hair, and grit from entering the motor fan impeller.
- Inspect the Float Valve: Every wet-dry vacuum contains a safety float mechanism (usually a light plastic ball or cup in a cage under the motor housing). Ensure this float moves freely. As the canister fills with water, the float rises. Once the water reaches maximum capacity, the float blocks the motor intake, preventing water from being sucked into the electrical fan assembly.
Optimising Liquid Extraction Techniques
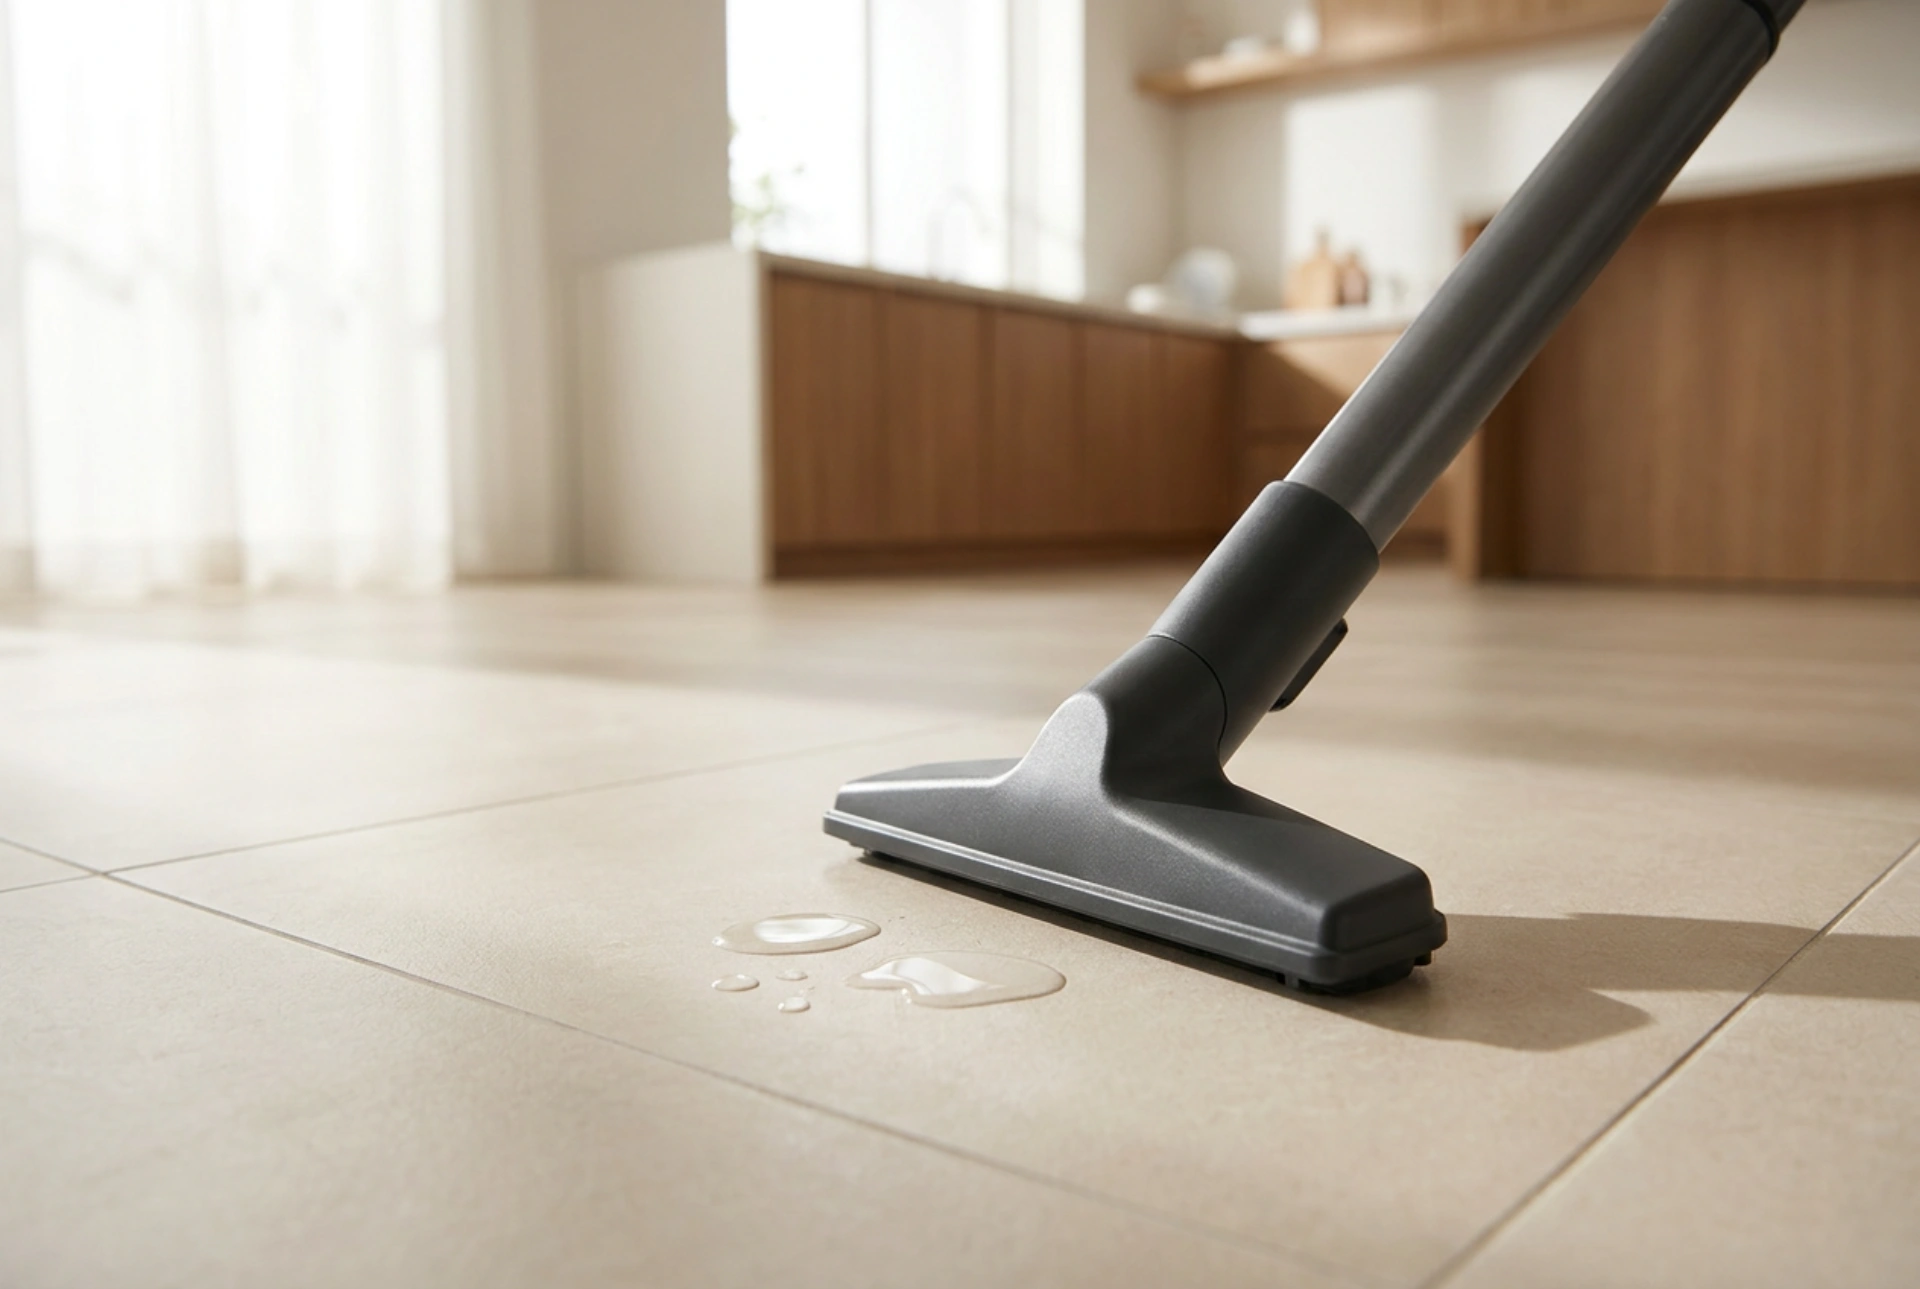
How you physical manipulate the vacuum nozzle determines the speed of extraction and prevents spills. For shallow puddles on hard floors, do not submerge the nozzle completely. If you seal the nozzle flat against the floor, you restrict the airflow entirely. Without airflow, the vacuum cannot lift the water. Instead, tilt the nozzle slightly on its edge to allow a mixture of air and water to enter the suction stream. This creates a high-velocity vortex that pulls the water up the wand efficiently.
Managing the Gravity and Hose Dynamics
Water is heavy, weighing approximately one kilogram per litre. This weight places a significant load on the vacuum motor. When clearing deep water, work from the top down. Keep the hose as straight and low to the ground as possible to minimize the vertical distance the water must travel. If you lift the hose high above your head, the water column can become too heavy, losing velocity and draining back down to the floor when you turn the unit off.
Post-Extraction Maintenance and Sanitisation
The job is not finished when the water is gone. Leaving standing water and damp debris inside a sealed plastic canister creates a perfect breeding ground for bacteria, mildew, and unpleasant odours within hours.
As soon as you finish vacuuming, disconnect the power cord and empty the canister into a suitable drain. Rinse the inside of the tank with clean water to remove dirt sediment. Wash the foam sleeve and allow both the canister and the filter to dry completely in a well-ventilated area before reassembling the unit for storage.