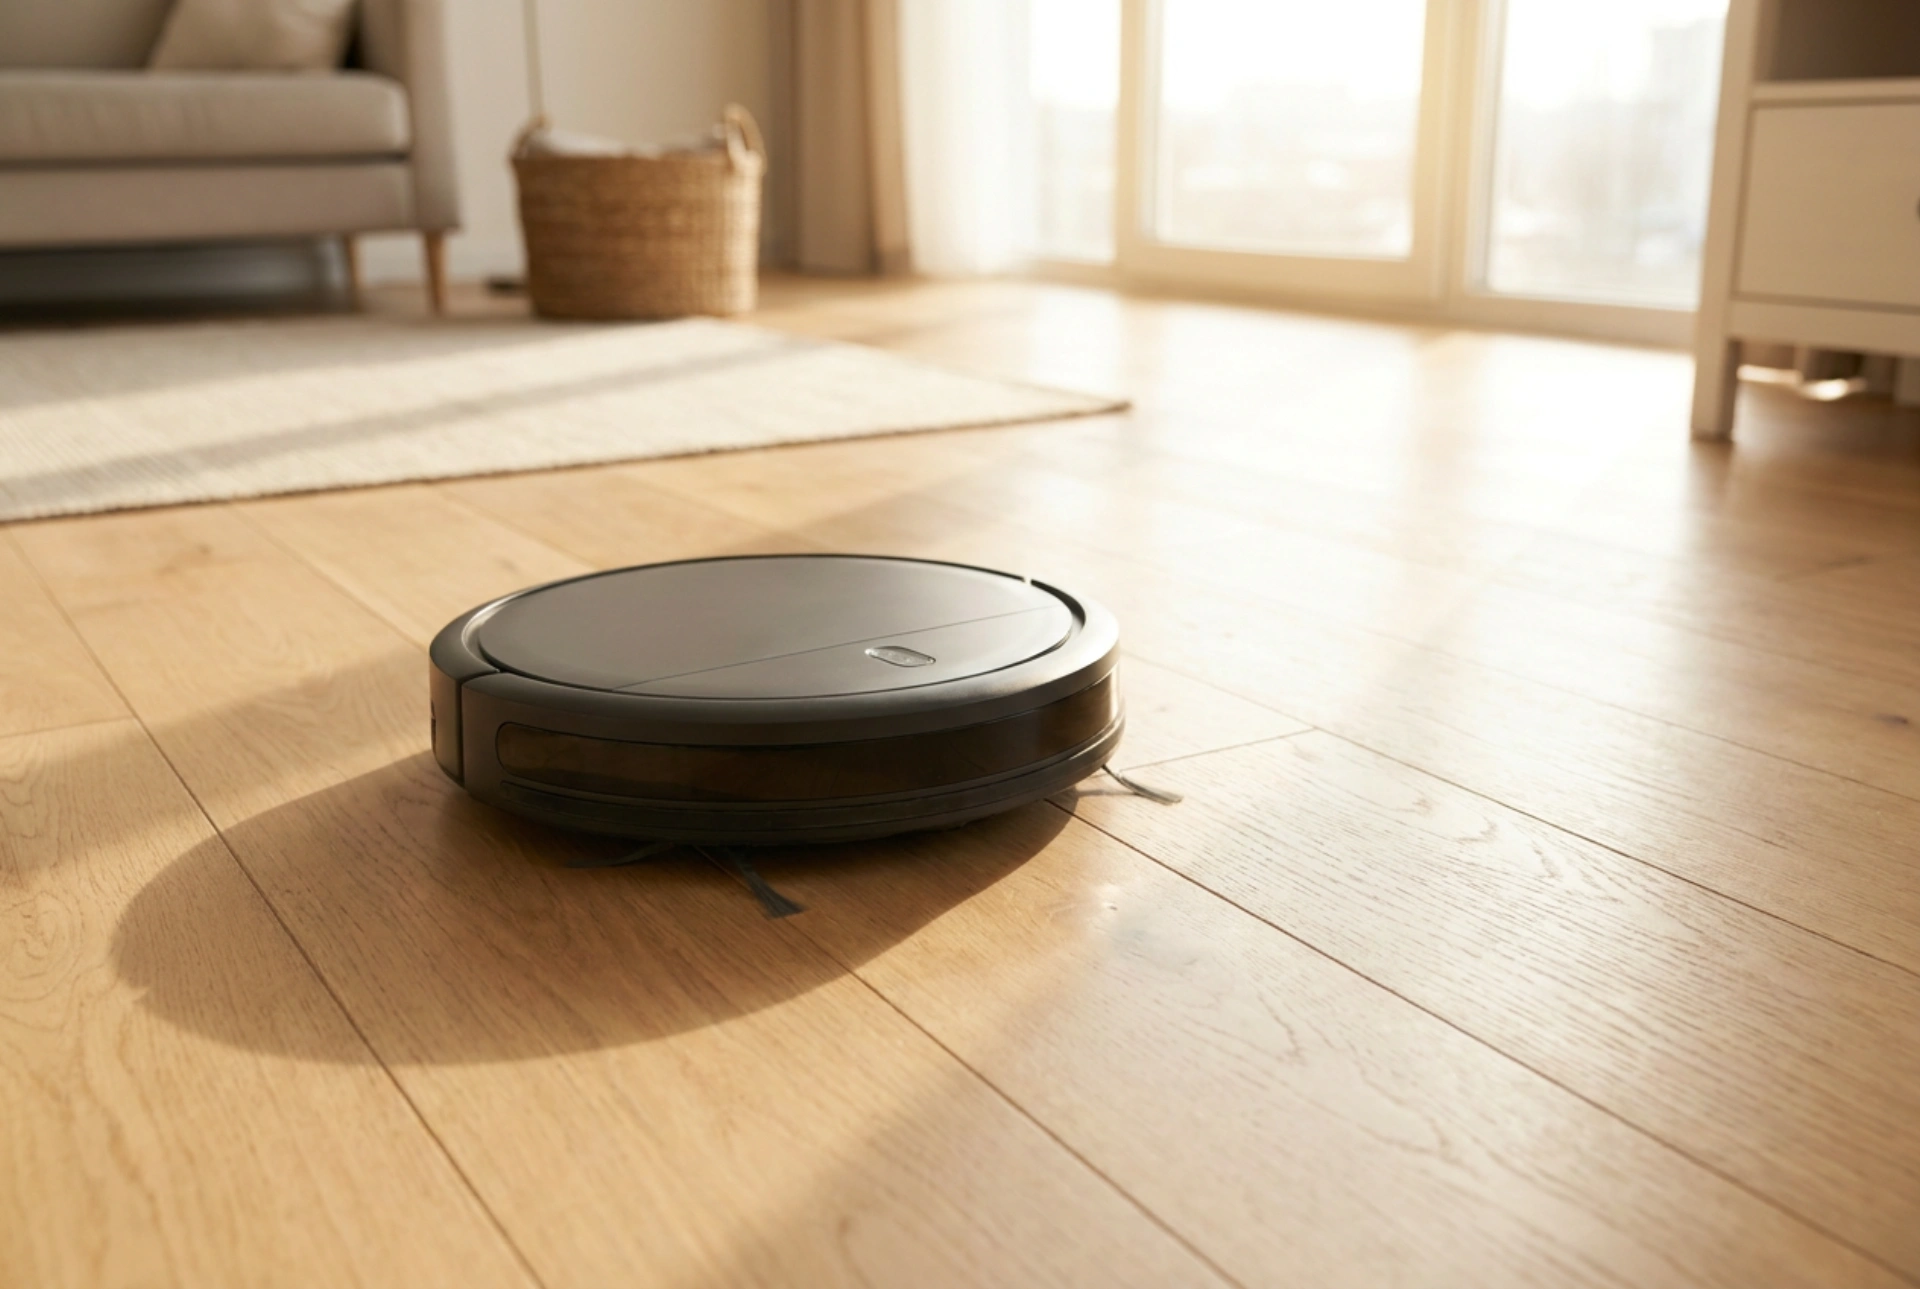


Robotic vacuums often miss dust and debris due to poor spatial calibration, physical path obstructions, and neglected mechanical maintenance rather than a lack of raw suction power. By understanding the physics of robot navigation and implementing systematic adjustments to both the device and your home environment, you can significantly increase dust collection efficiency.
Sensor Physics: Keeping the Eyes of the Robot Clear
Most modern robotic vacuums navigate using either Light Detection and Ranging (LiDAR), optical cameras (VSLAM), or infrared (IR) sensors. When these sensors accumulate a fine layer of household dust, the light beams scatter or refract incorrectly. This causes the vacuum to miscalculate distances, slow down unnecessarily, or completely avoid areas it falsely identifies as obstacles.
To prevent these blind spots, wipe the sensor windows weekly using a dry microfiber cloth or a cotton swab lightly dampened with isopropyl alcohol. Avoid household glass cleaners, which can leave a residue that degrades sensor performance. Additionally, ensure the optical drop sensors on the underside of the unit are free of dust, as dirty cliff sensors can cause the robot to freeze or refuse to travel onto dark-coloured rugs, misinterpreting them as dangerous drops.
Mapping and Room Prep: Eliminating Navigation Obstacles
Robots rely on complex algorithms to plot a systematic grid pattern. When the vacuum encounters unexpected obstacles, it must recalculate its route, often leaving gaps in its cleaning path. To achieve 100% coverage, prepare the environment prior to a cleaning cycle.
- Manage Cable Friction: Loose charging cables and rug tassels increase friction and can easily entangle the side brushes. This triggers a temporary motor shutdown, stopping the vacuum mid-cycle and leaving areas uncleaned. Securing cables off the floor ensures uninterrupted pathing.
- Light Levels and Camera Navigation: If your robot uses optical camera-based mapping (VSLAM), it requires adequate ambient light to identify landmarks. Running these vacuums in complete darkness causes navigation drift, resulting in missed rooms. Schedule cleanings during daylight hours or leave low-energy LED lights on in darker rooms.
- Virtual Boundaries and No-Go Zones: Use the companion application to draw virtual walls around high-friction zones, such as under-desk cable nests or pet bowls. This prevents the robot from getting stuck and ensures it spends its battery capacity on open, high-dust areas.
Brush Roll Mechanics and Floor Type Calibration
The efficiency of dust pick-up relies heavily on the mechanical interaction between the brushes and the floor surface. Side-sweeping brushes are designed to pull debris from edges into the main suction path. However, on hard floors, a side brush spinning too fast can act as a centrifuge, flinging dust particles away from the vacuum rather than toward the intake port.
If your model allows brush speed adjustment, lower it for hard floors to prevent scattering. For homes with carpets, mechanical agitation is key. The main roller brush must make firm contact with the carpet fibers to lift embedded dust. Regularly inspect the brush roll for hair wrap, especially around the bearings. Hair wrap increases rotational resistance, lowering the motor's revolutions per minute (RPM) and drastically reducing dust extraction capacity.
Airflow and Filter Maintenance: The Keys to Suction
A robotic vacuum uses a compact, low-voltage motor that relies on unrestricted airflow to pull dust into the collection bin. Unlike mains-powered vacuums, even a slight blockage in the airflow pathway will cause a massive drop in cleaning performance.
The primary point of resistance is the filter. Microfine dust particles clog the tiny pores of HEPA or high-efficiency filters within just a few cycles. Remove the filter after every three to five runs and gently tap it against a hard surface to release loose dust. If the filter is washable, rinse it thoroughly under cold water without soap and allow it to dry completely for 24 hours before reinsertion; damp filters restrict airflow completely and can damage the motor. Replace the filter every three to six months to maintain optimal static pressure.