

Washing a baseball cap requires a precise balance of chemistry and physical restraint to remove sweat and oils without warping the structural brim or peeling the printed design.
The Anatomy of a Cap: Why Machines Ruin the Structure
To clean a baseball cap successfully, you must first understand its construction. Older caps, or those of lower quality, often use thick cardboard to stiffen the visor (brim). Introducing cardboard to a high-volume water environment like a washing machine causes the cellulose fibres to swell, soften, and disintegrate, permanently ruining the shape. Modern caps frequently utilise plastic inserts, which can survive water but will warp under the intense heat of a tumble dryer or the mechanical twisting of a washing machine spin cycle.
Furthermore, the decorative prints on caps are typically applied using heat-transfer vinyl or screen printing inks. High-temperature water and aggressive tumbling break down the adhesive bonds securing these prints to the fabric. Once the adhesive softens, the mechanical friction of other garments causes the print to crack, peel, or lift entirely. Therefore, hand-washing is the only reliable method to preserve both structural integrity and visual design.
The Chemistry of Sweat: Choosing the Right Agents
The primary contaminants on a cap are sebum (natural body oils), sweat salts (sodium chloride), and cosmetics like sunscreens or makeup. Sebum is hydrophobic, meaning water alone cannot dissolve it. You need a surfactant to emulsify the oils, allowing them to bind with water and wash away.
- Liquid laundry detergent: A mild, dye-free liquid detergent is ideal. Liquid formulations dissolve instantly and penetrate fabric fibres without leaving powdery residues that can clog the mesh or fabric weave.
- Dishwashing liquid: For heavy oil build-up on the sweatband, a tiny drop of degreasing dishwashing liquid can break down sebum effectively due to its high concentration of grease-cutting surfactants.
- Avoid chlorine and oxygen bleach: These oxidising agents can degrade the synthetic polymers in vinyl prints and strip the dyes from cotton or polyester fibres.
The Step-by-Step Hand-Washing Protocol
To clean the cap safely, prepare a basin of lukewarm water—ideally around 30°C. Water that is too hot will melt the adhesives under the print and warp plastic brims, while cold water is less effective at melting solid fats within sebum.
Step 1: Spot Testing and Pre-treatment
Dab a small amount of diluted detergent onto an inconspicuous area inside the cap to check for colourfastness. Once cleared, apply a drop of detergent directly to the sweatband—the area of highest oil accumulation. Use a soft-bristled brush, such as a clean, soft toothbrush, to gently work the soap into the fabric using circular motions. Avoid touching the printed areas with the brush to prevent physical abrasion.
Step 2: Controlled Submersion
Submerge the cap in the lukewarm soapy water. Rather than scrubbing the entire hat, use a gentle squeezing motion on the crown. Let the cap soak for 15 to 30 minutes. This allows the surfactants sufficient time to break the chemical bonds between the oils and the fabric fibres without mechanical stress.
Step 3: Rinsing without Wringing
Drain the soapy water and refill the basin with clean, cold water. Submerge and press the cap repeatedly to flush out the soap. Never wring, twist, or squeeze the brim. Wringing crushes the internal stiffener and stretches the fabric unevenly, which leads to puckering around the seams.
Drying and Reshaping: The Physics of Evaporation
Drying is the phase where the cap is most vulnerable to losing its shape. As wet cotton or polyester fibres dry, they contract. If the cap is left flat, it will shrink unevenly and warp.
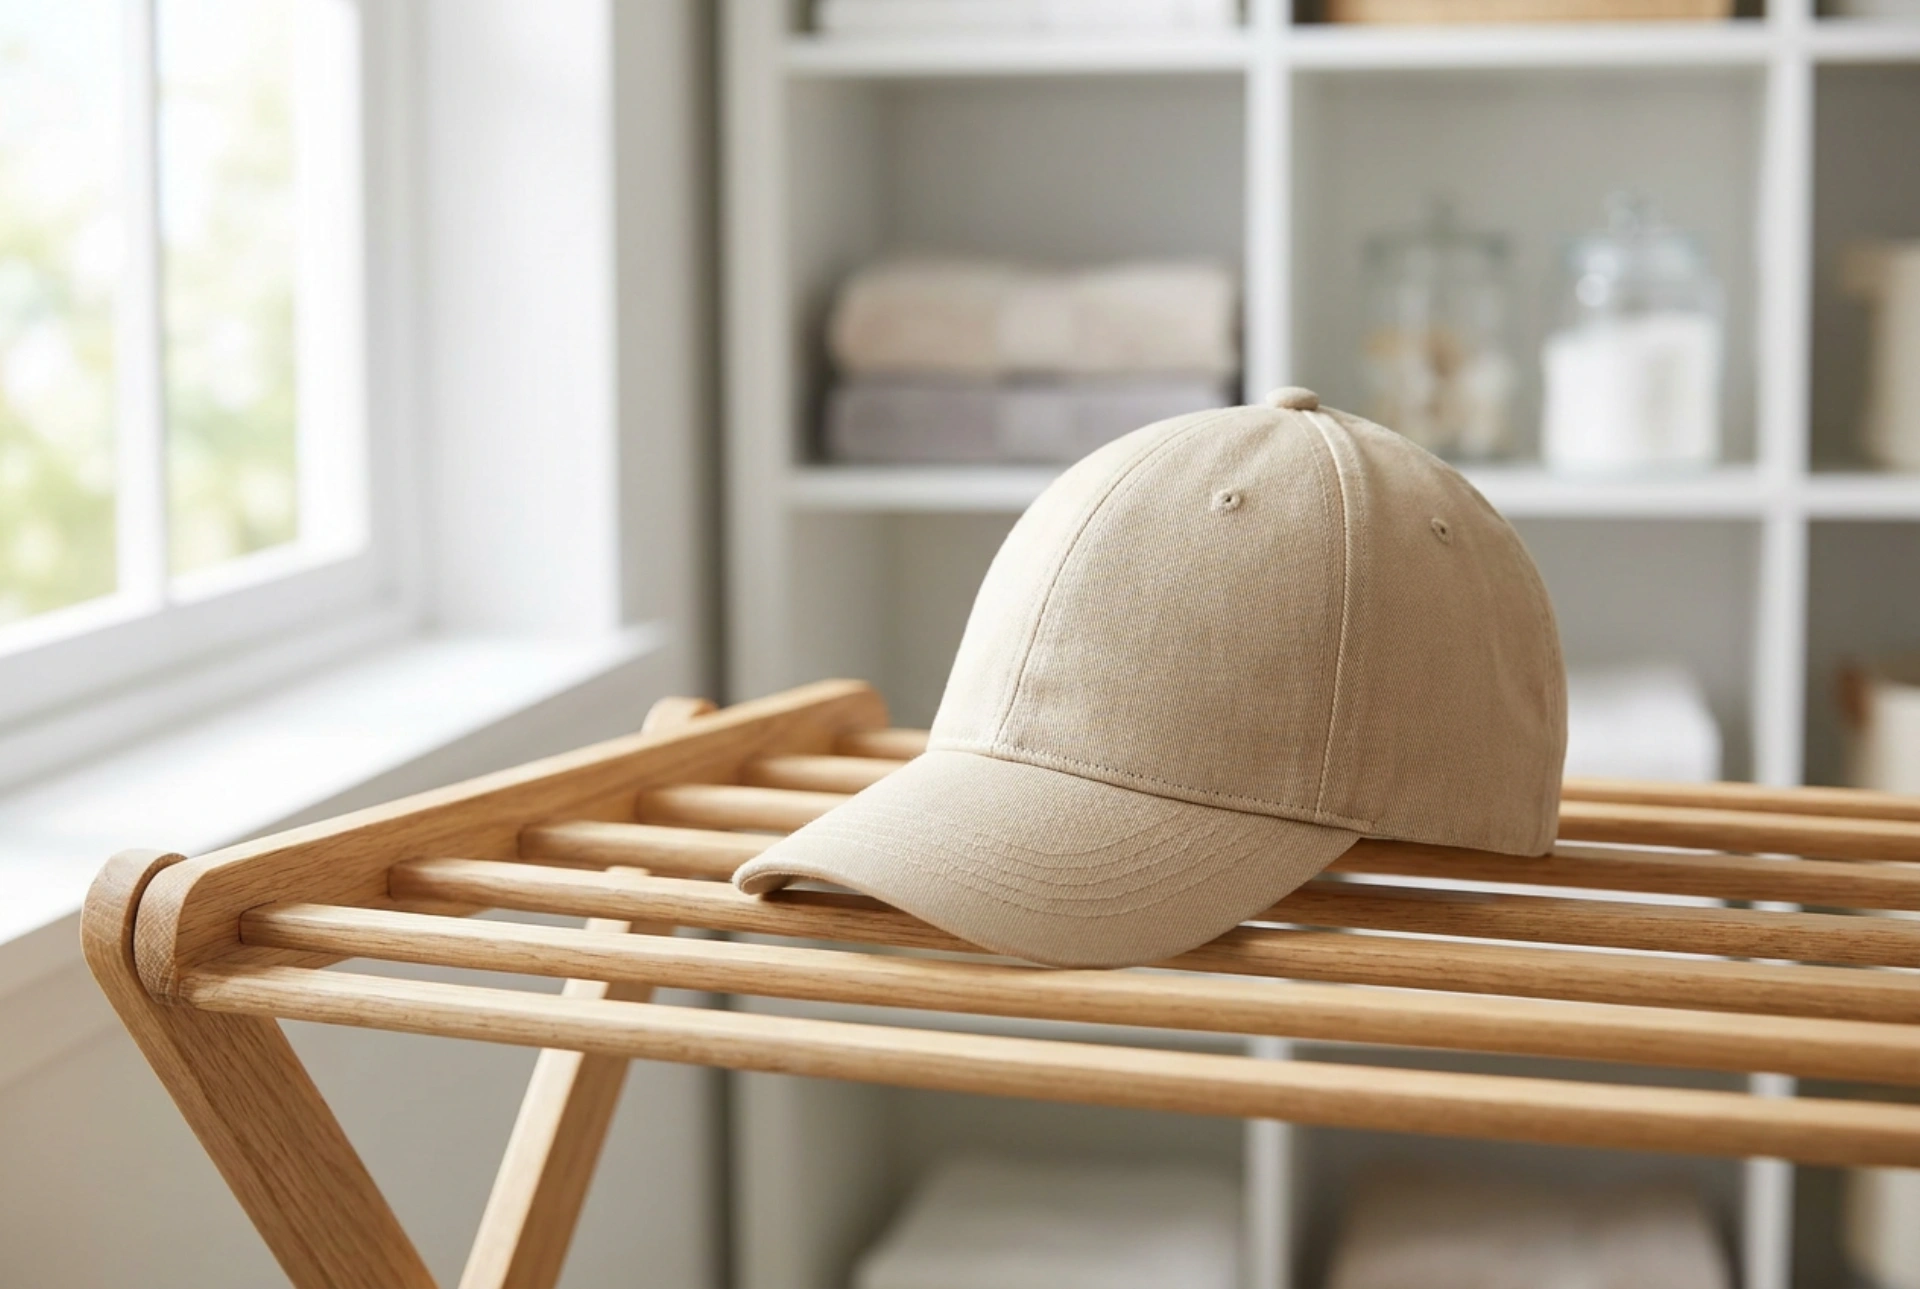
To prevent this, you must dry the cap over a form that mimics the human head. A small bowl, a rolled-up towel placed inside the crown, or a balloon inflated to the correct size works perfectly. Gently pat the cap with a clean, dry microfibre towel to absorb excess water before placing it on the form. Ensure the brim is set to your preferred curve; as the fabric dries and tightens, it will lock the brim into this shape. Dry the cap in a well-ventilated indoor space, away from direct sunlight or radiators, as rapid heat can shrink the fibres unevenly and crack the print.