

A clogged vacuum turbo brush significantly reduces suction efficiency and places excessive strain on the drive mechanism due to rotational friction. Systematically clearing wrapped hair, threads, and carpet fibres restores the kinetic energy of the roller and prevents premature motor failure.
The Physics of Fibre Entanglement on Rotating Rollers
Turbo brushes rely on high-speed rotation—driven either by the vacuum’s airflow or an integrated electric motor—to agitate carpet fibres and dislodge embedded dirt. As the brush cylinder spins, it encounters loose hair, sewing threads, and synthetic fibres. Due to centrifugal force and the electrostatic properties of synthetic carpets, these long strands wrap tightly around the cylindrical core.
Over time, the continuous rotation tightens these loops, creating a highly compressed band of material. This compression exerts immense radial pressure on the brush roller. The resulting friction increases the torque required to spin the roller, which leads to two primary mechanical issues: the drive belt slips or stretches, and the electric motor draws more current, generating excess heat that can melt plastic components or degrade internal bearings.
Step-by-Step Disassembly and Inspection
Before initiating any cleaning process, disconnect the vacuum cleaner from its power source or remove the battery pack to eliminate any risk of accidental activation. Detach the turbo brush head from the main wand or hose assembly to allow for unrestricted handling.
- Locate the locking mechanisms: Most turbo brushes feature a bottom soleplate secured by plastic clips, rotatable dials, or recessed screws. Use a flathead screwdriver or a coin to rotate the locks to the open position.
- Release the soleplate: Gently lift the retaining plate to expose the brush roller. Take note of how the drive belt loops around the motor spindle and the roller pulley.
- Extract the roller: Carefully lift the non-belt side of the roller first, then slide the belt off the integrated pulley. Do not stretch the belt excessively, as this can permanently compromise its elasticity.
The Surgical Extraction of Debris
Attempting to yank or pull wrapped hair off the roller by hand can rip the bristles out of their anchored tufts or bend the central metal axle. A controlled, mechanical separation is required.
Most modern brush rollers feature a recessed groove running longitudinally along the plastic cylinder. This groove is designed specifically to guide cutting tools without damaging the plastic core or the adjacent bristle rows. Insert the tip of a seam ripper, a pair of sharp, curved embroidery scissors, or a utility knife into this groove. Slide the blade along the channel, cutting through the compressed layers of hair and thread from one end of the roller to the other.
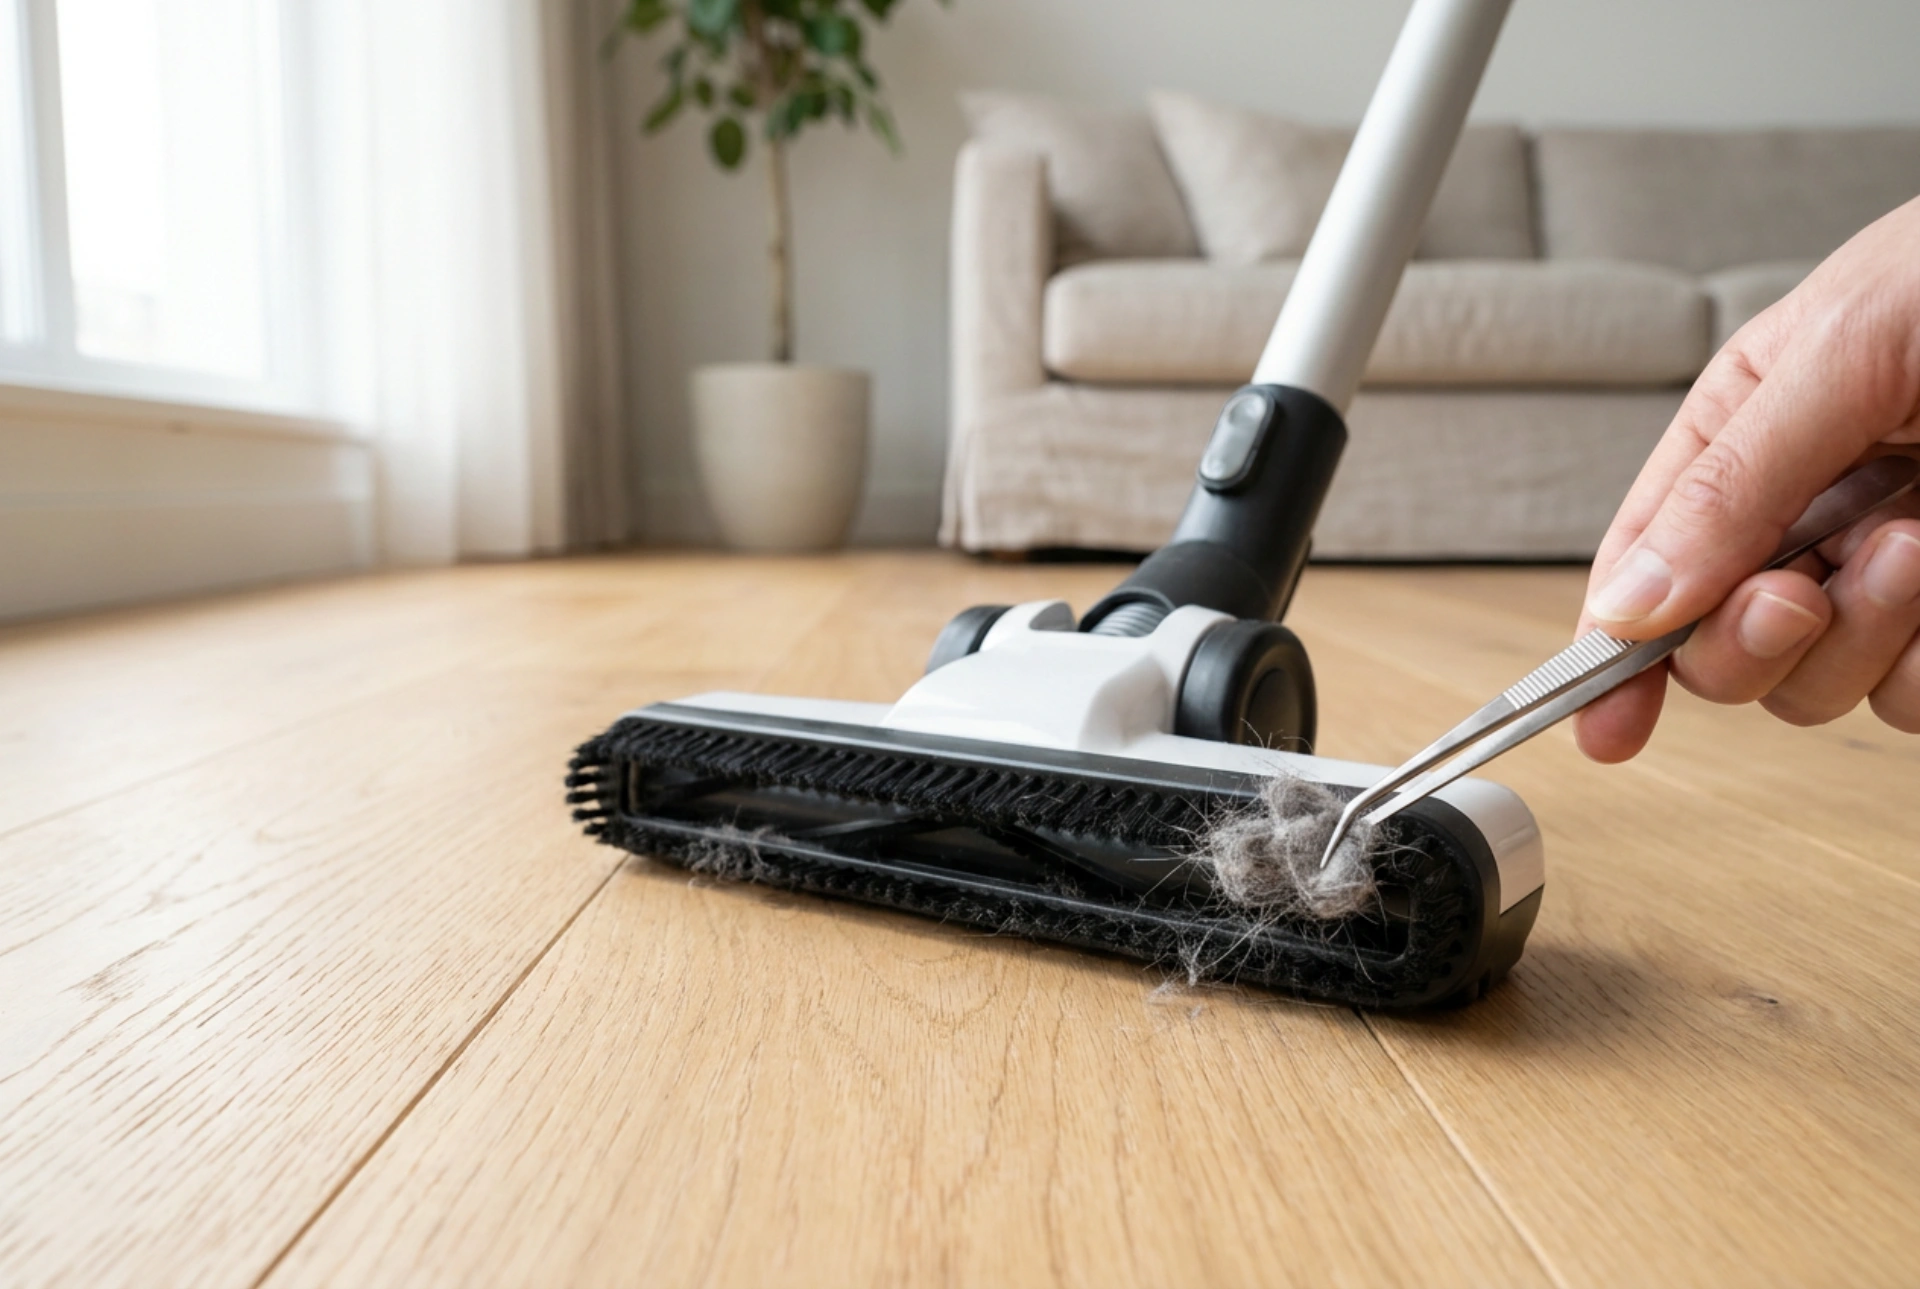
Once the longitudinal cut is complete, the tension holding the fibers to the cylinder is released. You can then easily peel the severed mass away. For stubborn, deep-seated threads near the bristle tufts, use fine-nosed metal tweezers to gently extract the remaining fibres without disturbing the structural integrity of the bristles.
Caring for Bearings and Cap Ends
The most critical areas of a turbo brush are the rotating end caps and bearings. Hair has a tendency to migrate toward the outer edges of the roller, winding itself behind the end caps. Here, the friction can generate enough heat to fuse the plastic cap to the axle.
Remove the removable end caps from both sides of the roller. Use tweezers to pull out any tightly wound hair rings. Wipe the metal axle pins with a dry, lint-free microfibre cloth to remove accumulated dust. Avoid applying household lubricants or oils unless explicitly recommended by the manufacturer; wet lubricants attract fine gypsum and carbon dust, creating an abrasive paste that rapidly wears down the bearings.
Reassembly and Functional Testing
Once all debris is cleared, align the brush roller back into the housing. Slip the drive belt back over the pulley, ensuring it sits squarely in the centre of the track. Rotate the roller manually several times to verify that the belt aligns correctly and that there is no resistance. Replace the soleplate and secure the locking mechanisms. A quick test run on a hard floor will confirm if the roller spins smoothly without any unusual vibrations or high-pitched whining noises.