

Achieving perfect stability and optimal drying efficiency with a freestanding clothes rack relies on understanding basic physics, centre of gravity, and airflow dynamics. Incorrect loading or poor placement not only risks tipping but also extends drying times and increases indoor humidity levels.
The Physics of Balance: Centre of Gravity and Weight Distribution
Every freestanding drying rack operates under the laws of static equilibrium. When clothes are wet, they hold a significant volume of water, which vastly increases their mass. For instance, a single wet cotton towel can weigh up to three times its dry weight. If this weight is concentrated on the outer wings or upper tiers of a rack, it shifts the system's centre of gravity upward and outward, making the rack highly susceptible to tipping under minimal external force, such as a draft or a passing pet.
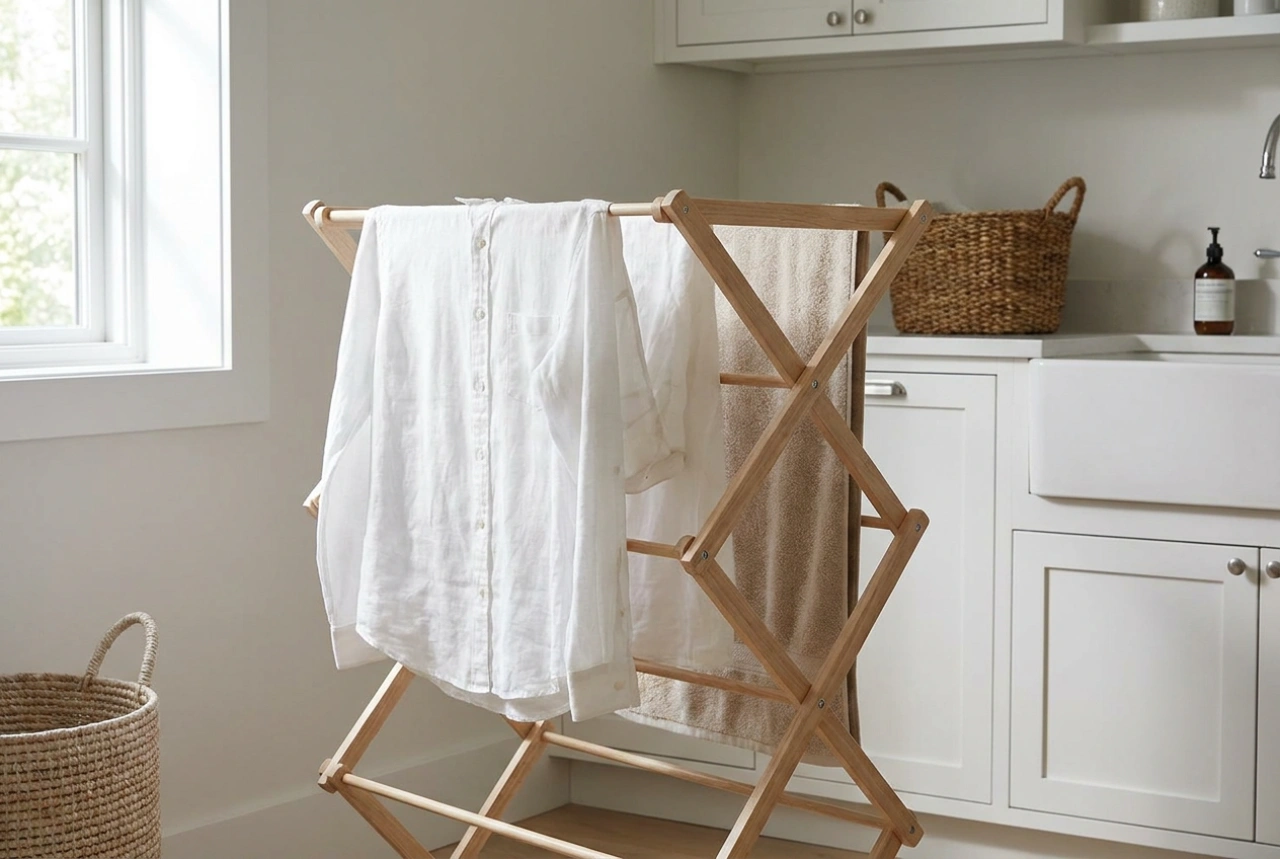
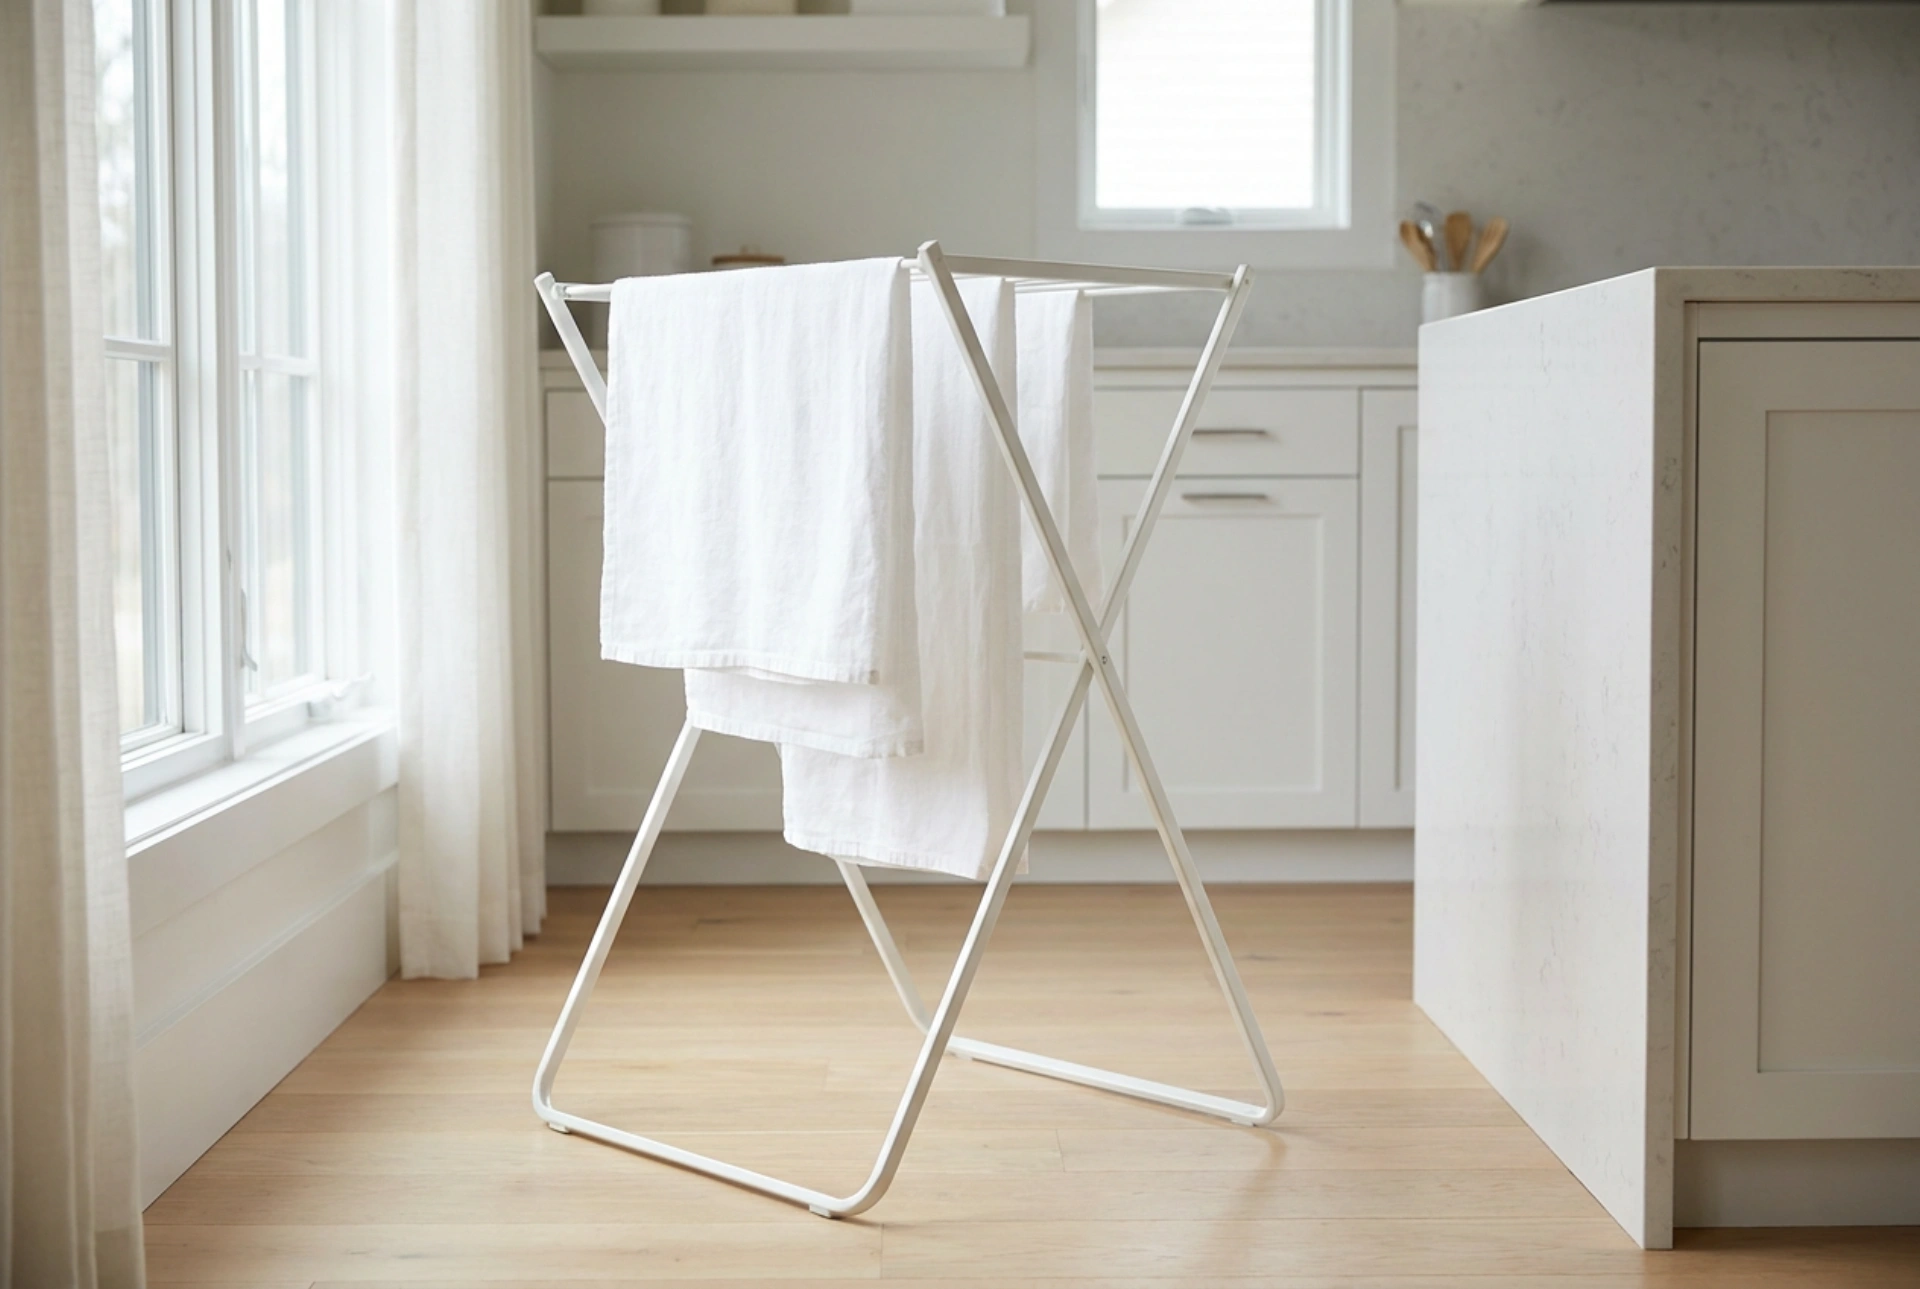
To maintain a low and central centre of gravity, heavy items must be placed closest to the central support column or the lowest rungs. On an X-frame rack, the central portion is structurally the strongest because the downward force is transferred directly through the main intersecting legs to the floor. Hanging heavy textiles like denim, bedding, or thick knits on the outermost rods creates a leverage effect (torque), which multiplies the tipping force. Therefore, always reserve the perimeter and extended wings for lightweight synthetics, undergarments, and thin cottons.
Friction, Surface Contact, and Joint Integrity
The stability of a rack is also determined by its interface with the floor. Smooth surfaces such as glazed tiles, polished hardwood, or laminate flooring offer very low coefficients of friction. Without adequate grip, the legs of a loaded rack can slowly splay outward, placing immense stress on the central locking hinge and potentially causing a structural failure.
High-quality drying racks utilise thermoplastic rubber or elastomer feet to increase friction and absorb minor vibrations. If your rack lacks these, placing it on a low-pile rug or using dedicated silicone floor protectors can prevent slipping. Furthermore, always ensure the mechanical locks, locking bars, or tension pins are fully engaged before loading. Even a slight misalignment in a hinge reduces its load-bearing capacity by half, leading to progressive sagging and eventual collapse when fully wet garments are added.
Maximising Airflow and Thermodynamics for Quicker Drying
Drying is fundamentally a process of phase transition, where liquid water evaporates into gas. This process requires energy (latent heat of vaporisation) and the removal of the saturated boundary layer of air surrounding the wet fabric. Placing a drying rack in a stagnant corner slows down this process dramatically, creating a localised microclimate of high relative humidity that can lead to musty odours and structural dampness in the room.
To optimise drying speed, position the rack in a location with active air circulation, such as near a cross-ventilation path between two open windows, or in a room with a running ceiling fan. Align the long side of the rack parallel to the airflow direction; this allows the air to pass freely between the parallel rows of hanging garments rather than hitting a single wide barrier of fabric. Additionally, maintain a minimum spacing of three to five centimetres between garments to ensure that dry air can penetrate the thermal boundary layer of each item, speeding up evaporation through convection.
A Systematic Loading Protocol for Stability and Efficiency
Implementing a deliberate, step-by-step loading sequence prevents accidental tipping during the process and ensures even weight distribution from start to finish. Follow this sequence for the best results:
- Analyze and Sort: Group your laundry by weight and material density before you begin hanging. This allows you to plan the placement of heavy items first.
- Secure the Base: Place the heaviest, densest items (like bath towels and heavy cotton trousers) on the lower central rungs first. This immediately anchors the rack and lowers its centre of gravity.
- Balance the Wings: If using a winged rack, extend both wings fully and lock them. Load them symmetrically, placing one medium-weight item on the left wing, then a matching weight on the right wing, working your way from the inside joint outward.
- Create Air Channels: Hang garments of alternating lengths next to each other. This staggered arrangement creates natural pathways for air to circulate vertically and horizontally.
- Final Check: Give the rack a gentle nudge at the central frame to test its stability. If it wobbles or leans, redistribute the weight immediately rather than waiting for a structural shift to occur.