

Deep-cleaning fabric upholstery requires a precise combination of chemical dissolution, mechanical agitation, and vacuum extraction to lift embedded dirt without damaging the underlying fibers. Standard surface wiping often pushes soil deeper into the cushioning, whereas a structured extraction method pulls contaminants out of the material entirely.
The Critical Role of Dry Vacuuming
Before introducing any moisture to the fabric, thorough dry vacuuming is essential. Loose dust, hair, and grit behave like abrasive sandpaper when trapped between fibers, and adding water turns these particulates into mud, making them significantly harder to extract. Use a vacuum cleaner equipped with an upholstery nozzle, focusing on crevices and seams where debris accumulates. Applying firm, overlapping strokes ensures that particles wedged deep within the weave are dislodged. Removing these dry solids first prevents them from dissolving into the liquid solution and staining the fabric from within during the extraction process.
The Chemistry of Pre-Spraying and Agitation
An extraction cleaner should rarely be used to spray detergent and suck it up simultaneously in a single pass. For effective soil suspension, a dedicated pre-spray solution must be applied first. Surfactants in the pre-spray lower the surface tension of water, allowing it to penetrate the fibers and encapsulate hydrophobic oily residues, such as body oils and pet sebum. The choice of cleaning agent depends on the fiber type: synthetic materials like polyester can withstand slightly alkaline solutions (pH 8 to 10), while natural fibers like wool require neutral to slightly acidic formulas to prevent fiber degradation and color bleeding. After spraying a fine, even mist, the solution must dwell for five to ten minutes to allow chemical emulsification to occur. During this window, gentle mechanical agitation using a soft-bristled upholstery brush helps break up bound soil without fraying the delicate weave.
The Extraction and Neutralization Process
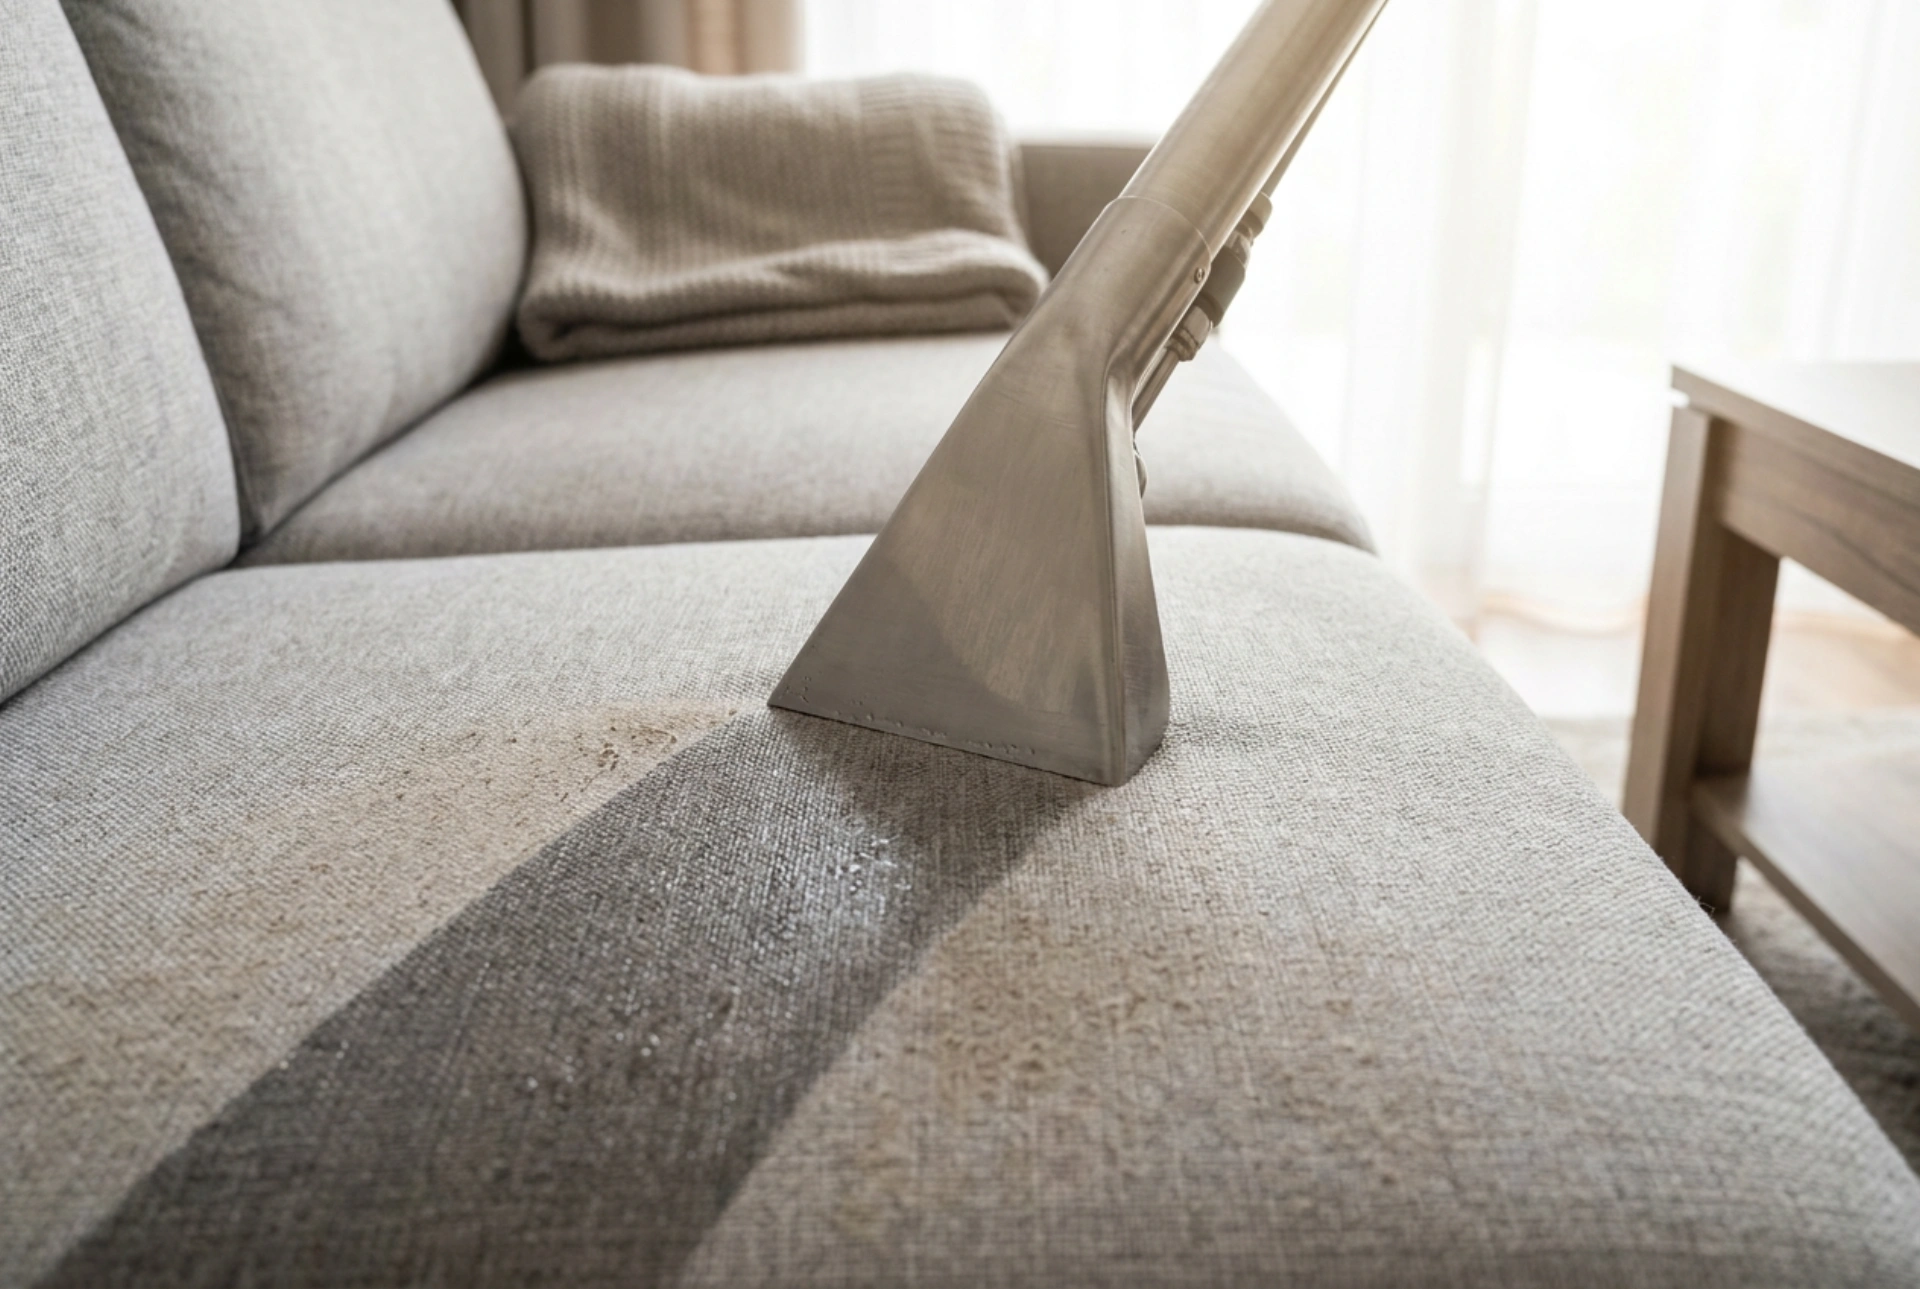
Once the soil is suspended in the emulsified pre-spray, the extraction machine is deployed. Fill the clean water tank of the extractor with warm water—ideally between 40°C and 50°C—as heat increases the kinetic energy of the molecules, enhancing cleaning efficiency. Adding a mild acid rinse agent to the fresh water tank is a vital step. This neutralizes the alkaline residues of the pre-spray, preventing the fabric from feeling stiff or sticky after drying, and eliminating the risk of rapid re-soiling. To extract, press the spray trigger while pulling the hand tool slowly towards you, keeping the nozzle flat against the fabric to maintain a strong vacuum seal. Release the trigger at the end of the stroke, then perform several dry passes over the same area without spraying to pull out as much moisture as possible.
Managing Moisture and Drying Dynamics
Overwetting is the primary cause of post-cleaning issues such as browning, musty odors, or mold growth within the internal foam padding. Controlling the moisture level relies on the speed of your strokes and the number of dry passes. For every wet pass, execute at least two to three dry passes, observing the clear plastic nozzle of the extraction tool to ensure no more water is being drawn up. Once the extraction is complete, use a clean microfiber cloth to brush the pile of the fabric in a single direction to restore its natural texture. To accelerate drying, increase air circulation in the room using fans or dehumidifiers, keeping the ambient temperature around 20°C to 22°C to ensure the upholstery dries completely within twelve hours.