

Installing a balcony clothesline requires more than just tying a cord between two railings; it is an exercise in structural tension, airflow dynamics, and material science. To prevent sagging lines, damp fabrics, and cluttered outdoor spaces, you must choose the right pathing, materials, and tensioning mechanisms.
Selecting the Right Material: Tension and Weather Resistance
The primary enemy of a clean balcony laundry line is sagging, which is caused by material elasticity and load stress. Standard cotton cords absorb water, which increases their weight and leads to stretching under load. Elastic nylon ropes suffer from plastic deformation over time, permanently losing their elasticity. For a permanent or semi-permanent installation, a steel cable coated in UV-resistant polyvinyl chloride (PVC) is the optimal choice. The steel core provides high tensile strength, ensuring minimal elongation under the weight of wet textiles, while the smooth PVC coating prevents rust and protects delicate fabrics from snagging.
For temporary or flexible setups, a retractable system utilizing high-density polyethylene (HDPE) lines offers an excellent balance between tensile resilience and compactness. HDPE fibers have low moisture absorption and a high strength-to-density ratio, meaning they resist sagging even when exposed to fluctuating outdoor humidity and temperature cycles.
Geometry of the Line: Pathing and Force Distribution
How you route your clothesline dictates both its physical stability and the efficiency of your balcony space. There are three primary configurations, each governed by specific spatial constraints:
- Parallel Longitudinal Pathing: Running lines parallel to the balcony wall or railing minimizes visual clutter. This setup maximizes the length of individual lines, making it ideal for hanging wider items like bedsheets. To prevent the lines from bowing inward toward each other, anchor them to heavy-duty, powder-coated metal brackets mounted at each end of the balcony.
- Transverse Zig-Zag Routing: If your balcony is deep but narrow, routing a single continuous line back and forth across the width of the space is highly efficient. By threading the line through heavy-duty eyelets or pulleys mounted on opposing walls, you distribute the tension across multiple anchor points. However, ensure the turn angles are gentle to prevent point-friction from wearing down the cord.
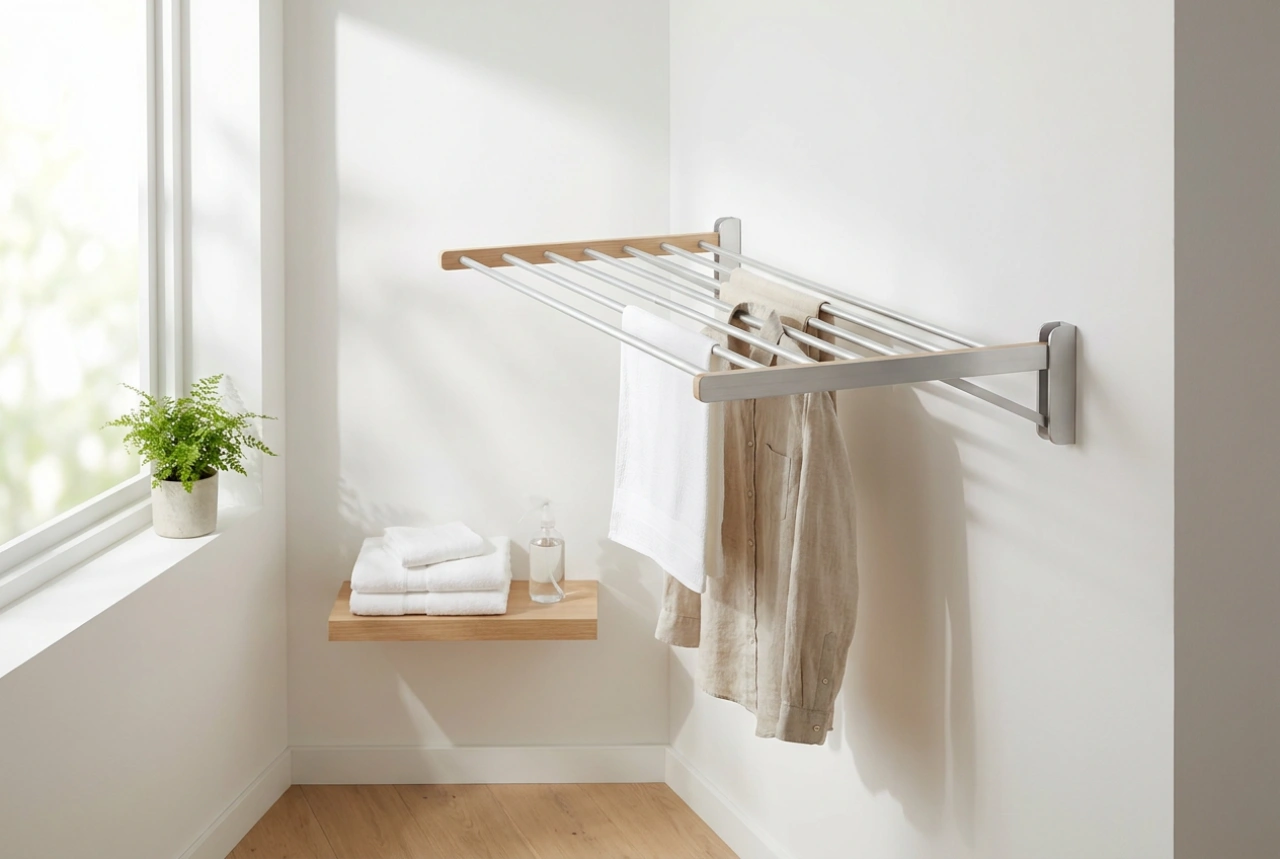
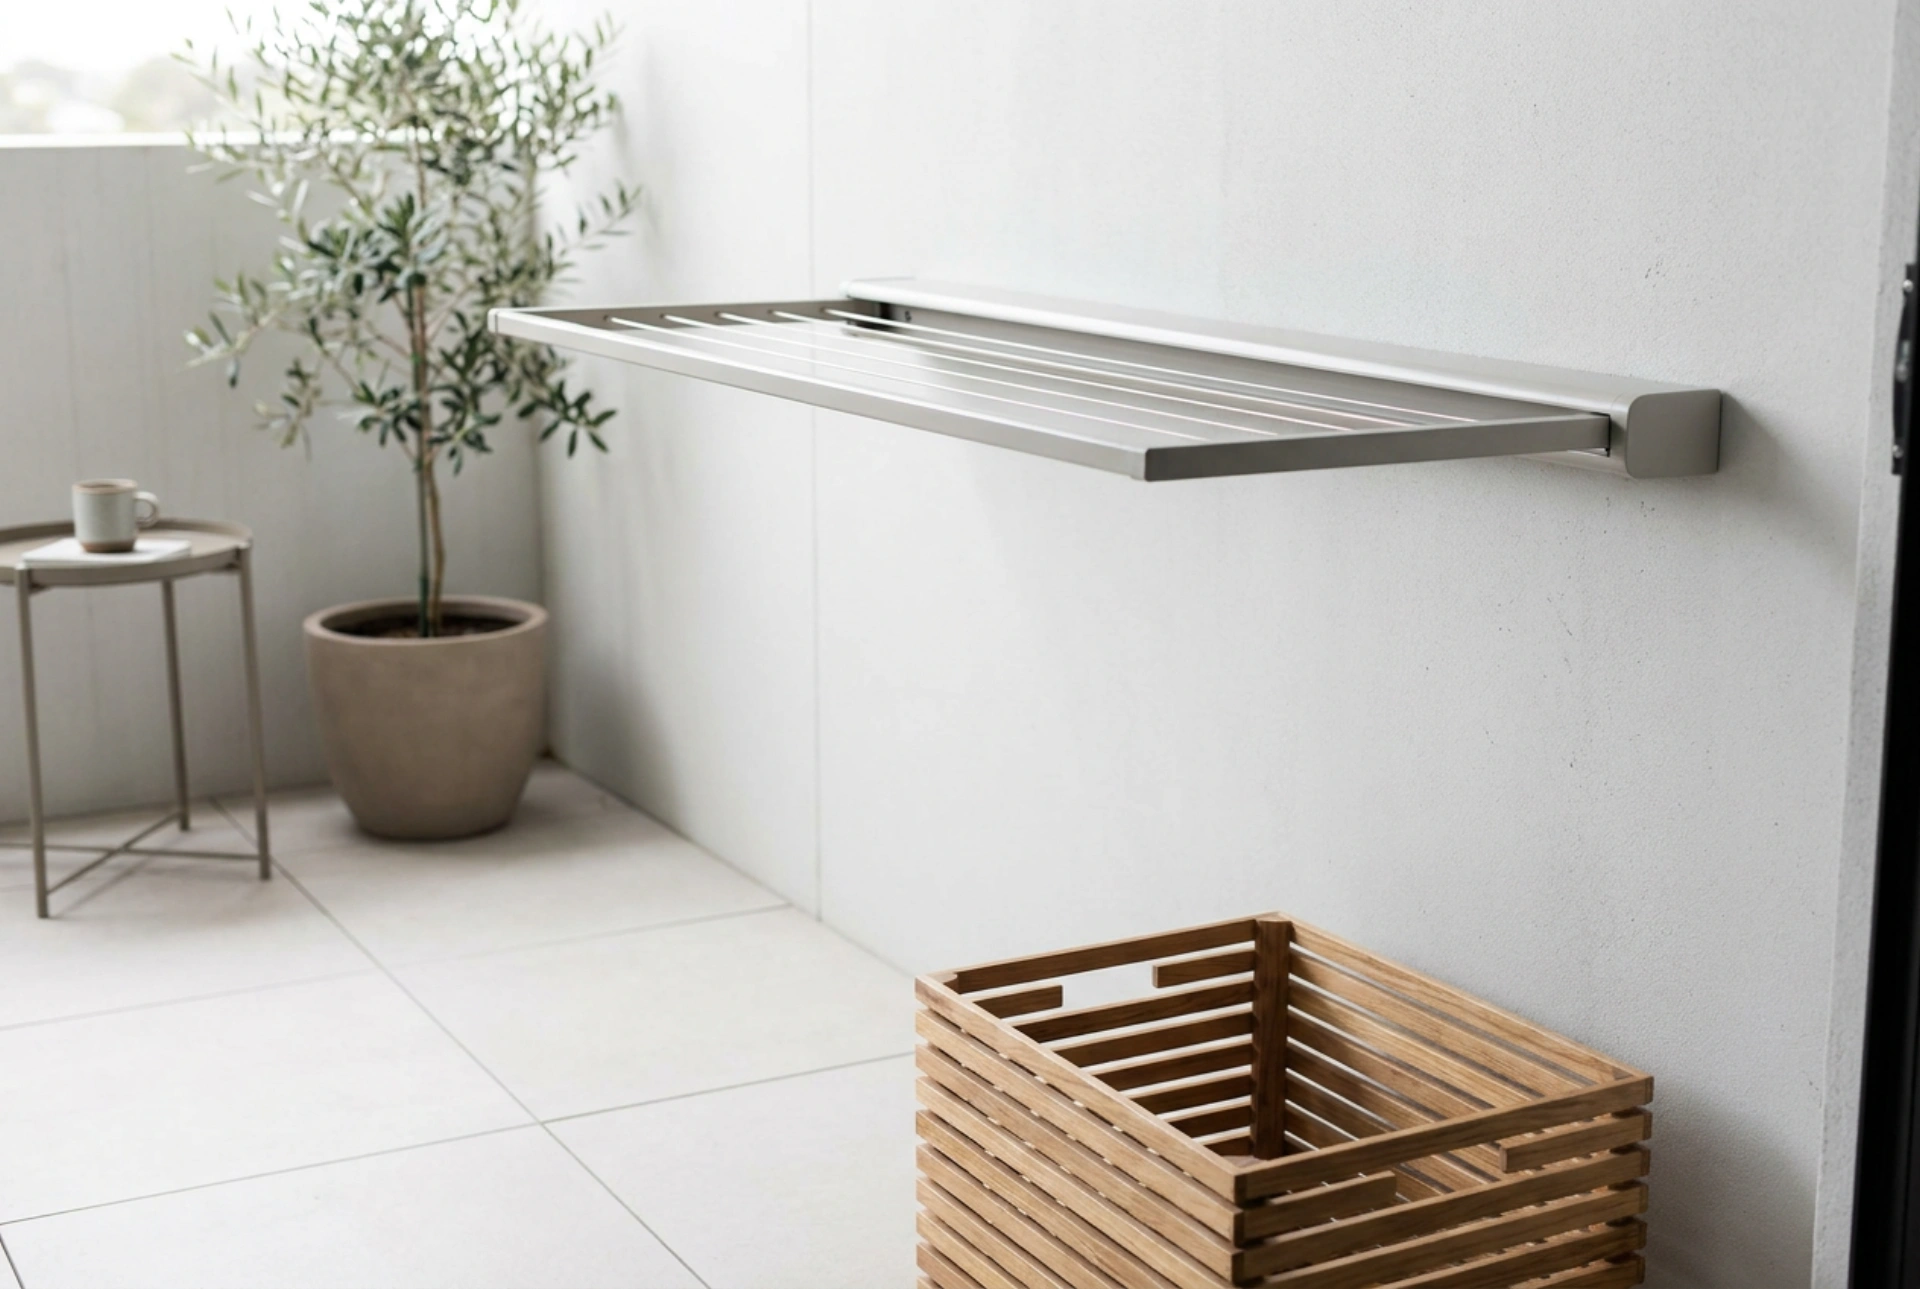
- Retractable Diagonal Configuration: For multi-use balconies, a single or double retractable line stretched diagonally across the space provides maximum drying area when needed, then vanishes completely. Mounting the casing at chest height on a load-bearing wall allows for easy deployment.
The Thermodynamics of Airflow and Spacing
Efficient drying relies on evaporation, which is accelerated by laminar airflow. If lines are placed too close together, wet fabrics create a high-humidity microclimate that stalls evaporation. To optimize airflow, maintain a minimum distance of 20 to 25 centimetres between parallel lines. This spacing allows air to pass freely between the hanging items, carrying away moisture-laden air.
Furthermore, height placement is critical. Cold, damp air is denser and sinks toward the balcony floor, while warmer, drier air rises. Positioning your clotheslines as high as comfortably reachable utilizes this thermal gradient. Additionally, hanging heavier, thicker fabrics (like denim or wool) on the outermost line—where wind exposure is greatest—and lighter synthetics closer to the balcony wall ensures even drying times across the entire load.
Implementing Mechanical Tensioning
No matter how tightly you pull a line during installation, gravity and structural settling will eventually cause slack. Incorporating a mechanical tensioning device is essential for long-term reliability. A simple turnbuckle (hook-and-eye tensioner) installed at one end of the line allows you to adjust the tension with a few simple twists. As the line settles, rotating the turnbuckle draws the threaded screws inward, shortening the functional length of the line and restoring tautness. Alternatively, utilizing a marine-grade clamcleat or a small pulley with a secure cleat hitch allows for rapid, tool-free adjustments, making it easy to tighten the line before hanging heavy loads and slacken it afterward to relieve stress on the anchors.