

The Science of the Two-Step Process: Dry vs. Wet Dirt
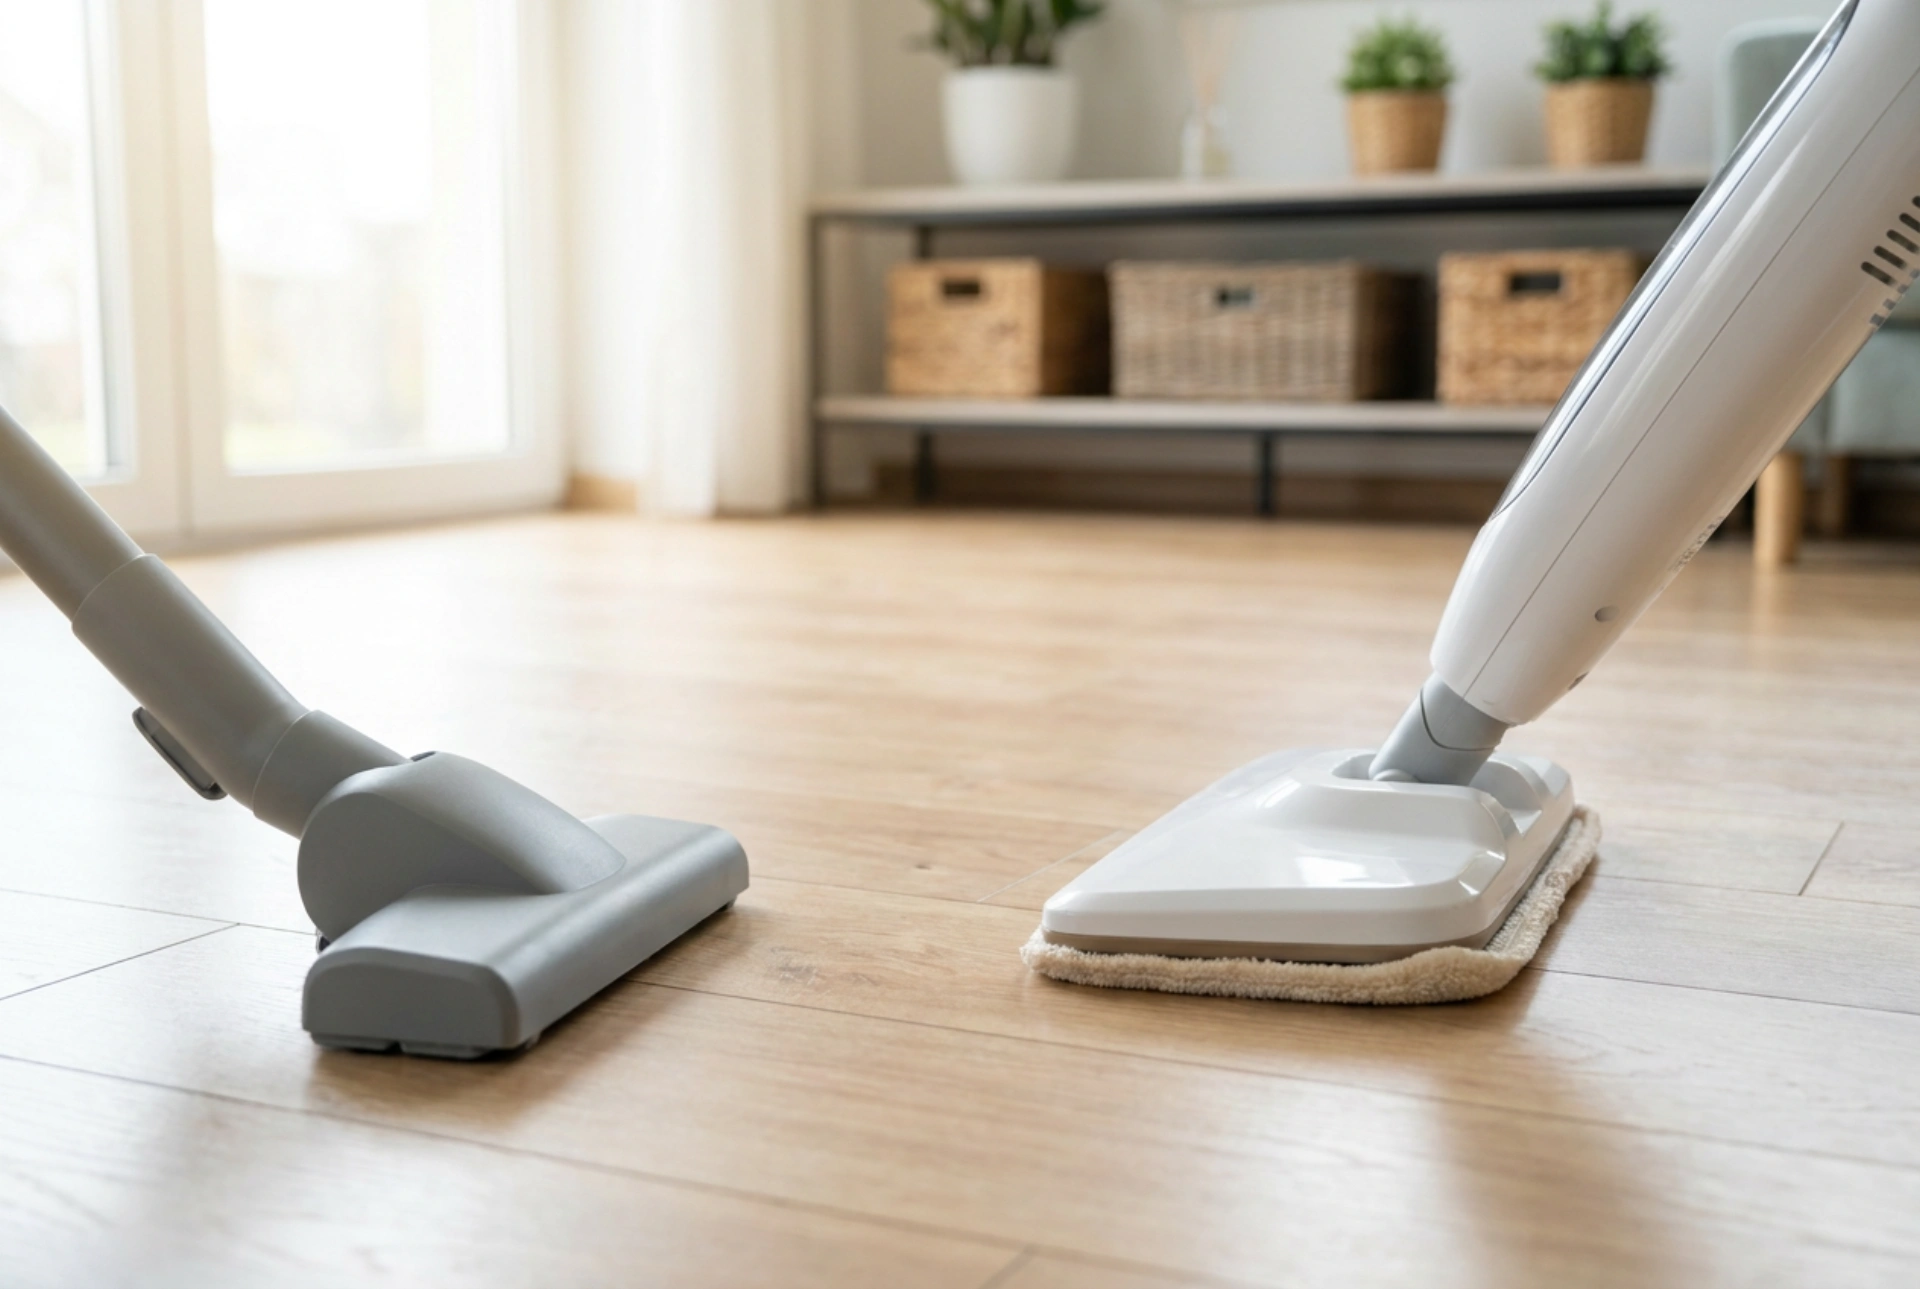
Achieving a truly clean floor requires addressing two distinct types of contamination: loose particulate matter and bonded surface grime. Dry vacuuming and steam mopping tackle these issues through different physical mechanisms, and using them in the correct sequence is essential. Attempting to steam mop before removing loose dust, grit, and hair creates an abrasive paste. Under the heat and moisture of steam, fine dust particles hydrate and expand, turning into a muddy film that is smeared across the surface rather than lifted. This not only dulls the floor but can also clog the microfibres of the steam mop pad, rendering it ineffective within minutes.
Vacuuming first removes the abrasive particles—such as silica sand and dander—which have a high Mohs hardness and can scratch floor finishes under the mechanical pressure of a mop pad. Once the dry debris is cleared, the steam mop can perform its primary chemical-free function: thermal emulsification. High-temperature steam (typically exiting the nozzle at over 100 degrees Celsius) rapidly transfers thermal energy to bonded sticky residues, lipids, and proteins. This heat weakens the intermolecular forces holding the grime to the floor, allowing the absorbent microfibre pad to lift and trap the suspended soil instantly.
Material Compatibility and Thermal Physics
Before combining these two powerful cleaning methods, it is vital to understand how different floor materials respond to thermal stress and moisture. Steam mopping introduces localized high temperatures and high humidity, which can be detrimental to certain substrates if misused.
- Ceramic and Porcelain Tiles: These materials are highly suited for steam mopping. The glazed surface of ceramic is impervious to water, and the high temperature easily sanitises the textured surface. However, unsealed grout lines can absorb moisture over time, so ensure grout is sealed to prevent water logging.
- Sealed Hardwood: Wood is hygroscopic, meaning it absorbs moisture from the air. While sealed hardwood can tolerate brief exposure to steam, any break in the polyurethane seal allows steam to penetrate deep into the wood fibres. This causes the wood to swell, warp, and cup. If you steam hardwood, use the lowest steam setting, keep the mop moving constantly, and ensure the surface dries within thirty seconds.
- Laminates and Vinyl Plank: These floors consist of composite layers bonded with adhesives. High-temperature steam can melt or weaken these glues, leading to edge curling and delamination. Only steam-clean laminates specified as highly moisture-resistant, and always use a dry-steam setting which minimises liquid water deposition.
The Perfect Order of Operations for Flawless Floors
To maximise efficiency and protect your flooring surfaces, follow a strict protocol that respects the physics of thermodynamics and fluid dynamics.
Step 1: Thorough Dry Extraction
Begin by vacuuming the entire area using a floor brush attachment appropriate for your flooring type. For hard floors, ensure the brush roll is turned off or use a soft parquetry tool to prevent the spinning bristles from scratching the surface. Pay special attention to corners, baseboards, and grout lines where fine silica dust accumulates. This step must be done slowly to allow the vacuum’s airflow to fully lift particles embedded in micro-crevices.
Step 2: Steam Calibration
Attach a clean, dry microfibre pad to the steam mop. Never start with a pre-dampened pad, as this reduces its capacity to absorb the condensed steam holding the liquefied grime. Select the steam volume appropriate for the floor type: low for wood and laminates, medium to high for stone and tile. Allow the appliance to reach its operating temperature fully before touching the floor to avoid spitting cold water droplets.
Step 3: Systematic Wet Extraction
Work in structured, overlapping paths, moving backward so you do not step on the freshly cleaned, damp floor. Keep the steam head in continuous motion; leaving a hot steam head stationary for even a few seconds can cause thermal shock to wood finishes or melt vinyl adhesives. The heat from the steam should evaporate almost instantly behind you, leaving a streak-free, sanitised surface.
Managing Heat and Condensation for a Perfect Finish
The efficiency of steam cleaning relies heavily on the quality of your microfibre pads. Microfibre is designed to hold debris within its microscopic wedge-shaped polyester and polyamide fibres. As the steam melts grease, the microfibre lifts it via capillary action. However, once the pad becomes saturated with water and soil, it loses its ability to hold more dirt and will begin leaving streaks. For larger areas, change the pad as soon as it feels heavy or shows significant discolouration. By maintaining a clean pad and managing the moisture levels, you ensure that the lifted dirt is removed from the home completely, rather than redistributed.