

Cordless car vacuums offer unmatched mobility, but maximizing their limited battery life and suction power requires a strategic approach to debris removal. Understanding the physics of airflow and proper surface agitation is key to achieving professional results without depleting your device’s charge prematurely.
The Physics of Cordless Suction and Airflow
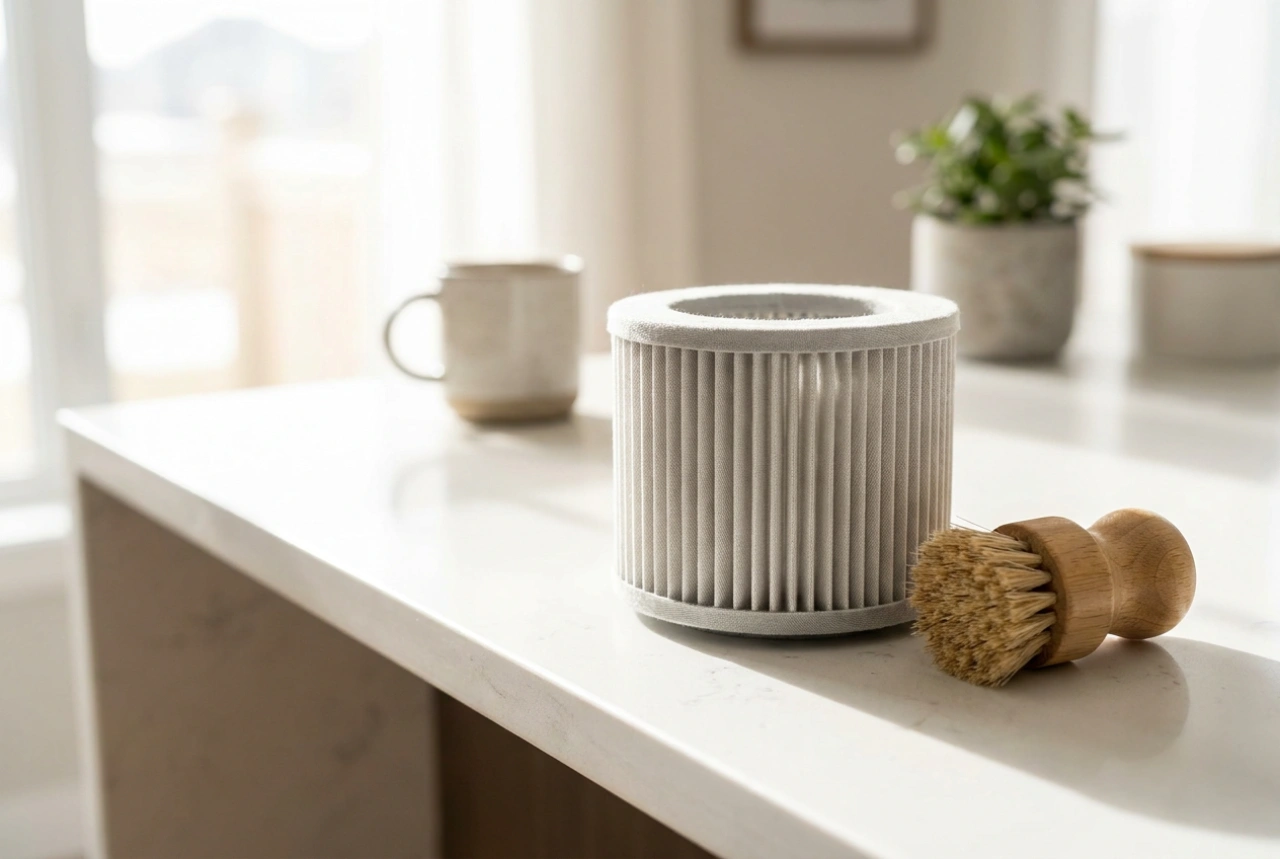
Unlike corded shop vacuums that draw continuous power from the mains, cordless vacuums rely on lithium-ion batteries powering small DC motors. The suction capability (measured in Pascals or Air Watts) is directly tied to the velocity of the air moving through the system. As the dust container fills, or as fine dust particles clog the filter pores, resistance increases, causing the motor to work harder and consume more battery power. To maintain peak performance, empty the dust chamber when it reaches half capacity and tap out the filter frequently during the cleaning process.
The Strategic Top-to-Bottom Sequence
An efficient vacuuming process respects the laws of gravity. Dust and debris dislodged from upper surfaces inevitably fall to lower levels. Standardizing your workflow prevents re-contaminating clean areas and saves valuable battery run-time:
- Dashboard and Console: Use a soft-bristled brush attachment to sweep dust out of air vents, seams, and buttons directly into the path of the vacuum nozzle.
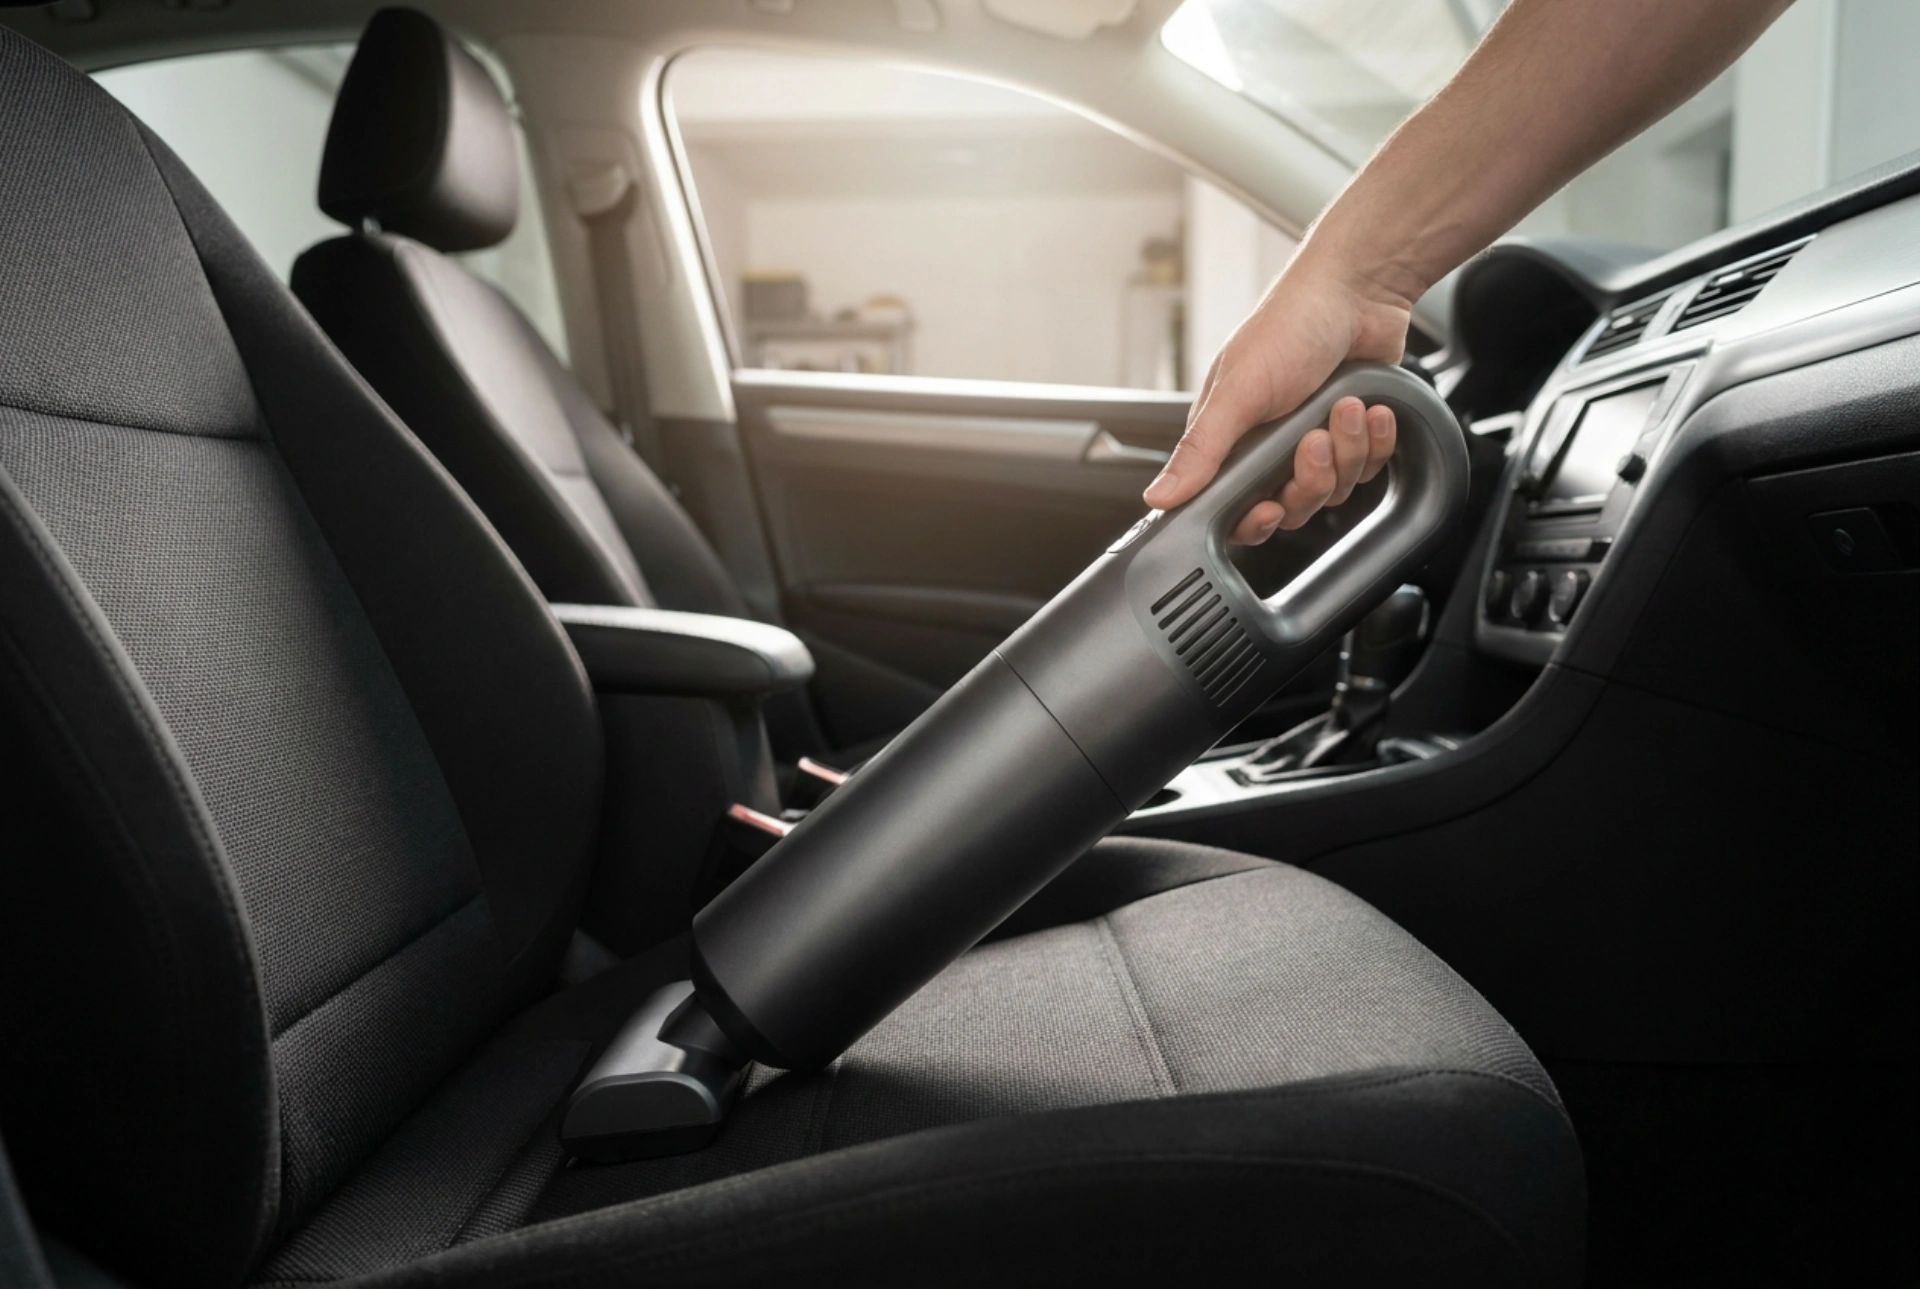
- Seats and Upholstery: Vacuum the backrests first, moving downwards. Pay special attention to the seams where the seat back meets the cushion, as grit accumulates there and acts as an abrasive, wearing down fabric or leather.
- Floor Mats: Remove mats entirely from the vehicle. Clean them outside the car to prevent airborne dust from resettling inside.
- Footwells: Vacuum the bare floor pans last, starting from the pedals and moving back towards the seat tracks.
Mechanical Agitation: Breaking the Static Bond
Carpet fibres and fabric upholstery naturally trap grit, sand, and pet hair through mechanical interlocking and electrostatic charge. Suction alone, especially from a compact battery-operated unit, is rarely sufficient to lift these particles. You must introduce mechanical agitation. Use a stiff nylon brush to sweep the carpet in alternating directions (a cross-hatch pattern). This action opens up the weave of the carpet, releasing deep-seated sand and lifting hair to the surface where the vacuum can easily capture it. For stubborn pet hair, a rubber-bladed squeegee or a specialized rubber brush can be dragged across the fabric to clump the fibres together before suction is applied.
Nozzle Selection and Angle of Attack
Choosing the correct attachment is not just about convenience; it alters the fluid dynamics of the vacuum. A narrow crevice tool restricts the intake area, which significantly increases static pressure and air velocity. This makes it ideal for extracting heavy sand from deep within carpet piles and narrow seat crevices. Keep the nozzle at a 45-degree angle to the surface; sealing the nozzle flat against the fabric restricts all airflow, causing the motor to strain and reducing actual debris pickup. For hard plastics, leather, and delicate screens, always utilize a soft dusting brush to prevent micro-scratches while lifting fine dust particles.
Battery Care and Filter Maintenance
To prolong the lifespan of both your battery and the vacuum motor, avoid running the device continuously until the battery is completely exhausted. Deep discharges strain lithium-ion cells. Instead, vacuum in controlled bursts. Once finished, clean the filter system thoroughly. Fine dust blockages restrict cooling airflow to the motor, which can cause overheating. If the filter is washable, rinse it with cold water without soap and allow it to air-dry completely for at least 24 hours. Reassembling a damp filter will ruin the motor and foster mould growth inside the housing.